In this article, we will cover the initial setup of Windows Server 2008 R2. These settings apply to all editions (Standard, Enterprise, etc.). We will explore the most common configurations suitable for most tasks for which Windows Server is deployed. This includes network setup, DNS, DHCP, Remote Desktop (RDP) configuration, and adding users.
To learn about the installation and activation process for Windows Server 2008 R2, refer to our previous article.
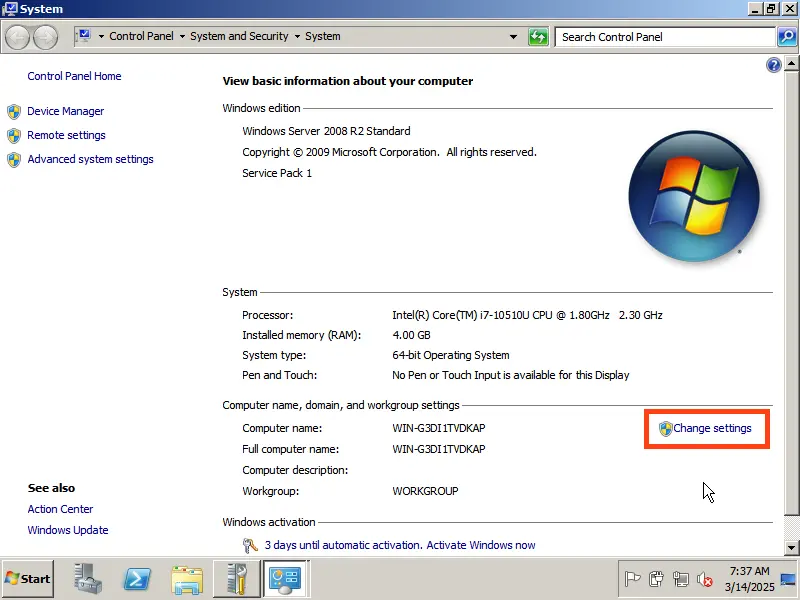
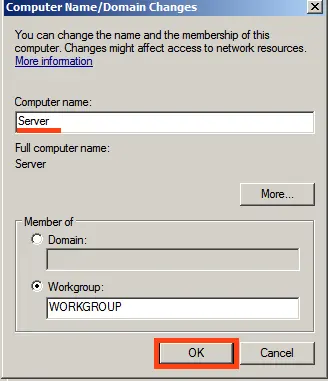
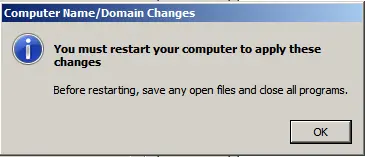
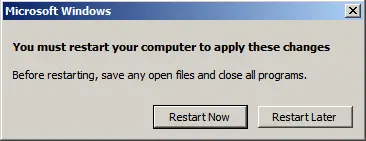
1) First, we need to change the server name to something more convenient for identification. Go to “Computer Properties” => Change settings => In the “System Properties” window, click “Change.” Then, enter your desired server name in the “Computer name” field and click “OK.” Your computer will need to restart to apply the changes.


2) Next, we need to assign a static local IP address to the server. For example, if your server is connected to a router, you can check the IP address assigned by your router via the terminal by pressing “Run” => CMD => In the command prompt response, you can view your local IP.
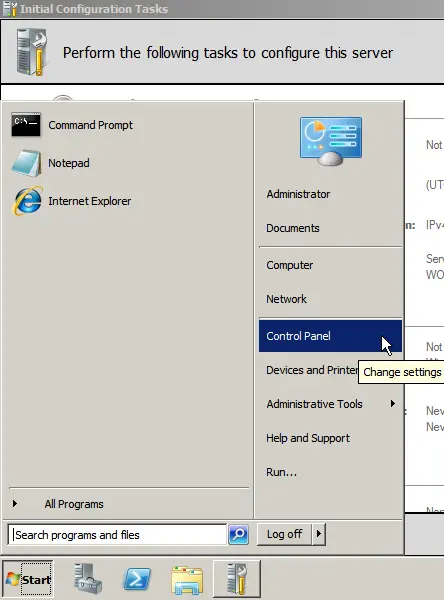
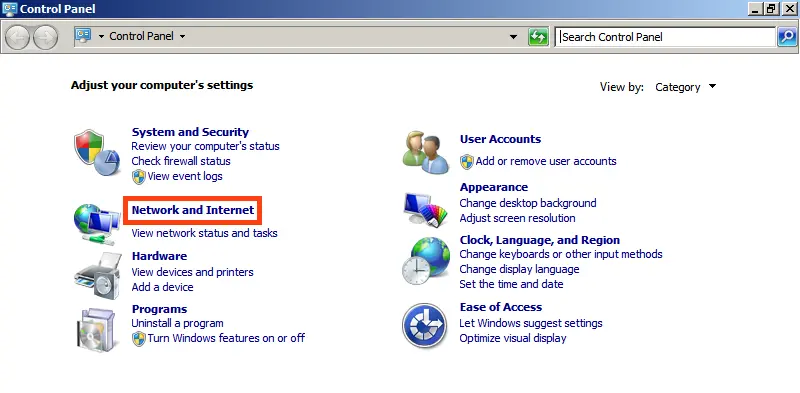
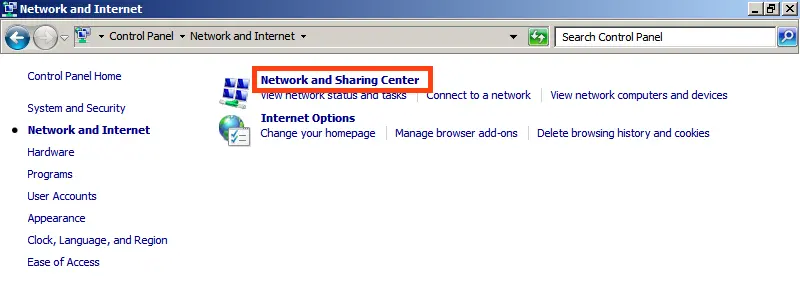
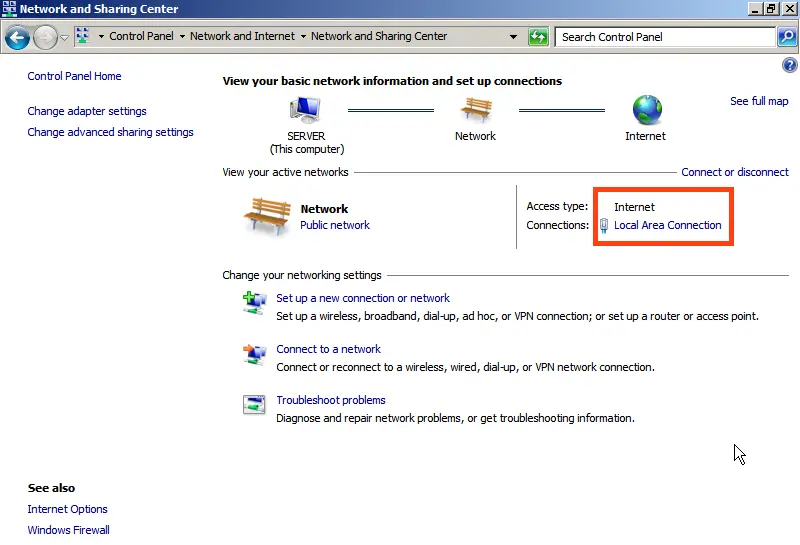
Then, go to “Control Panel” => Network and Internet => Network and Sharing Center => Local Area Connection.
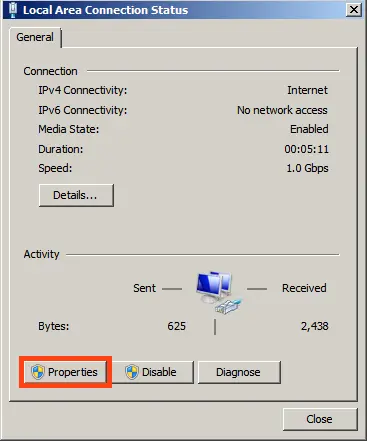
Select your network adapter => Properties.
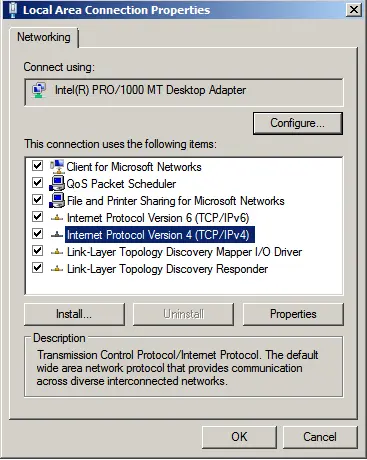
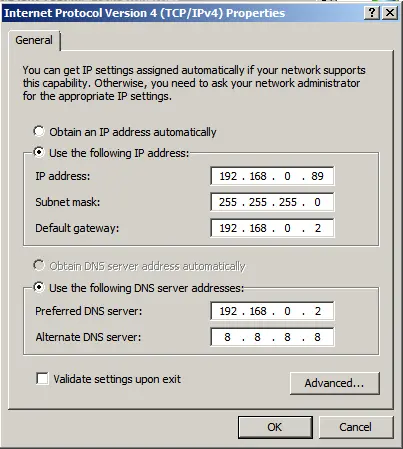
IPv4 => Properties.
Now, assign your local IP address. After applying the settings, check your internet connection to ensure everything is configured correctly.
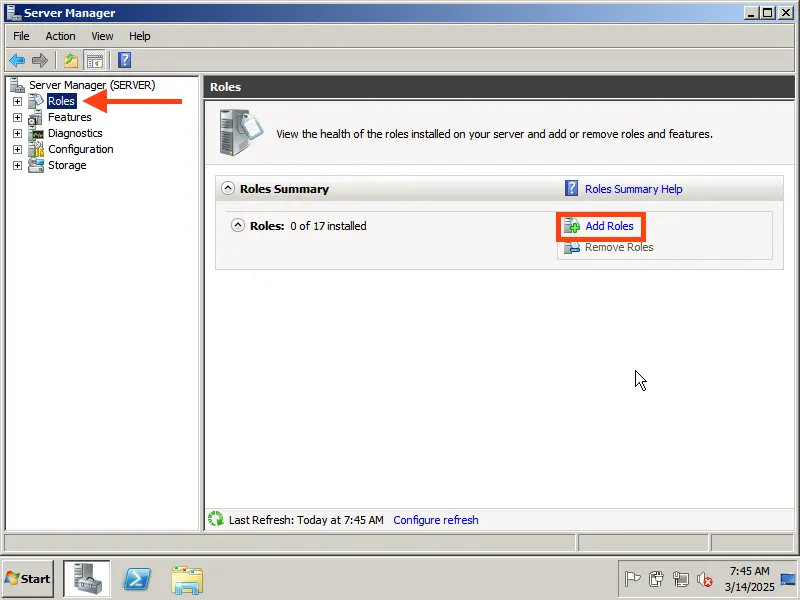
3) Now, let’s proceed to installing roles. Go to Server Manager, click on “Roles” => Add Roles.
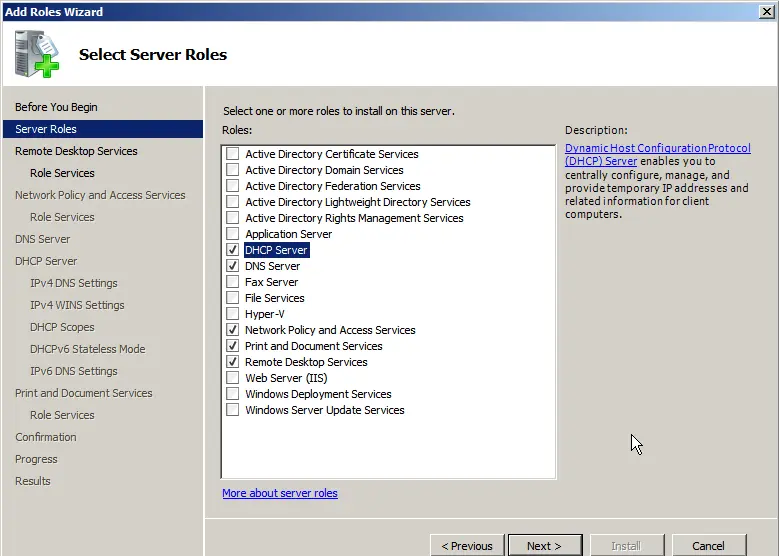
Here, select the roles you need for your server. Most role settings are configured during the role installation. We will demonstrate by installing a DHCP server, assigning an IP address range for distribution on the local network, setting up a domain, and configuring Remote Desktop Services.
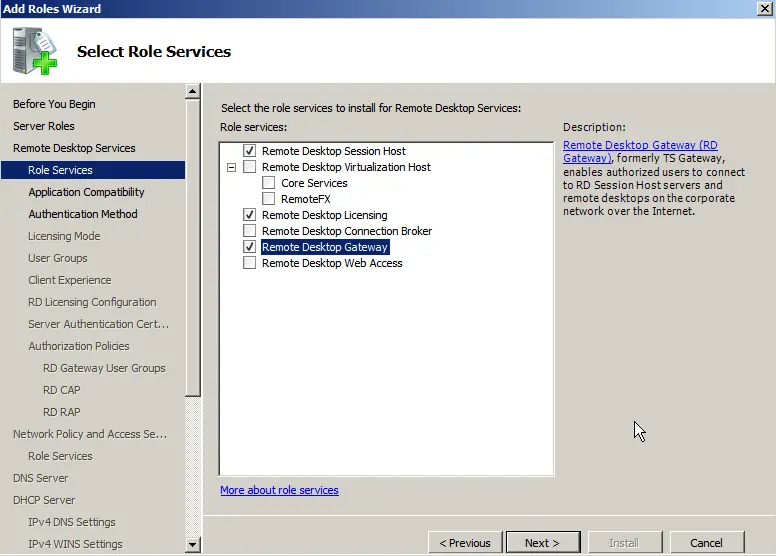
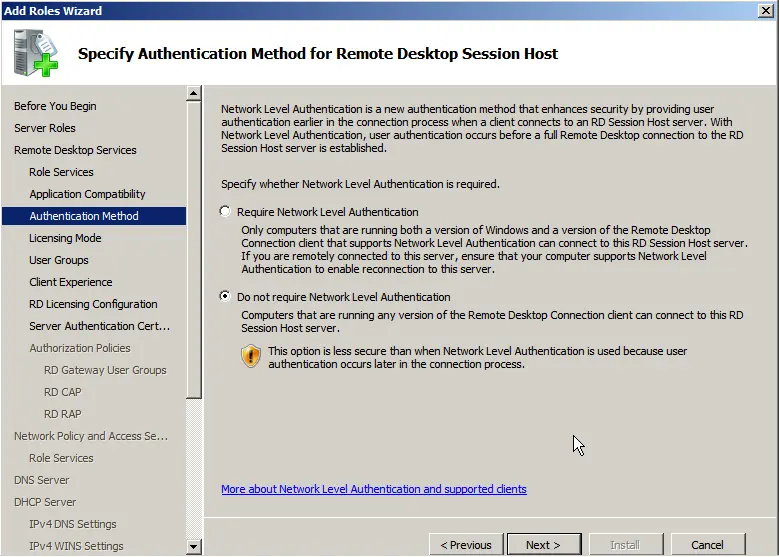
In the role services, select the options required for RDP functionality.
If you do not have an SSL certificate, click “Do not require server authentication.”
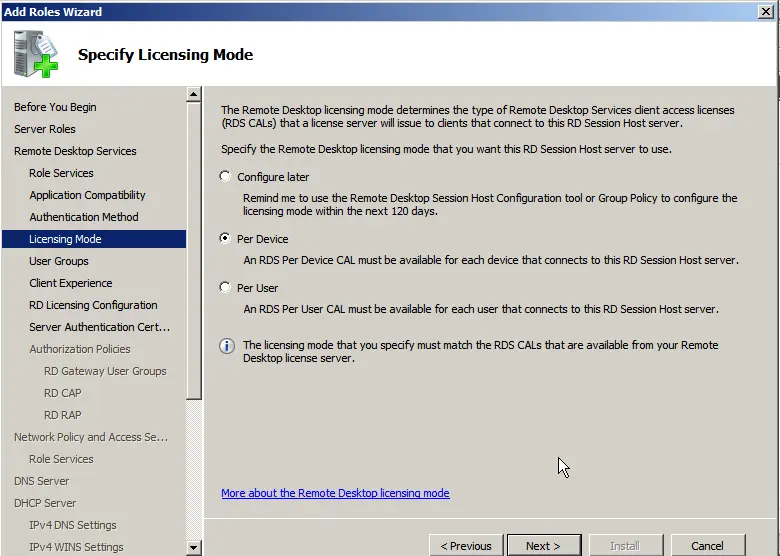
Here, choose the option based on your product key for Remote Desktop licensing: per device or per user. Their configuration is identical, differing only in the type of key you will enter. If you are unsure about the licensing method, select “Configure later.” We will return to RDP settings shortly. If you do not have a licensing key, you can purchase a Windows Server CAL product key for 20 users in our catalog.
In the “User Interaction” menu, allow audio and video.

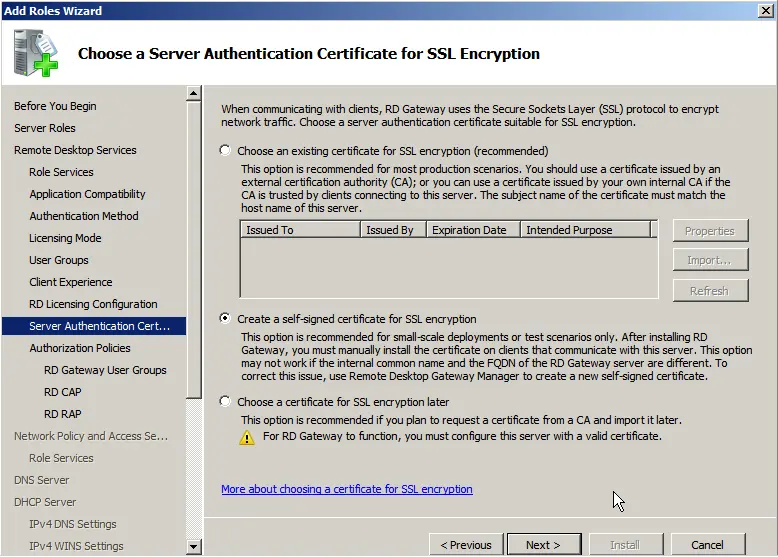
Skip the certificate section.
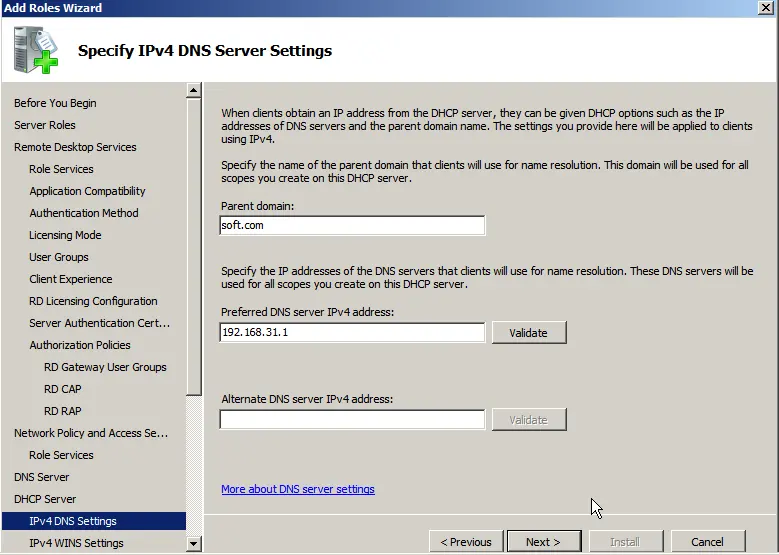
Proceed to the DHCP settings, specify your domain name, and the local IP address for connecting to this DNS.
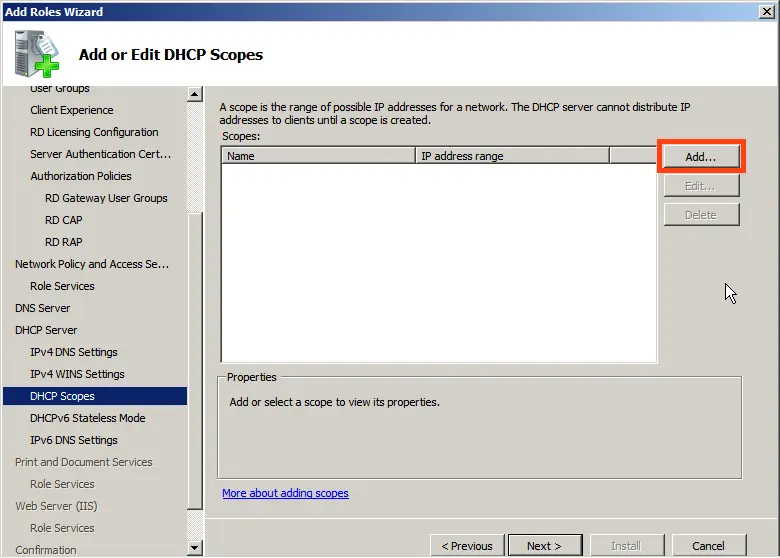
Now, add DHCP scopes (ranges).
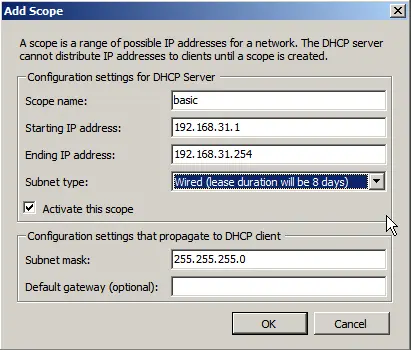
Assign a name to your DHCP server, the starting IP address, and the ending IP address that your server will distribute.
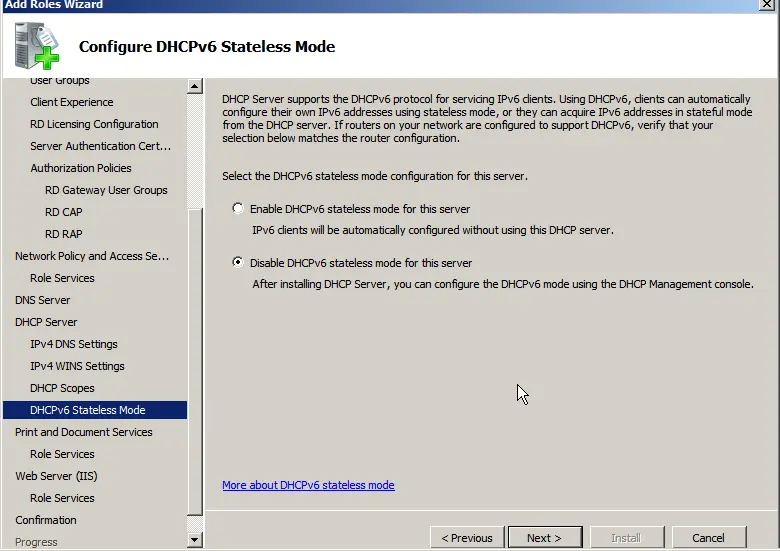
Disable IPv6.
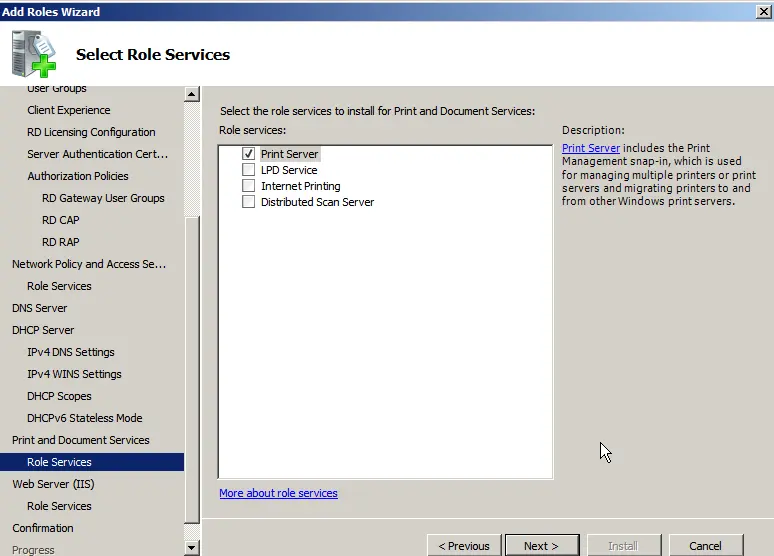
If you selected the print service during role installation (if needed), also select “Print Server” during the service installation.
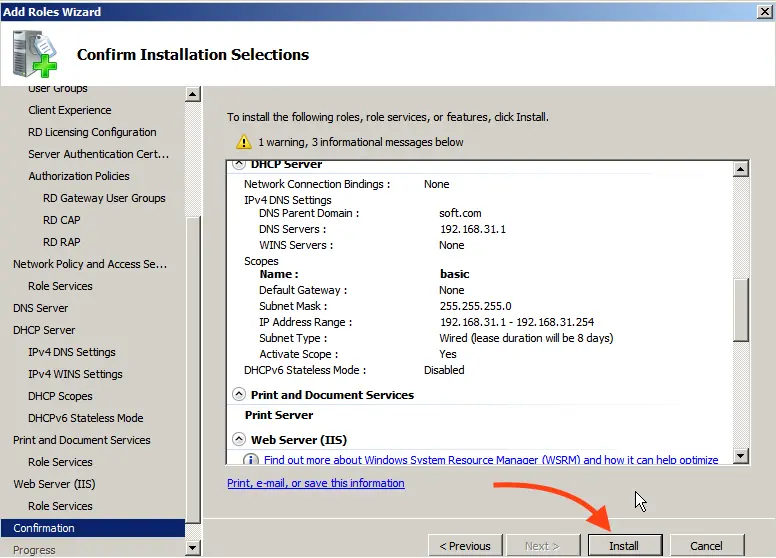
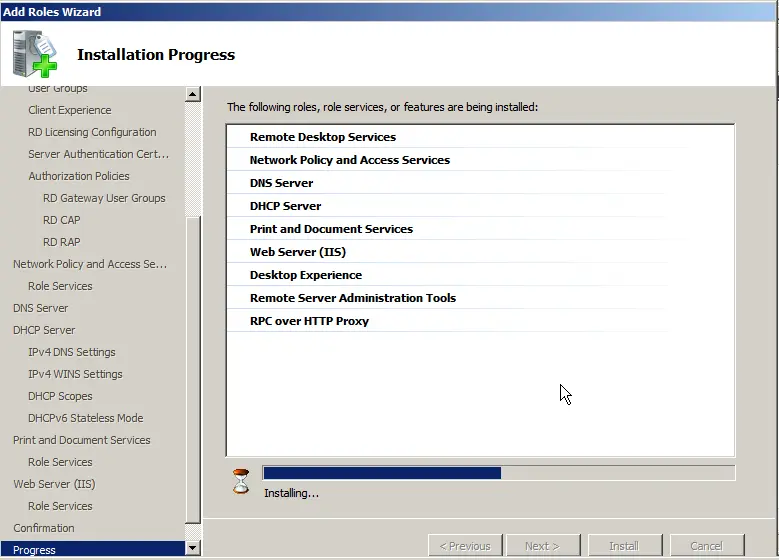
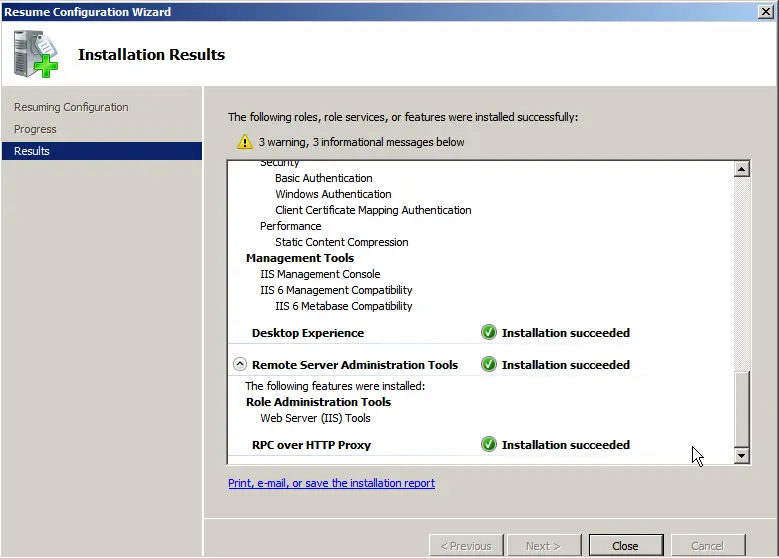
Proceed to confirmation and install the roles.
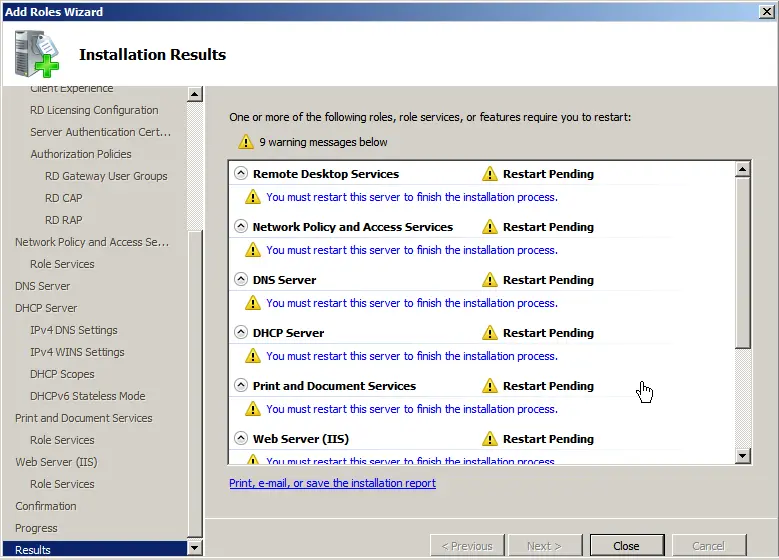
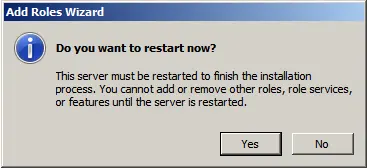
After installing the roles, restart the server.

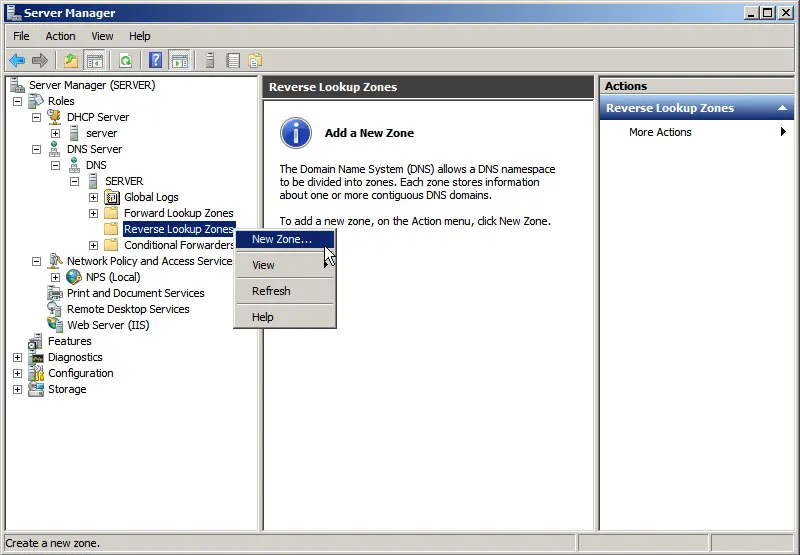
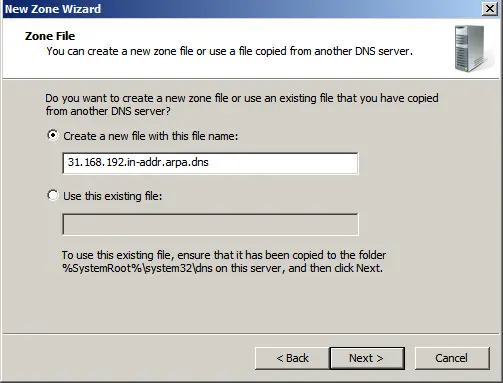
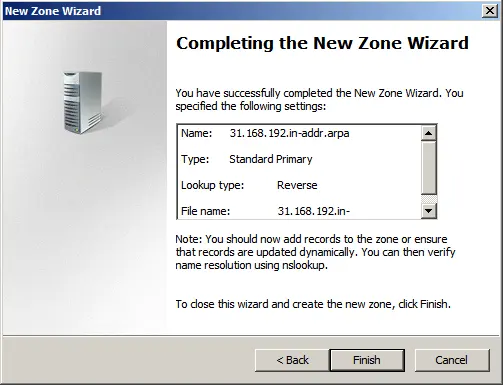
4) Now, let’s configure DNS (domain). Open the “Server Manager” tree => DNS Server => DNS => Your server name (in our case, “Server”) => Global Logs => Reverse Lookup Zones => Create New Zone.
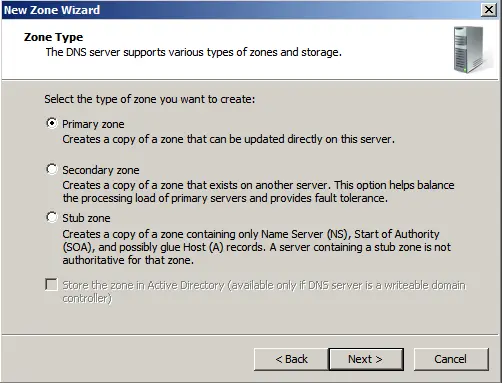
Select “Primary Zone.”
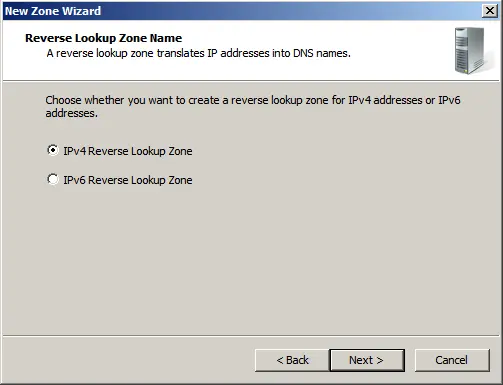
IPv4 Reverse Lookup Zone.
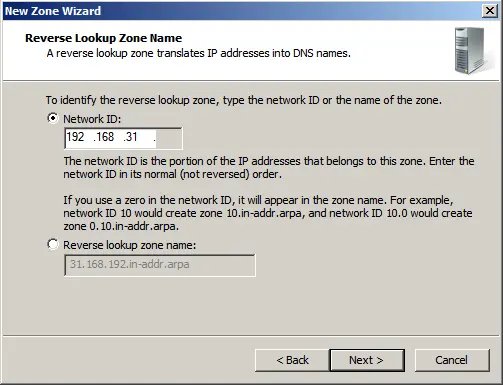
Select your network identifier under which this domain will operate.
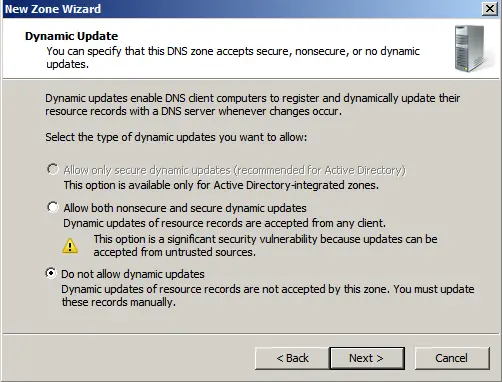
For Windows Server 2008 R2, we recommend disabling dynamic updates and performing updates manually.
5) Let’s proceed to configuring Remote Desktop (RDP) on Windows Server 2008 R2. Regardless of whether you set the licensing type (per device or per user) during installation, we will go through all the settings and define the type here.
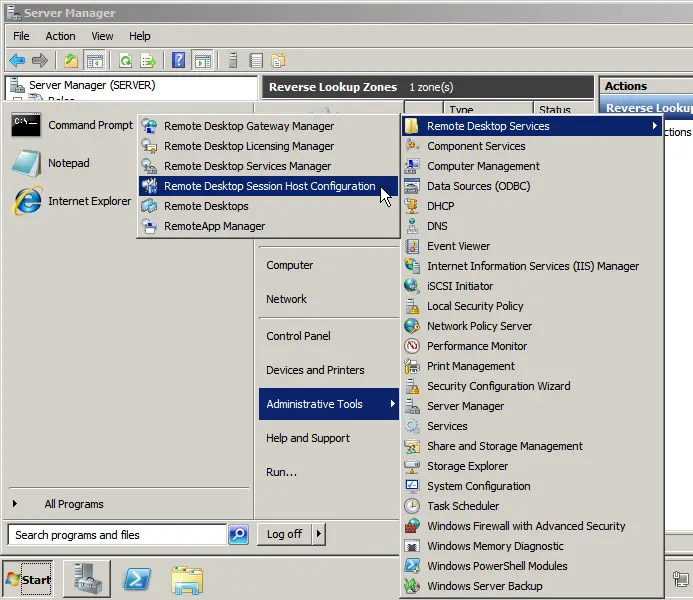
Go to “Start” => Administrative Tools => Remote Desktop Services => Remote Desktop Session Host Configuration.
At the bottom, select “Licensing” => “Remote Desktop Licensing Mode.”
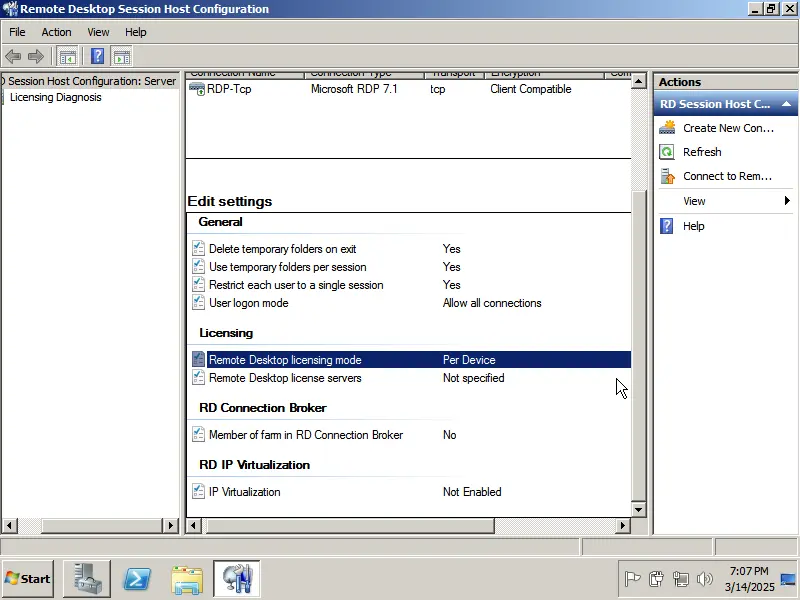
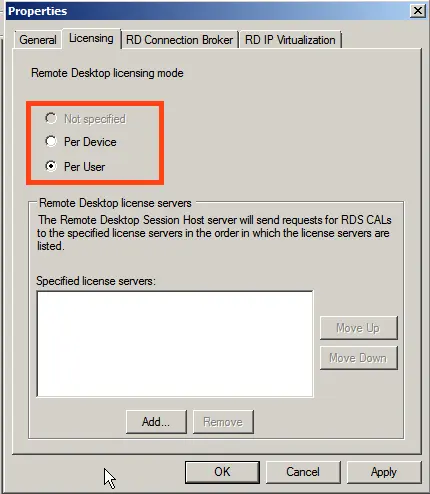
Now, choose your licensing type based on your product key: RDS User or Device CAL. If you do not have a product key, you can purchase one in our catalog. The settings for “per user” or “per device” are identical, differing only in the licensing type and your product key.
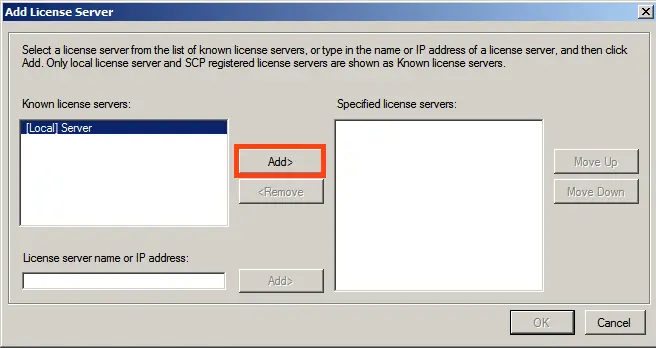
For this example, we will select “Per Device” and click “Add.”
Add your server from “Known” to “Specified,” then click “OK.”
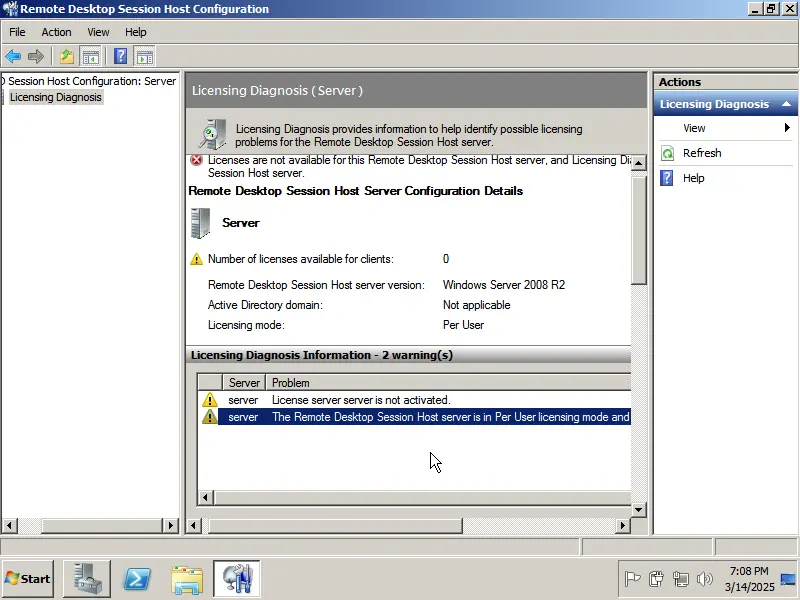
Afterward, you will see that the server is added but not yet licensed and is in a pending state.
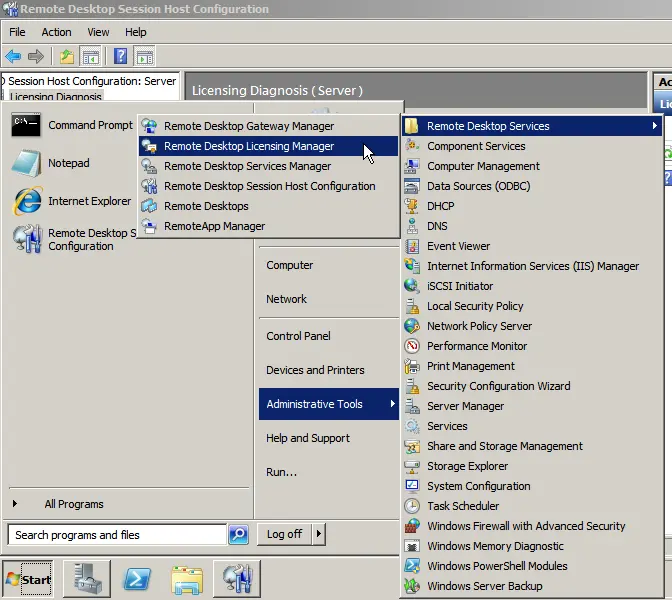
Go to “Start” => Administrative Tools => Remote Desktop Services => Remote Desktop Licensing Manager.
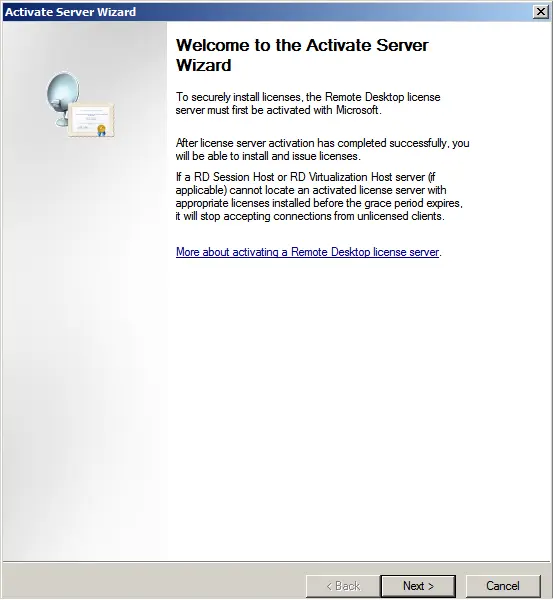
In the new window, you will see your server with the activation status “Not Activated.” Right-click => Activate Server.

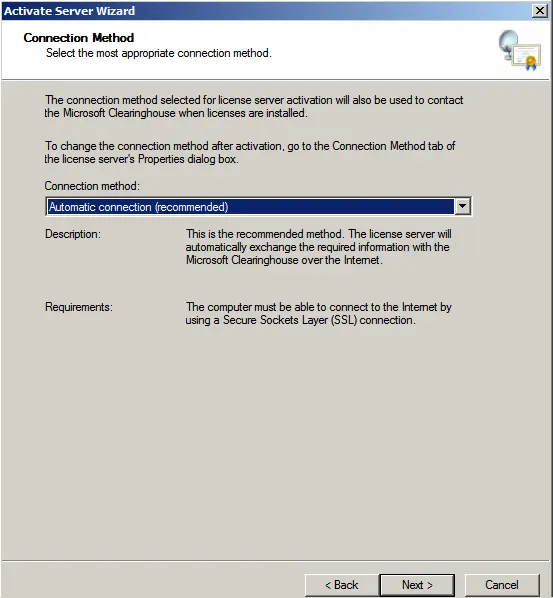
We recommend selecting “Automatic mode.”
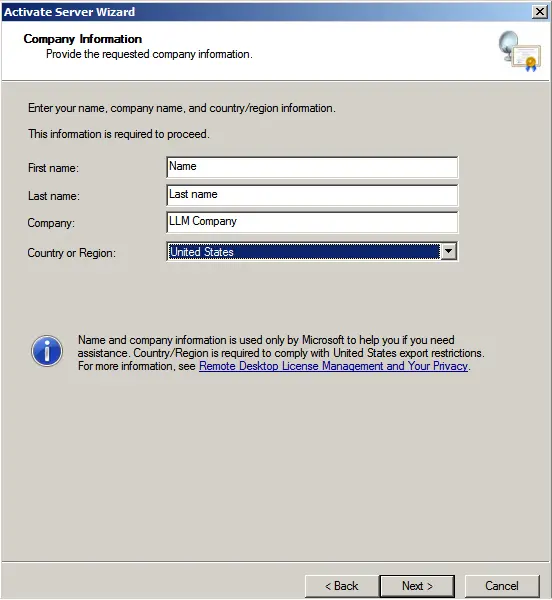
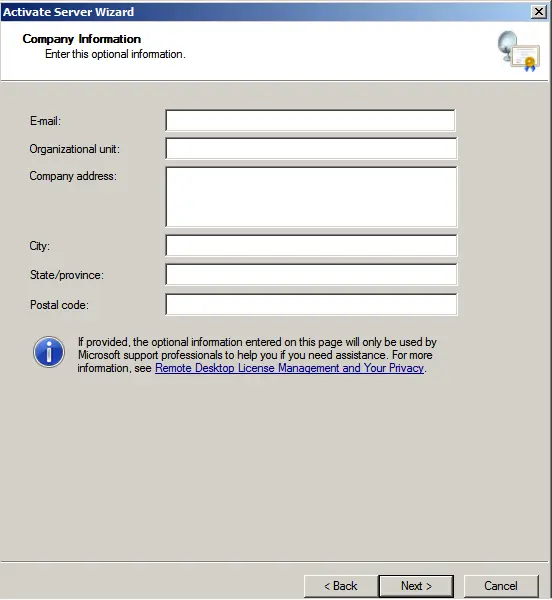
Enter your organization’s details. (You can enter any data; it does not require verification).
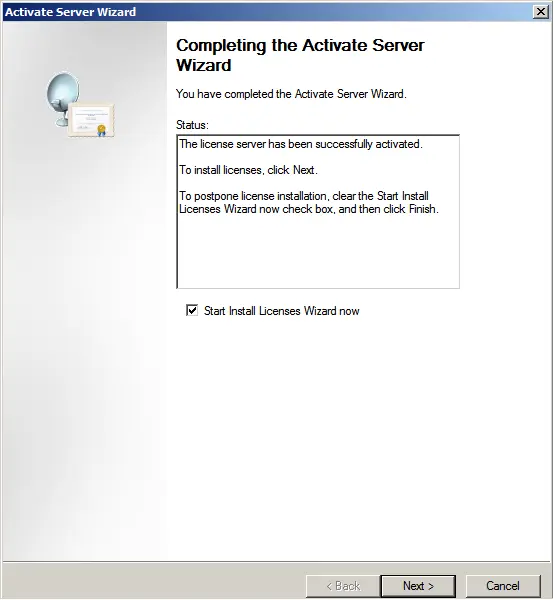
Launch the license installation wizard.
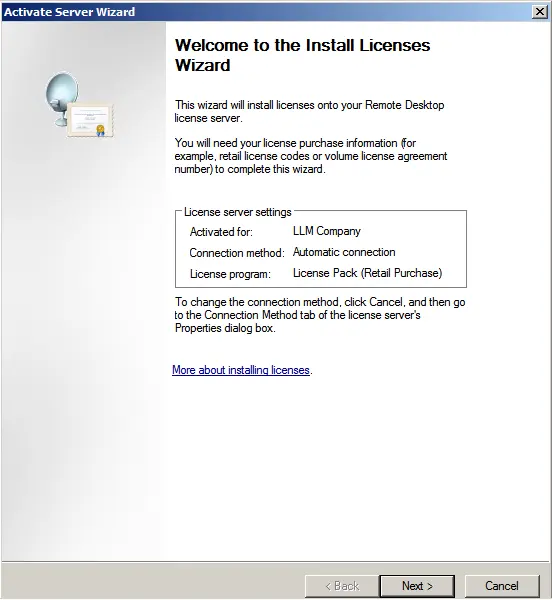
During licensing, select “Retail license package” => Next.
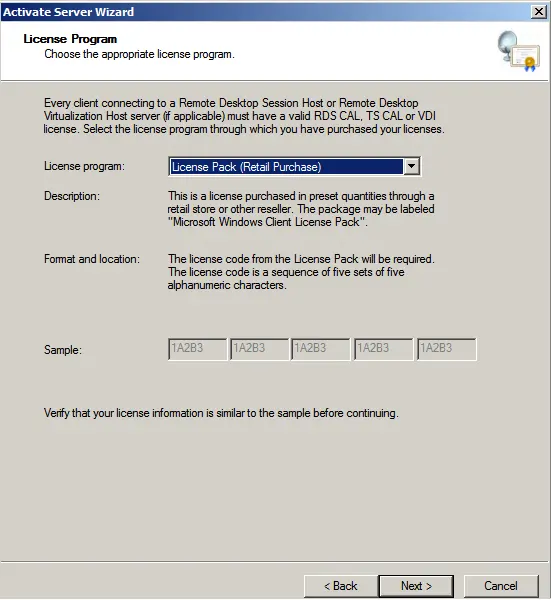
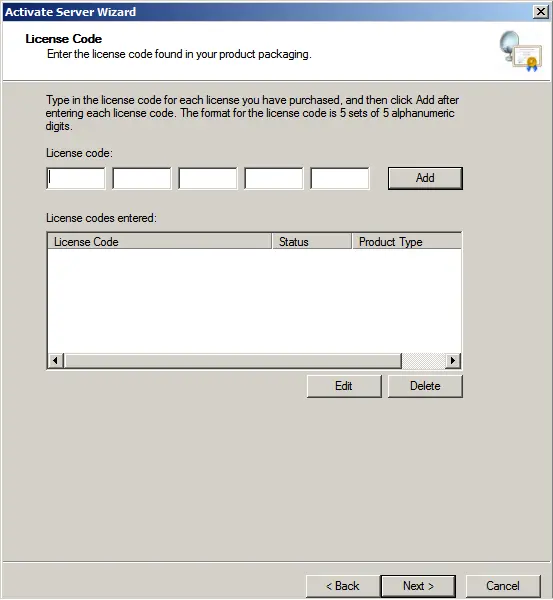
Now, enter your product key to license RDP (Remote Desktop).
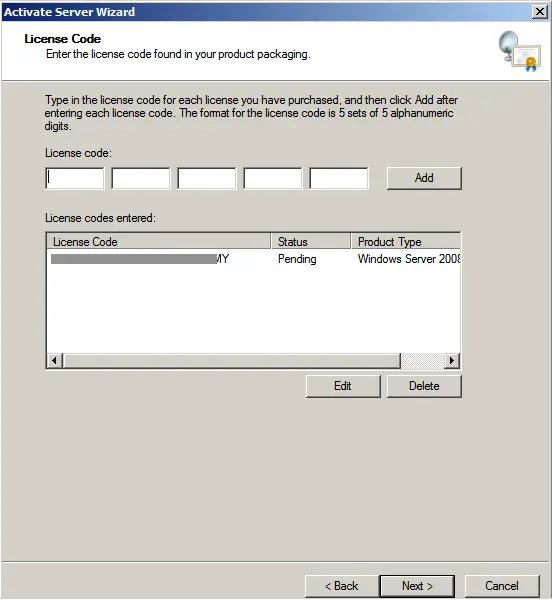
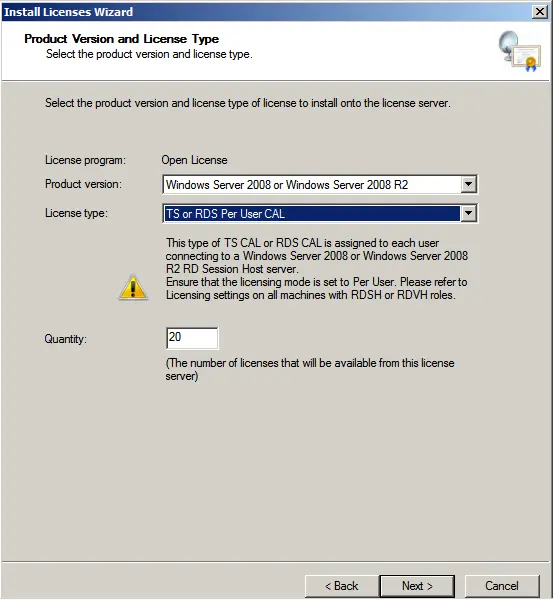
Depending on the licensing type, the following window may appear, where you will need to enter the number of users or devices specified in your license.
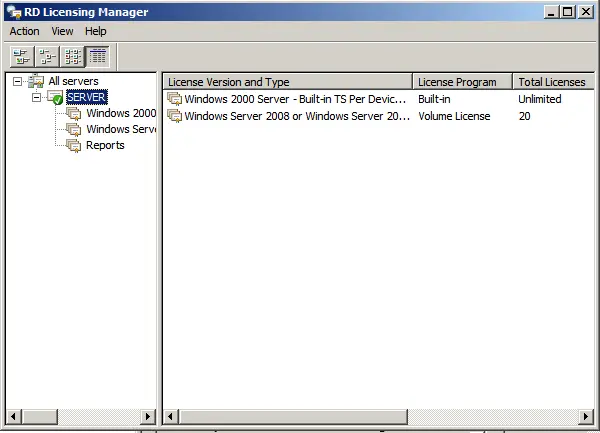
Complete the license installation wizard. If everything is successful, the following window will appear.
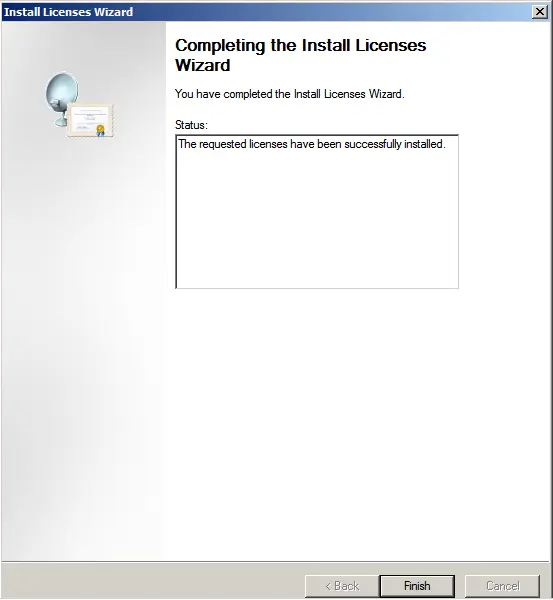
Now, you can see that your server is configured for a specific number of connections, depending on your server.
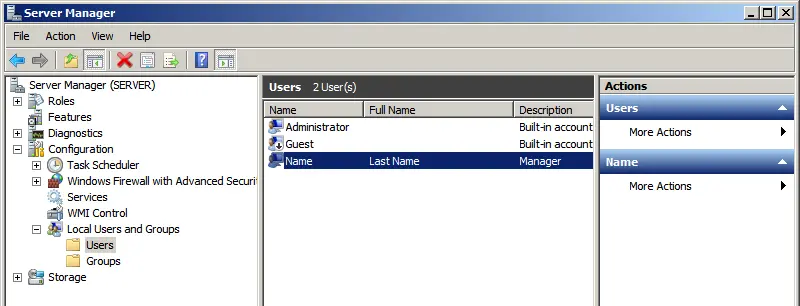
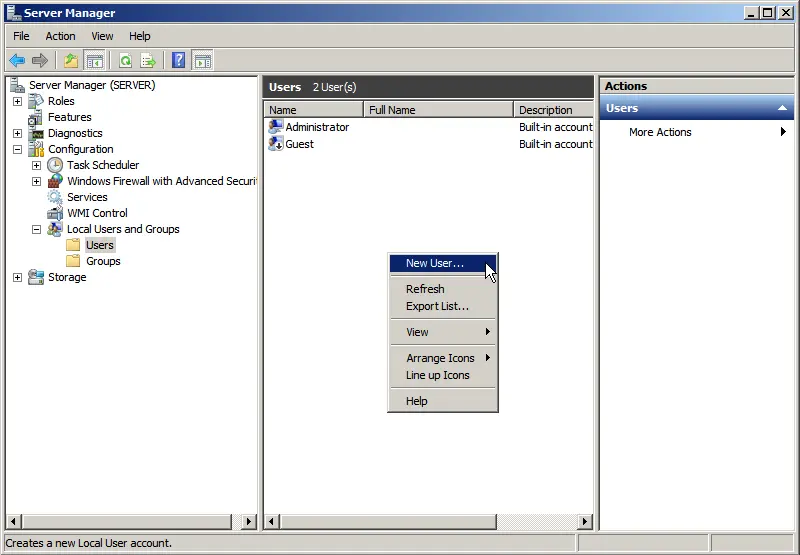
6) However, to connect via RDP, we need users, or more precisely, we need to create them. Go to “Server Manager” => Open the “Configuration” tree => Local Users and Groups => Select “Users,” then right-click in the users window => New User.
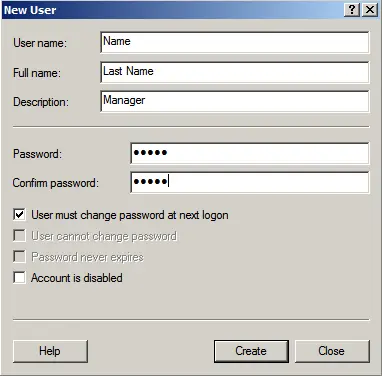
Fill in the user’s details and set a password.
That’s it. Now, you can connect the first client to the Windows Server 2008 R2 server.