In this article, we will step-by-step with screenshots go through the entire process of installing Windows XP.
In this example, we will be installing a clean system from scratch, i.e., using a bootable USB flash drive or disc from BIOS/UEFI.
– The first thing we need is the installer itself. You can download the original Windows XP installer here.
– Next, you will need to burn this installer to a disc, instructions on how to do this can be found in the following article.
– To activate your future Windows XP, you will also need an original Windows XP product key, which you can purchase in our catalog for 9.00 €
So, now that you have prepared the bootable disc, you need to run it from BIOS/UEFI. There is no universal instruction for this as BIOSs are different; you can refer to approximate instructions for booting in the following video: youtube.com
When you have successfully booted from the bootable disc/flash drive, you can proceed to install Windows XP:
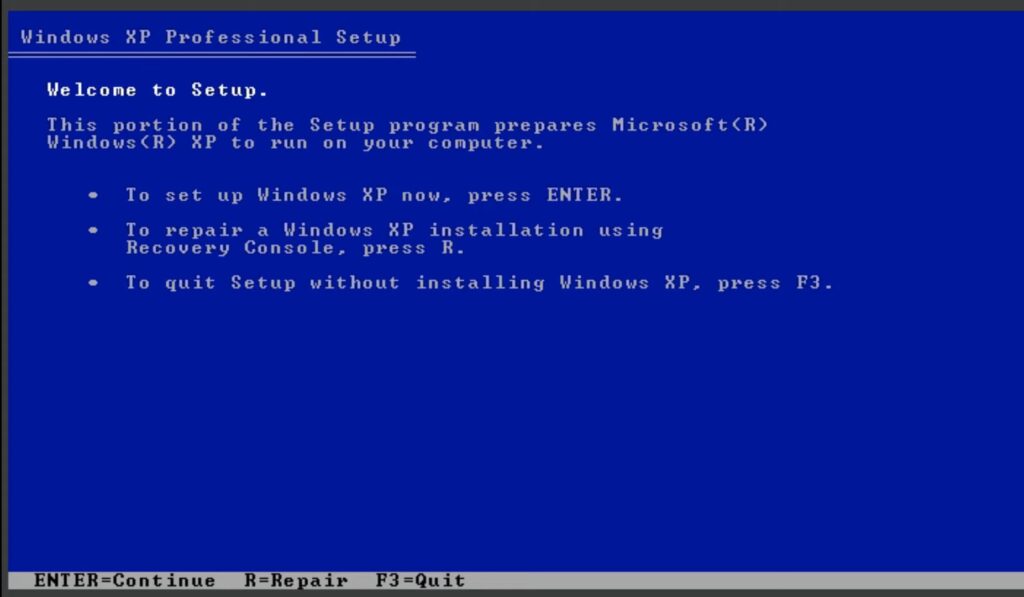
1) On the first screen, you will be greeted by the setup program, press “Enter” to continue.
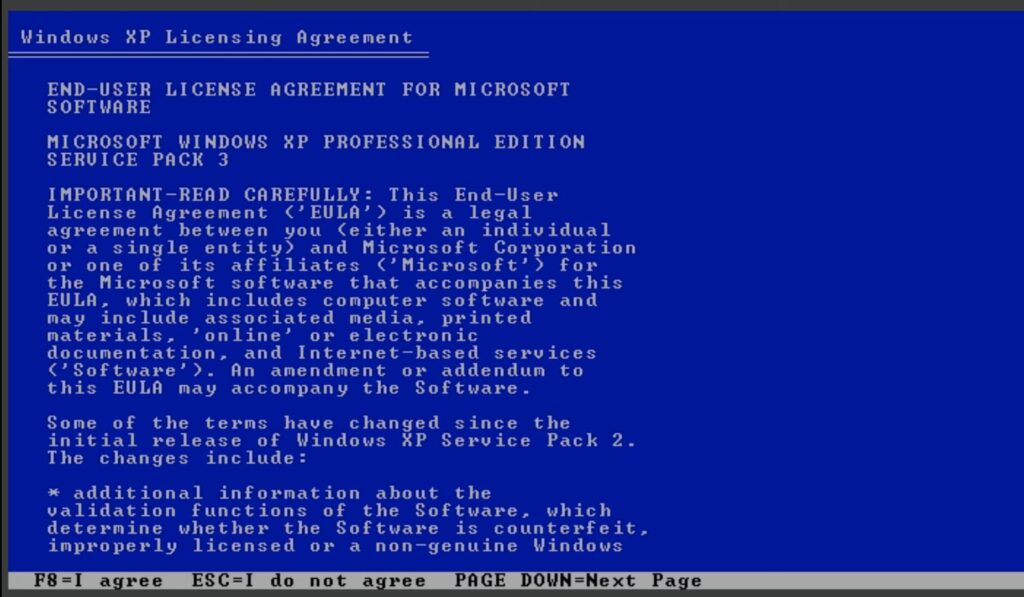
2) Next, press F8 to accept the License Agreement.
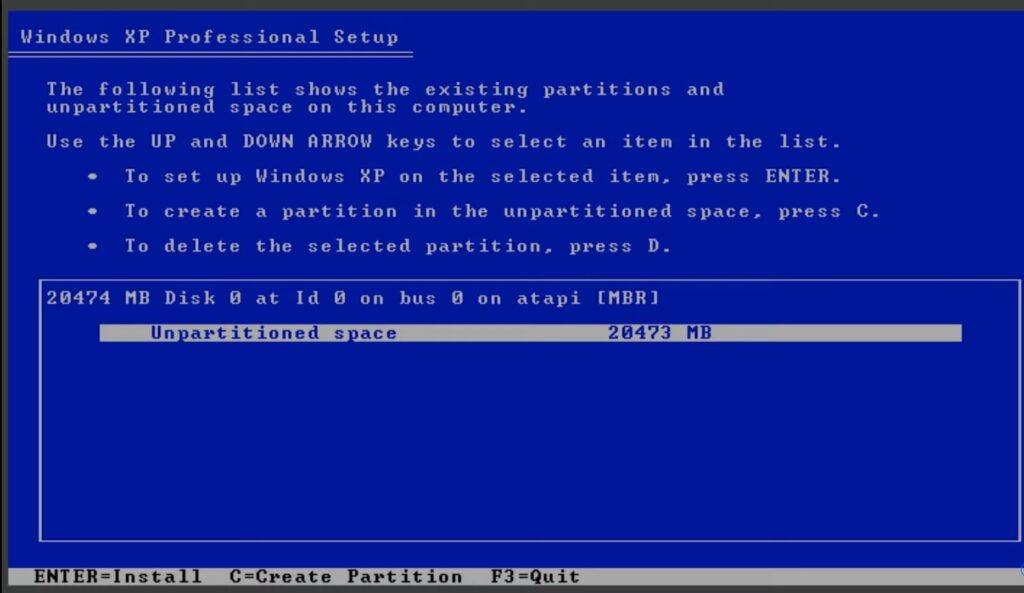
3) Select the hard drive where you want to install Windows XP and press “C” to create a new disk partition.
4) Then select “Format the partition in the NTFS file system” and press “Enter”.

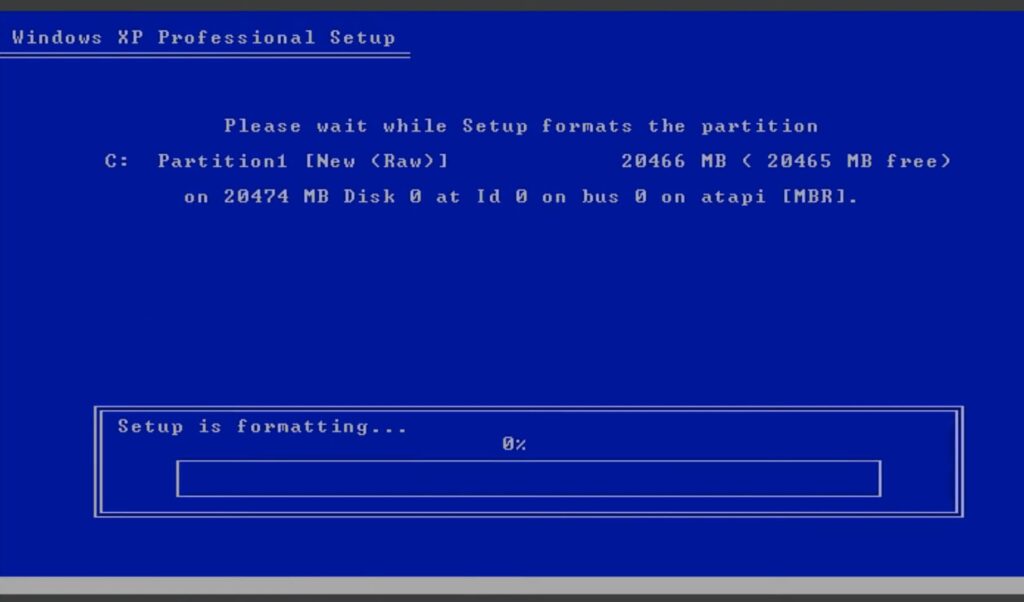
5) After this, formatting will begin, and you will need to wait for some time.
– Immediately after formatting, the preparation for installing Windows XP will begin.
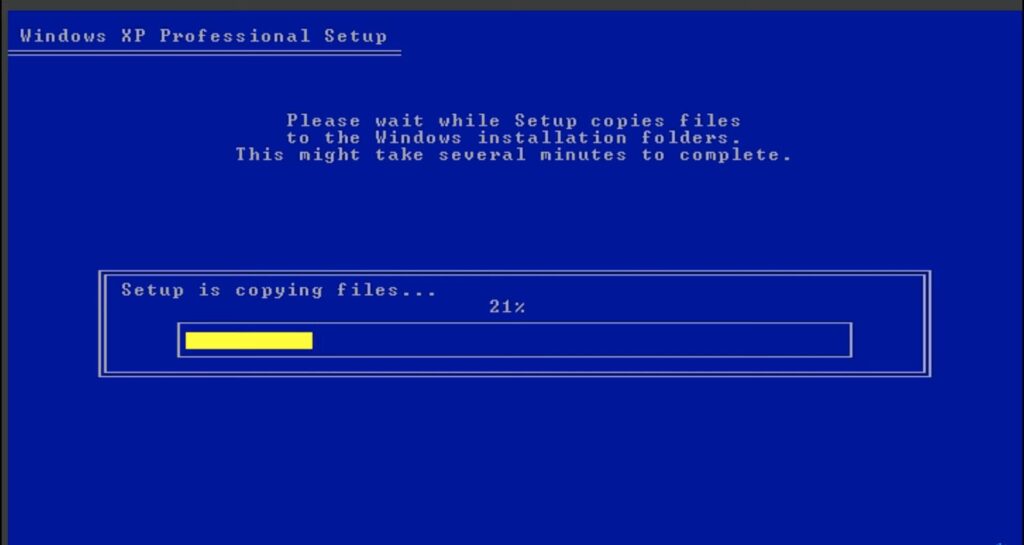
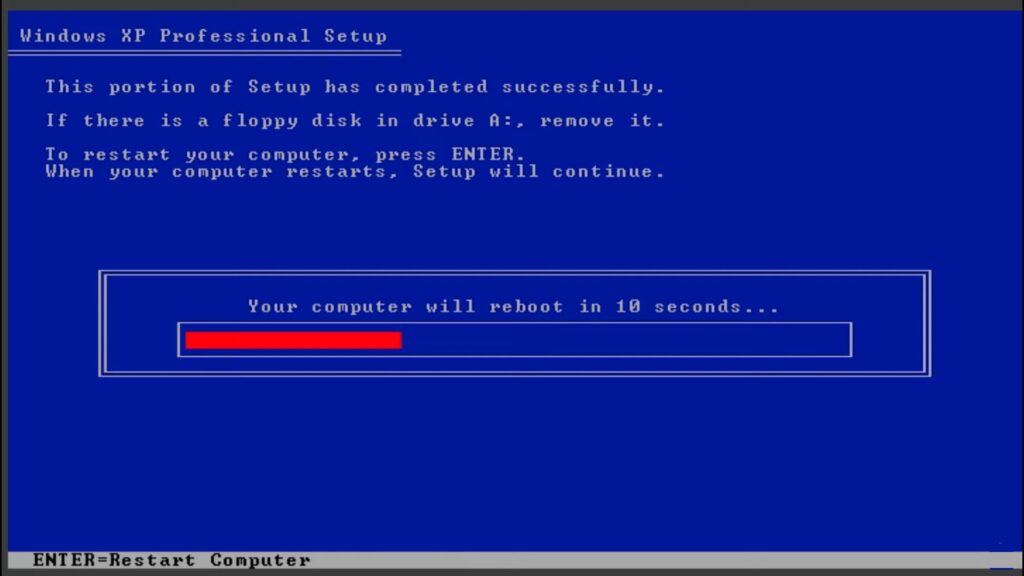
6) Once the preparation is complete, the system will require a restart. Press “Enter” to restart the computer.
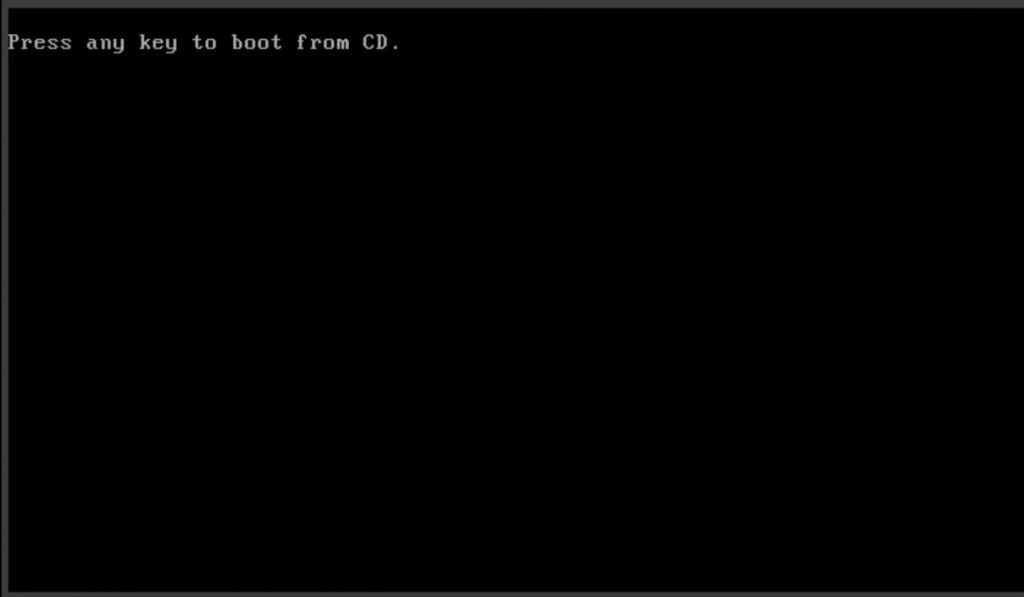
7) After the restart, a black screen will appear with the message “Press any key to boot from CD,” which means “press any key to boot from the disc,” just press “Enter”.
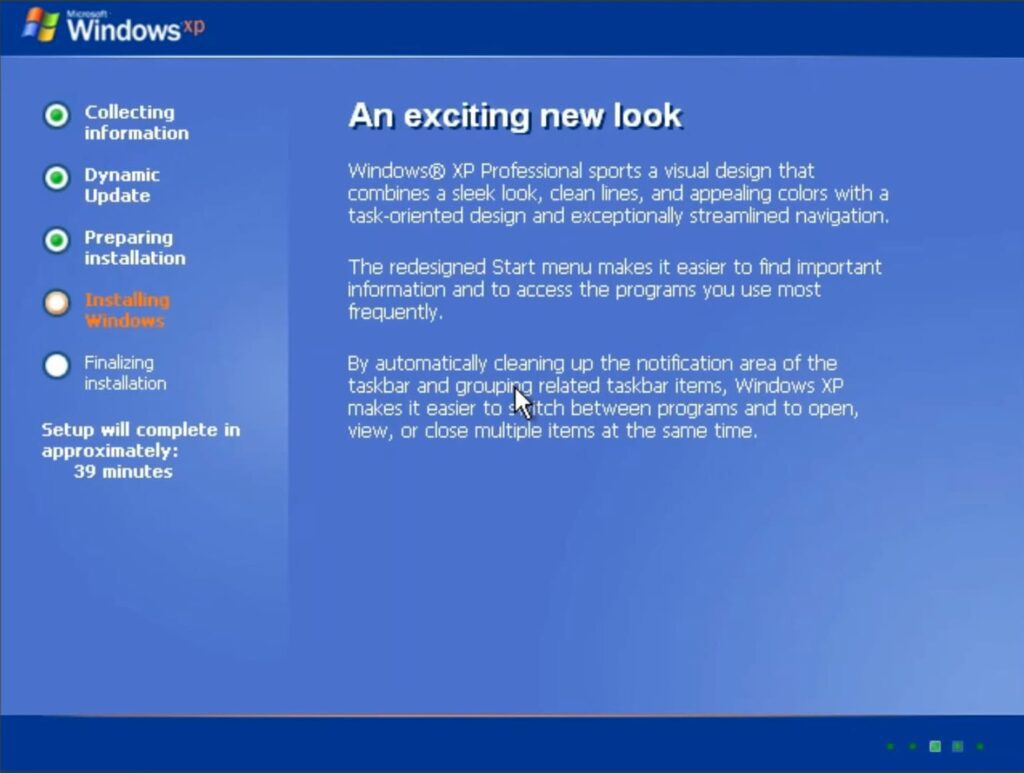
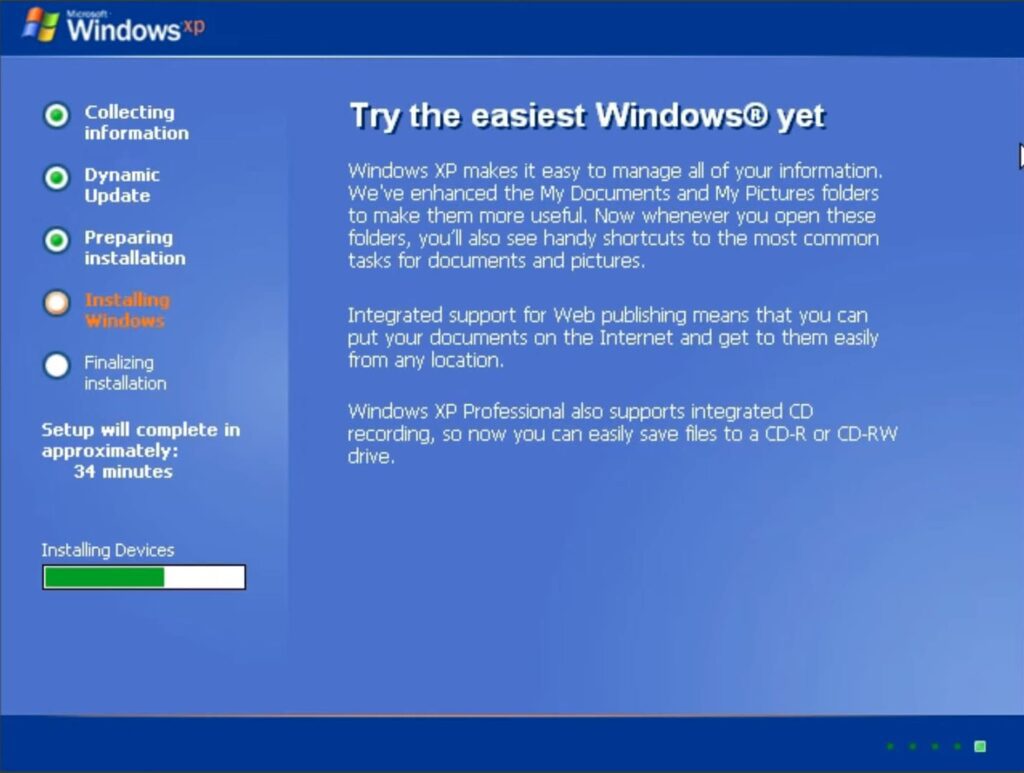
8) From this point, a new window with the Windows XP installation will appear.
– On the left, you will see how much time is left until the installation is complete. You will need to wait and go through several configuration stages.
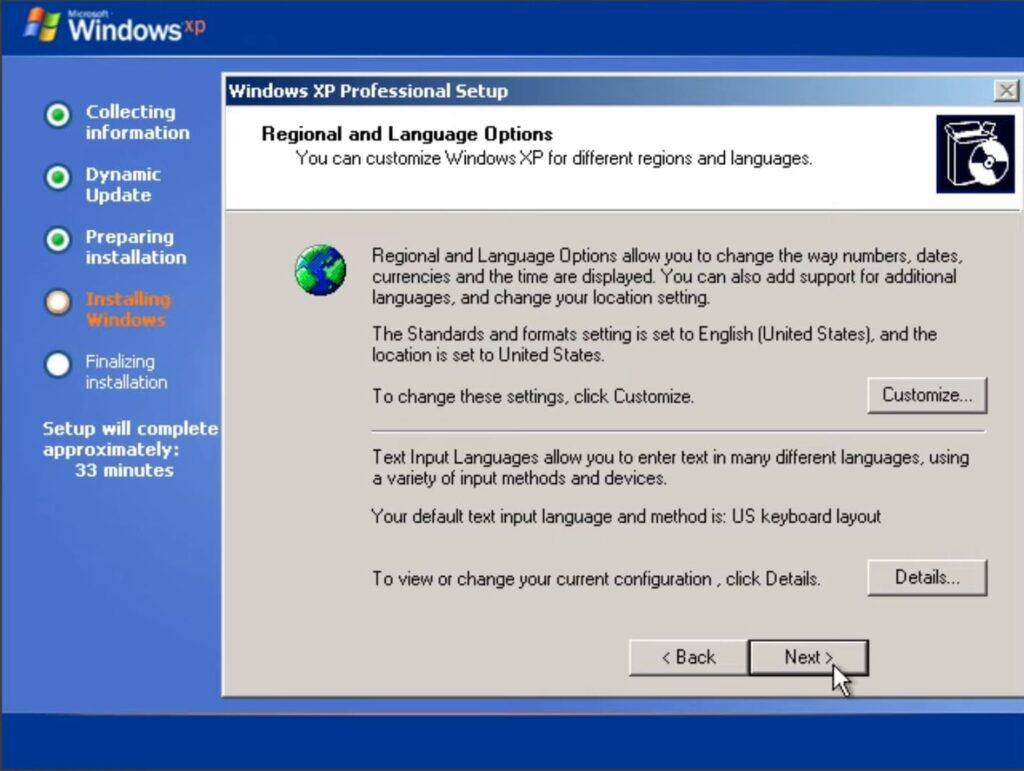
9) At the end, a window will open where you need to select some system settings.
– In the “Language and Regional Standards” window, click “Next” if the location and keyboard layout are “United States”, as in our example. If you want to install another one, you can change it as needed in the “Customize” section.
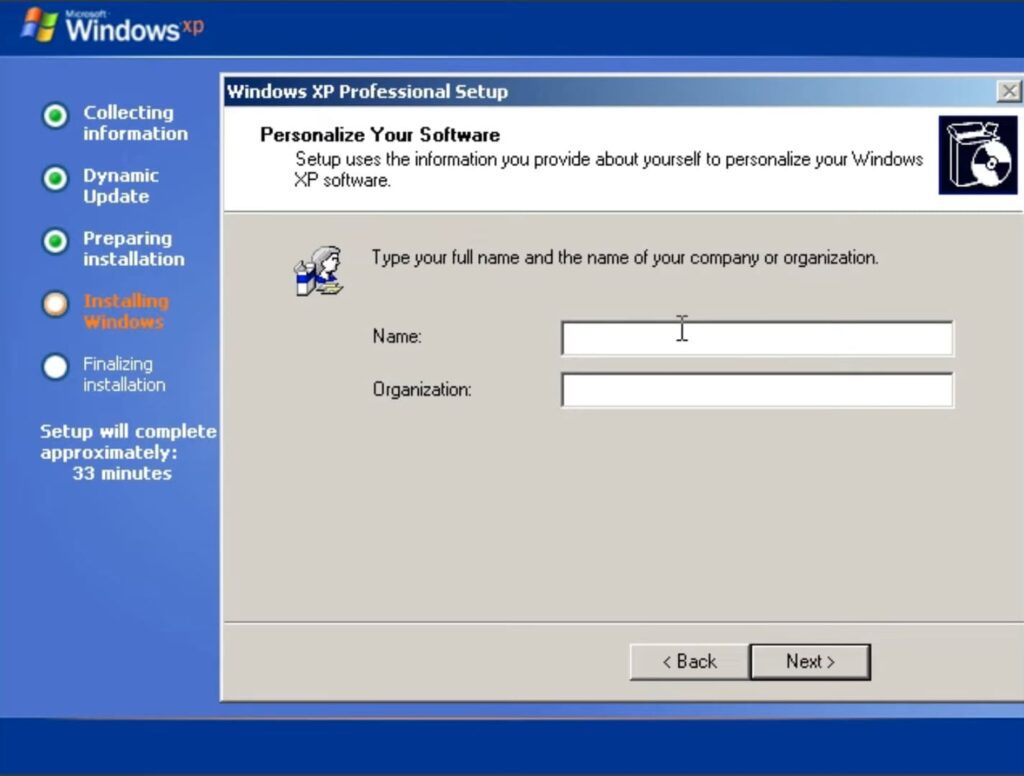
10) In the next window, enter your name and click “Next”. The organization name is optional.
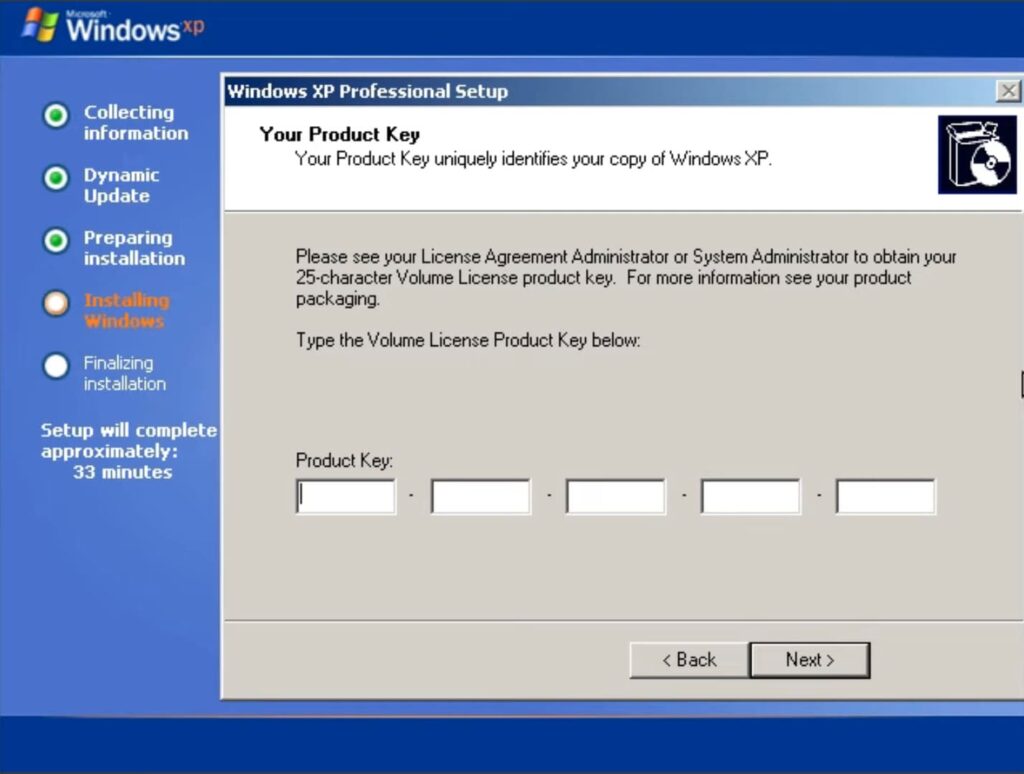
11) Now you will be asked to enter the Windows XP product key, which you can purchase in our store at a great price from 9.00 €.
– You can enter the product key at this stage and then click “Next,” thereby activating the licensed version of Windows XP.
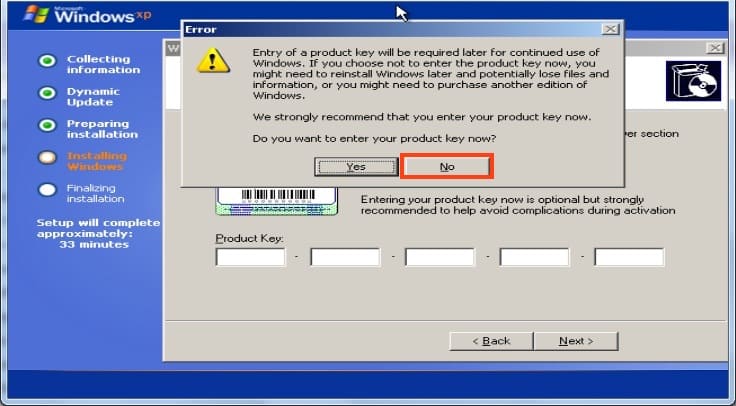
– Or you can do this later, after installing the system. In this case, you need to click “Next,” and then click “No” after the warning.
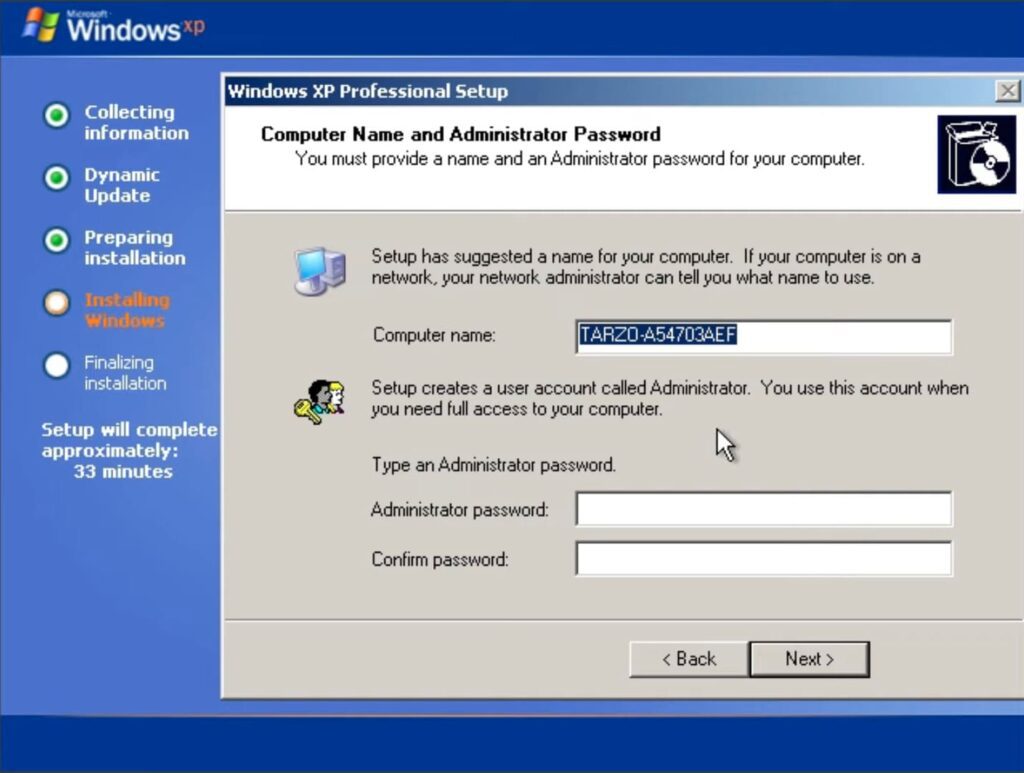
12) Enter the computer name, which is usually generated by default based on the name you previously entered.
– At this stage, you can also set a password for your computer.
– In our example, we leave everything by default, not changing the name and not setting a password.
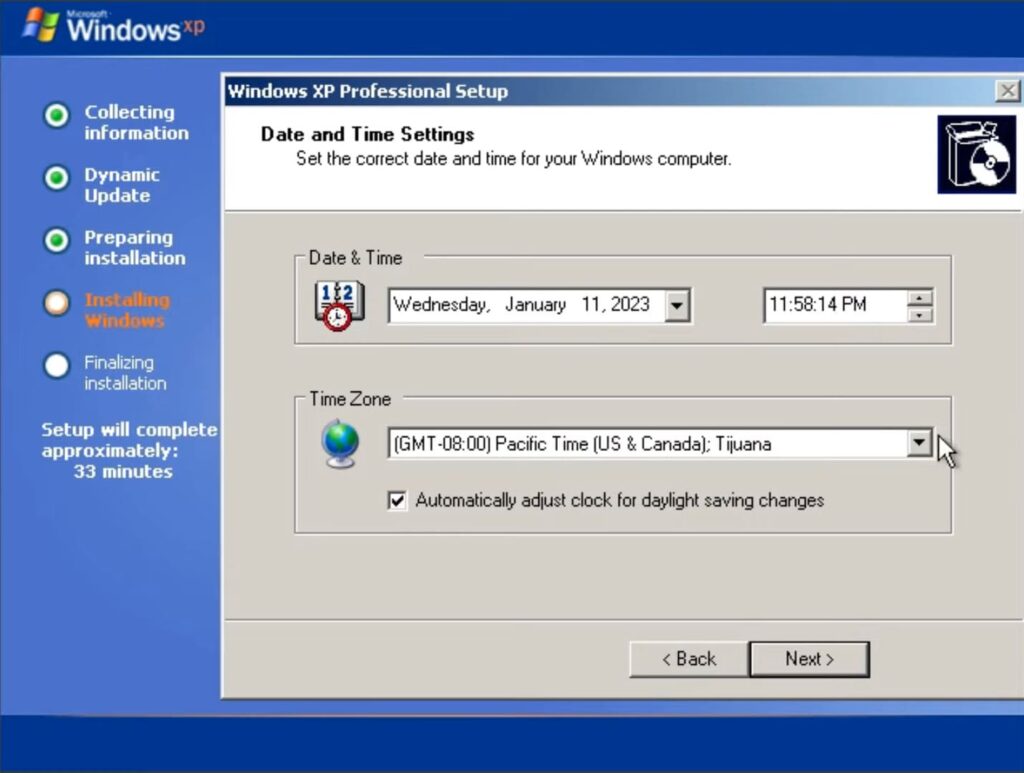
13) Set the date, time, and time zone according to your location.
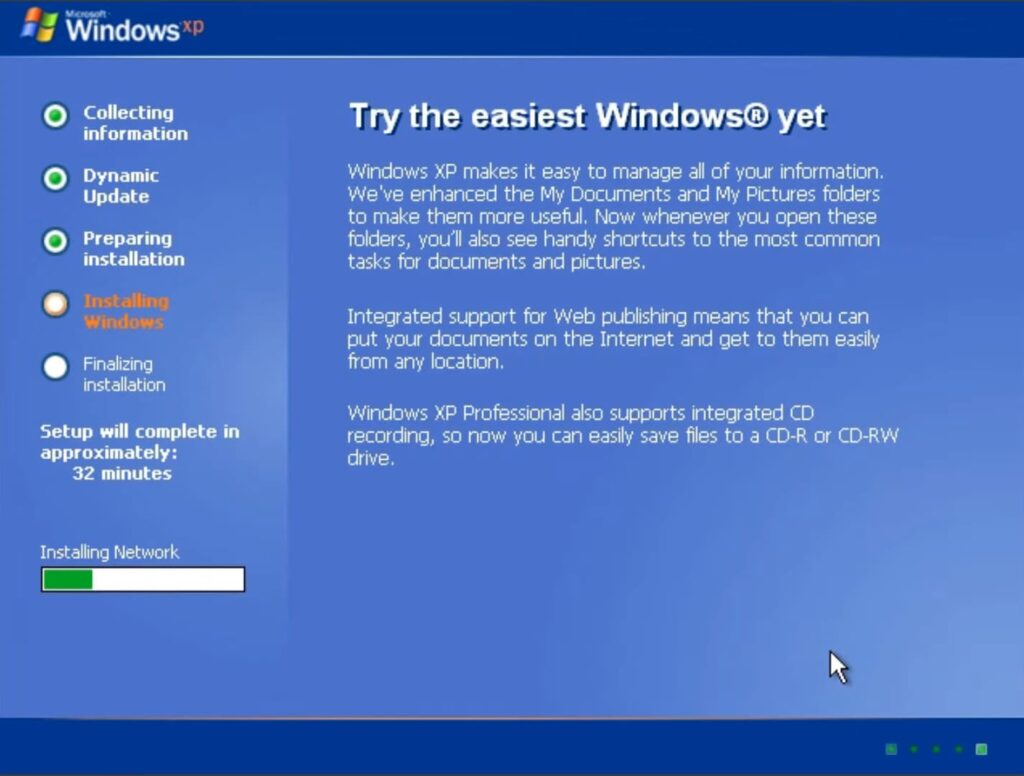
14) Now wait for the “Network Support” installation.
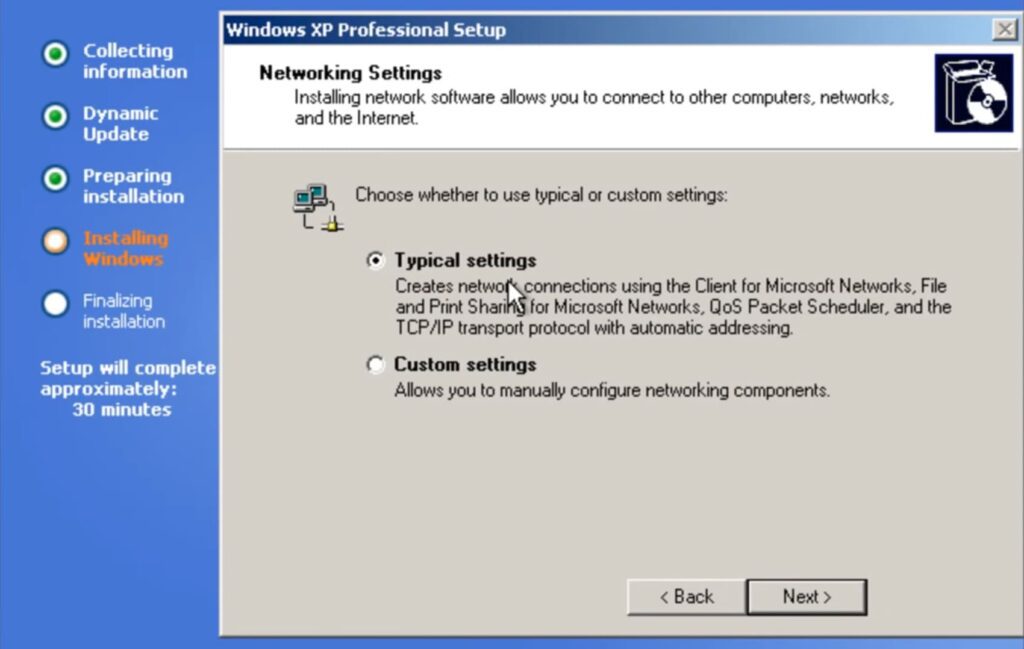
15) After this, a window will open where you need to configure the Network settings.
– Leave everything by default on the “Typical settings” option and click “Next”.
16) In the second window, also do not change anything, leave the first option and click “Next”.
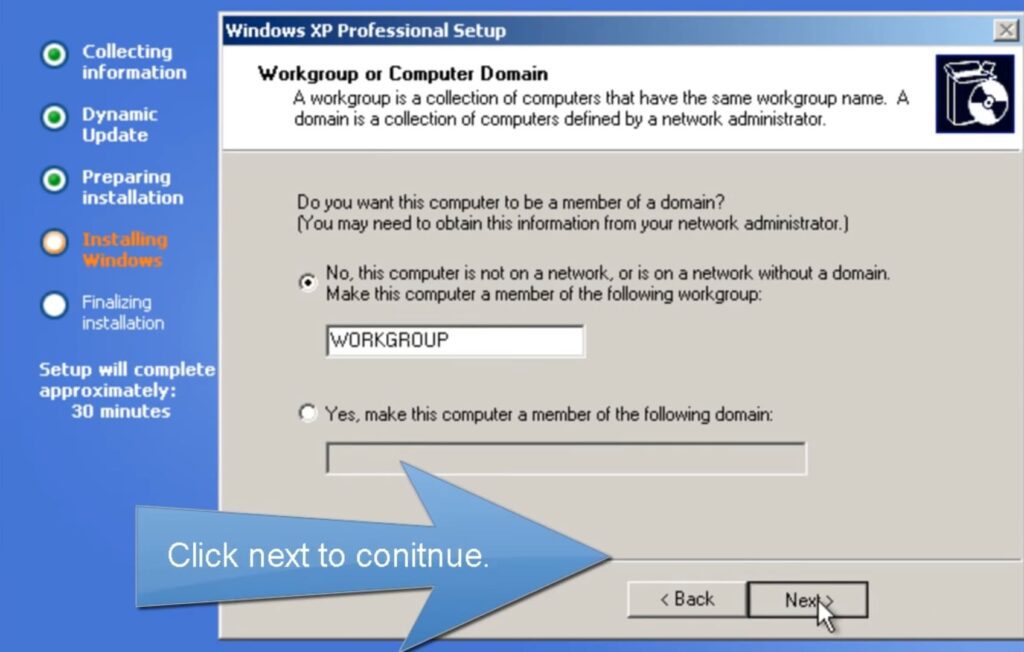
17) Now the final and final installation of Windows XP will begin, which will take the most time. At this stage, you need to wait for the installation to finish.
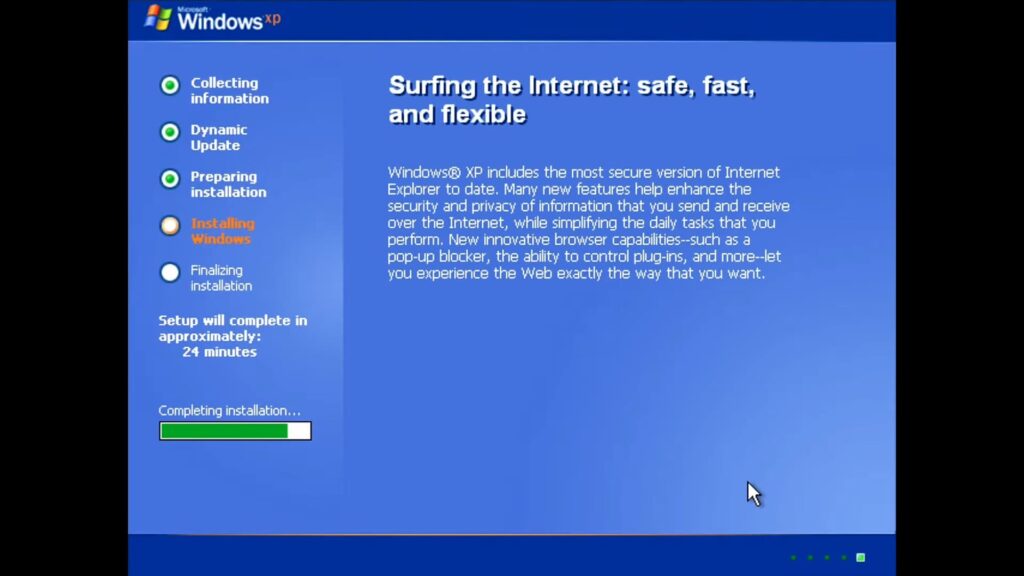
18) After the installation is complete, the computer will automatically restart. Again, a black screen will appear asking you to press any key, press “Enter” and wait for Windows XP to boot.

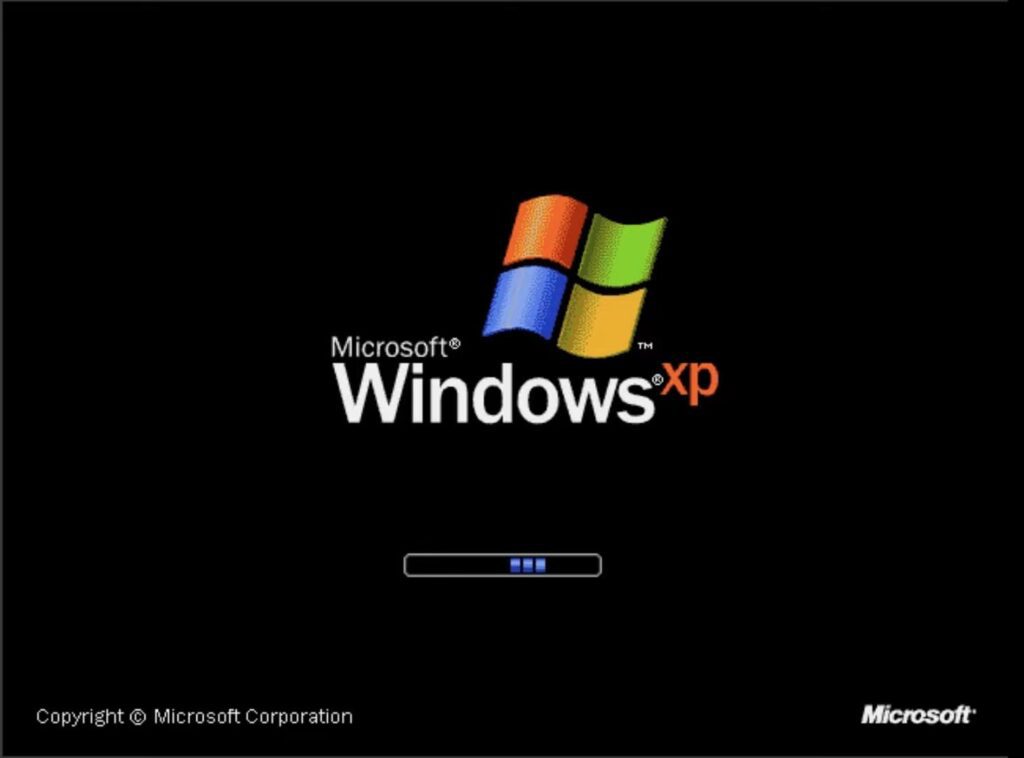
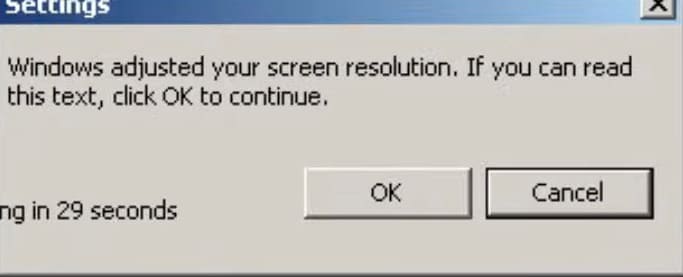
19) During the boot process, a window will appear with automatic screen parameter settings.
– Click “Ok”.
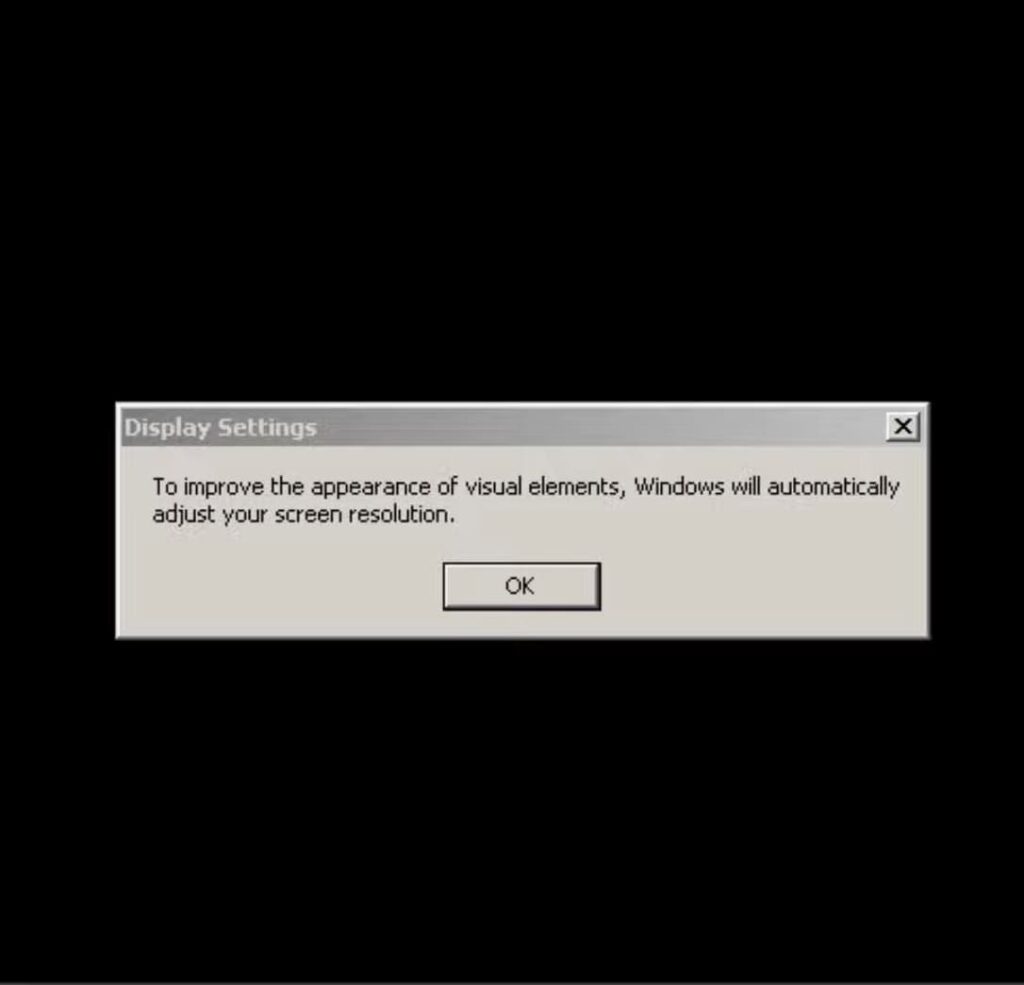
20) In the next window, also click “Ok”.
21) Wait for the system to load.
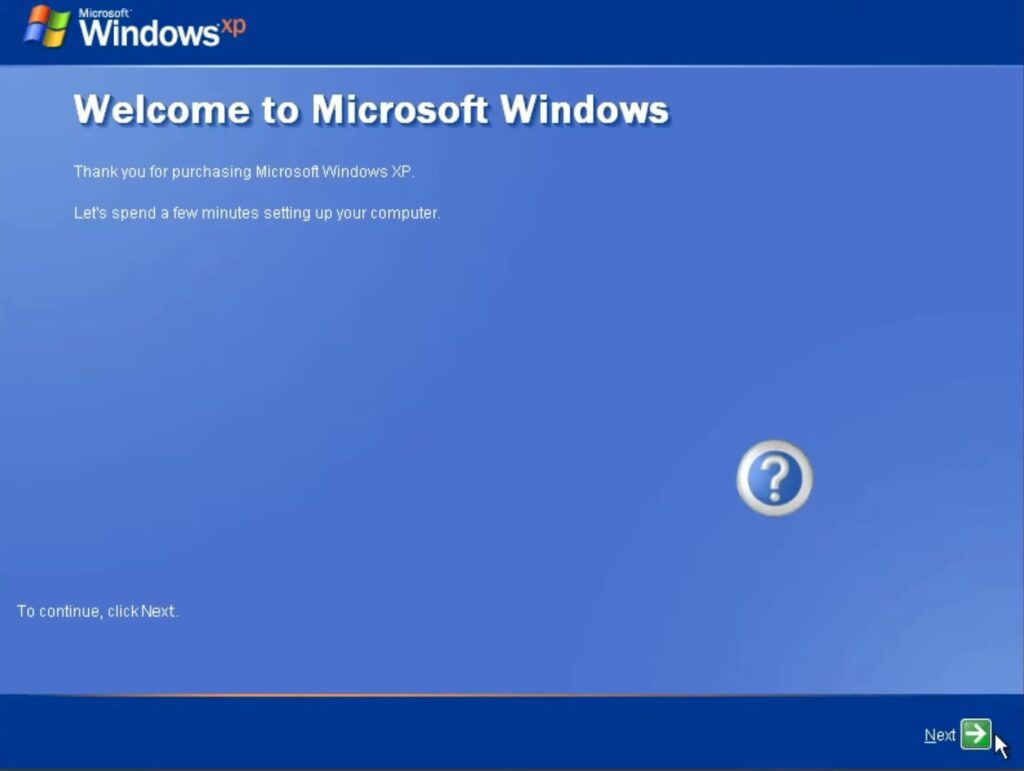
22) Now you will be greeted by the Windows XP automatic setup wizard.
– Click the “Next” button in the bottom right corner.
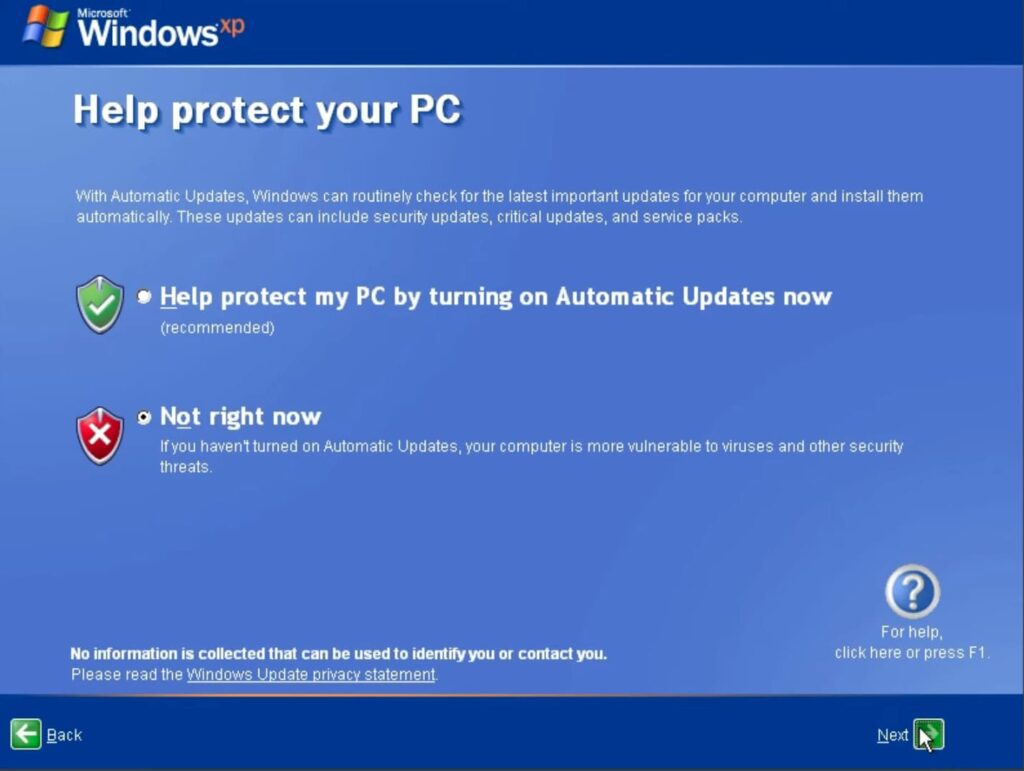
23) In the next step, select “Not right now” and then click “Next” in the bottom right corner.
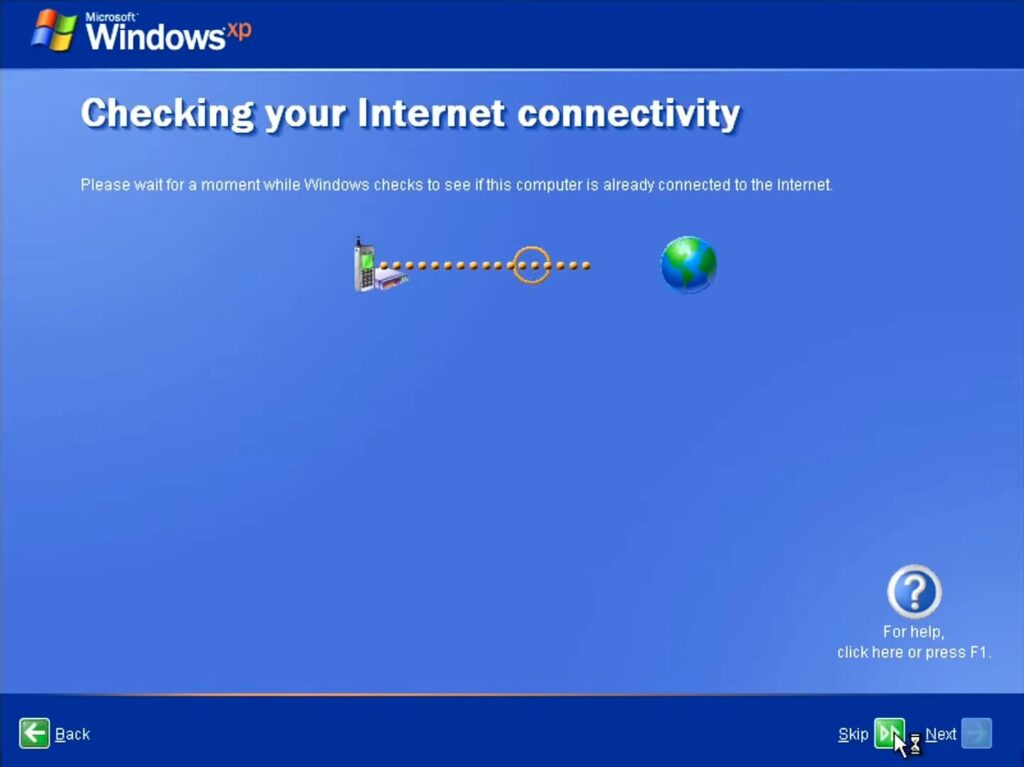
24) Skip the Internet connection check by clicking the “Skip” button in the bottom right corner.
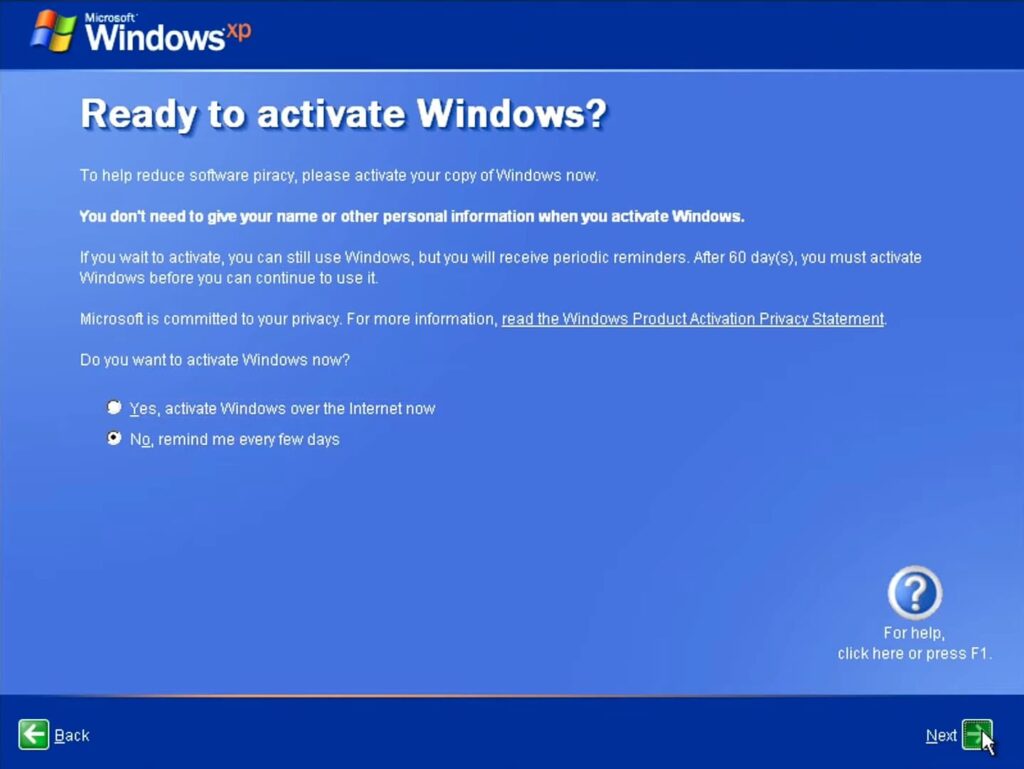
25) In the activation window, you will be asked to activate Windows XP. We strongly recommend using only a licensed product. You can purchase all original product keys in our store and activate Windows XP after purchase.
– But if you want to do this later, then select “No, remind me every few days” and click “Next”.
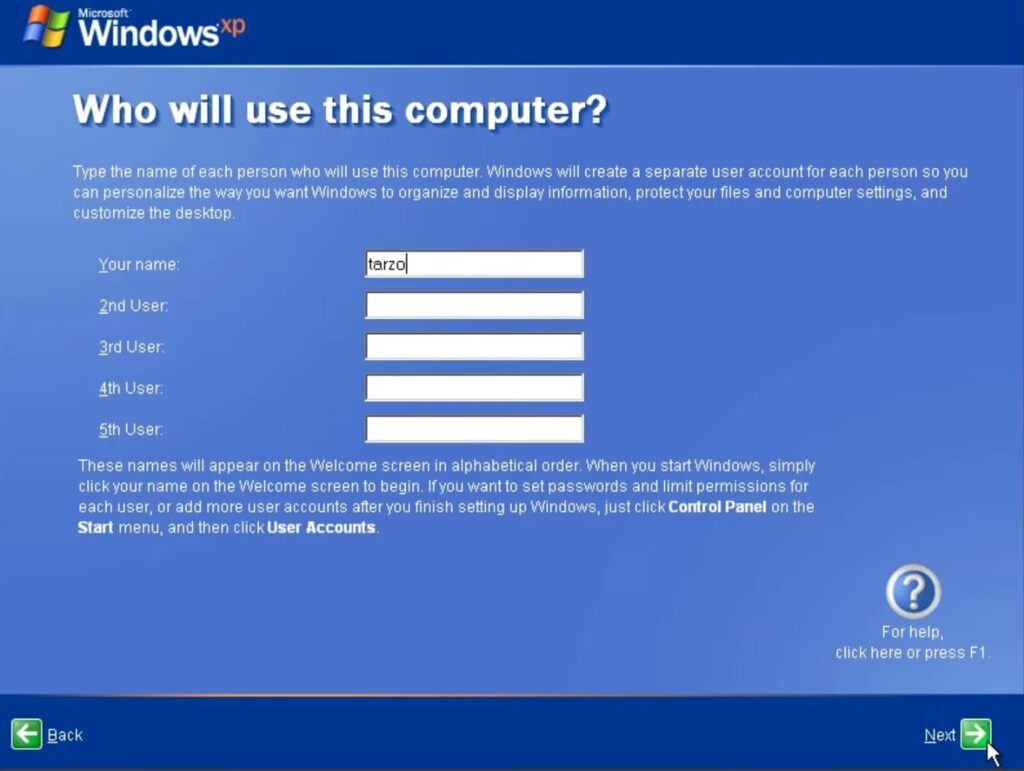
26) At the “Computer Users” stage, enter your name in the “Your account name” section and click “Next”.
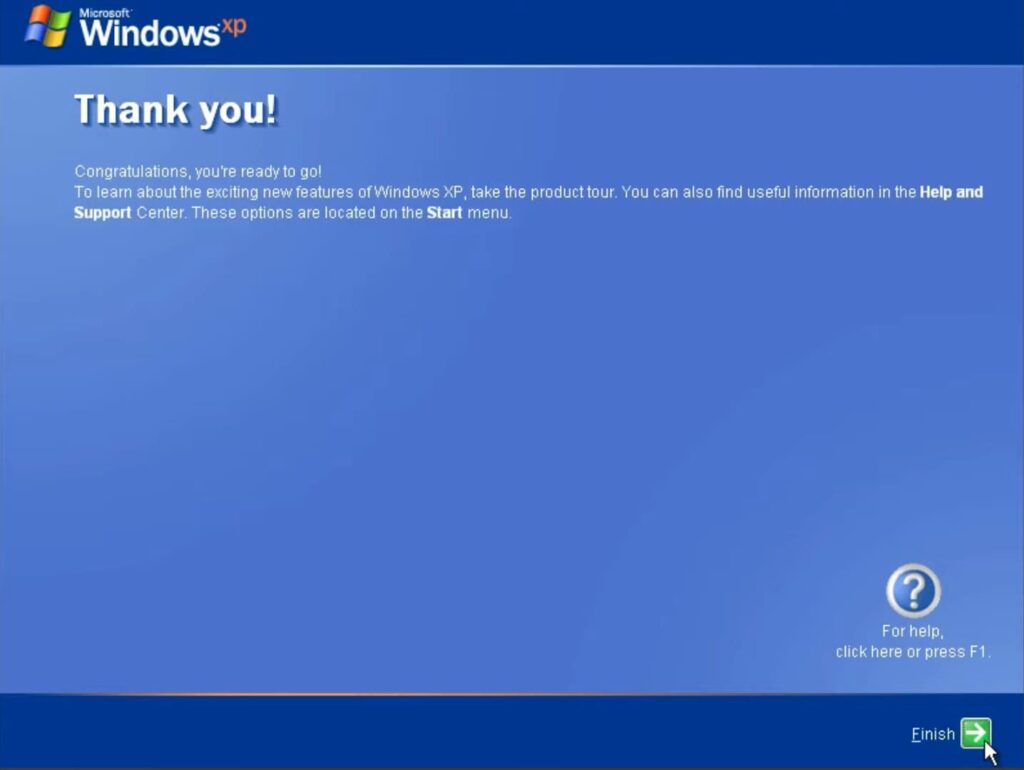
27) In the last window, just click “Finish” in the bottom right corner.
28) After this, the Windows XP desktop will load.

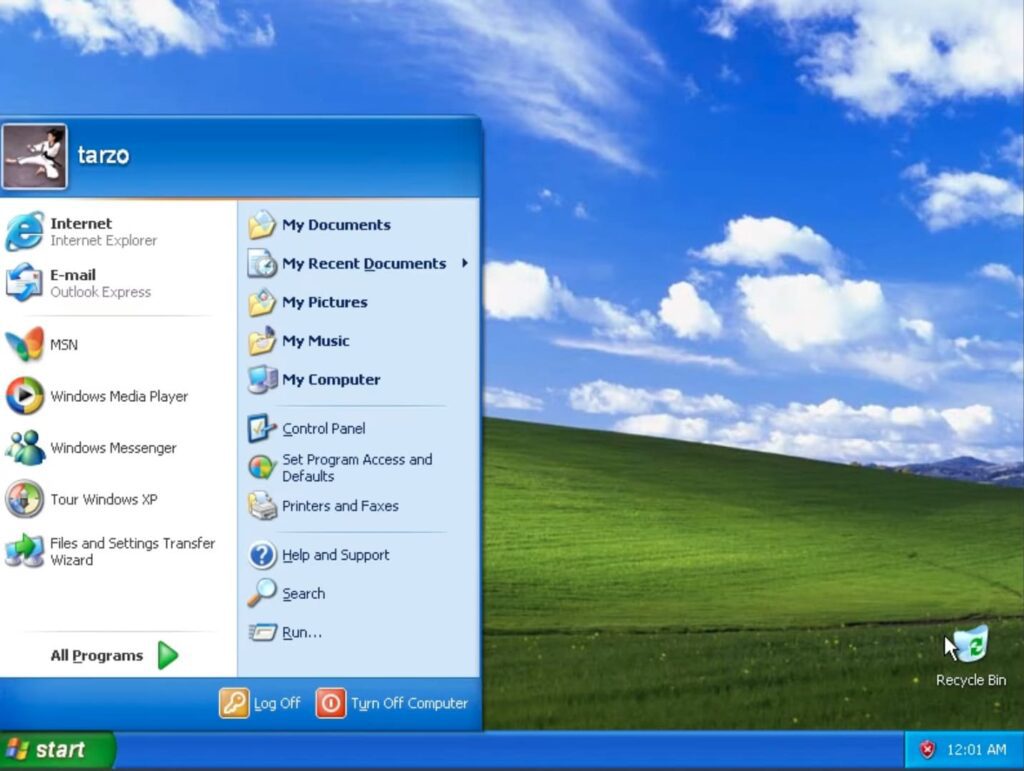
Congratulations! You have successfully installed the Windows XP system on your computer and can start using it.
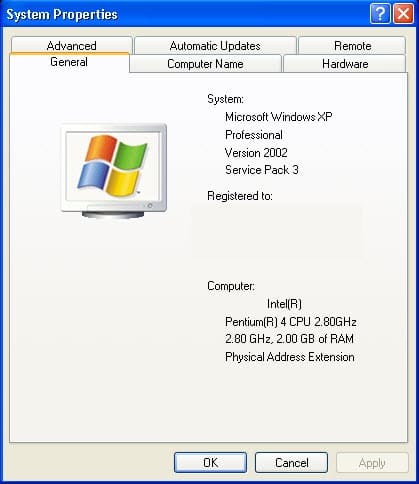
I remind you that you can activate Windows XP by purchasing an original product key in our store at the best prices!

