In this article, we will discuss the process of creating and editing Windows 7 accounts, as well as an example of how to delete them if needed. User accounts in Windows 7 are not synchronized and not linked to a Microsoft account, as in Windows 8.1 and 10, in this version of Windows, they are local accounts.
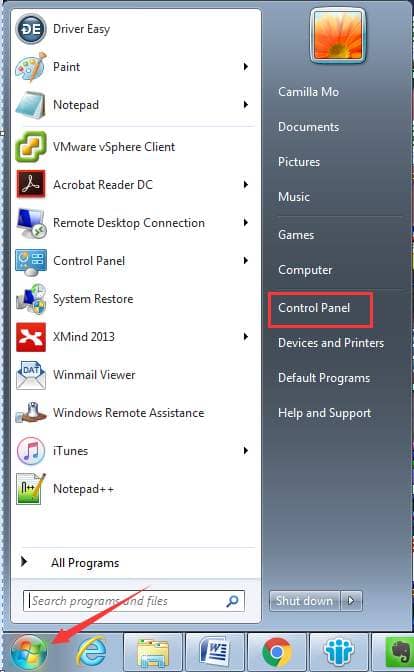
Firstly, let’s access the user account editing menu in Windows 7. Go to “Start” => Control Panel => User Accounts and Family Safety (if viewing in “Category” mode => Change account type.
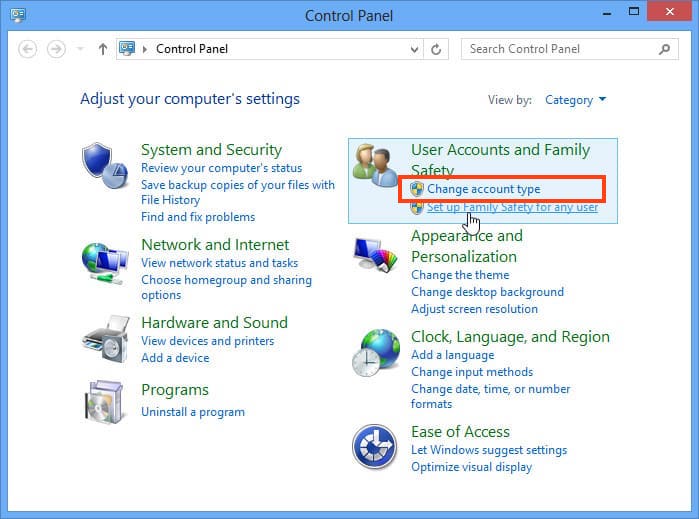
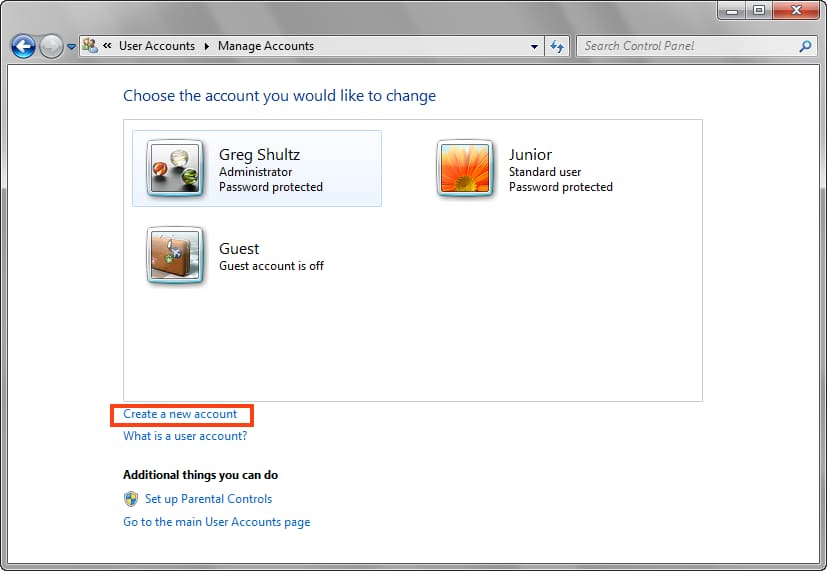
Let’s see how to create a user account; click on the appropriate button.
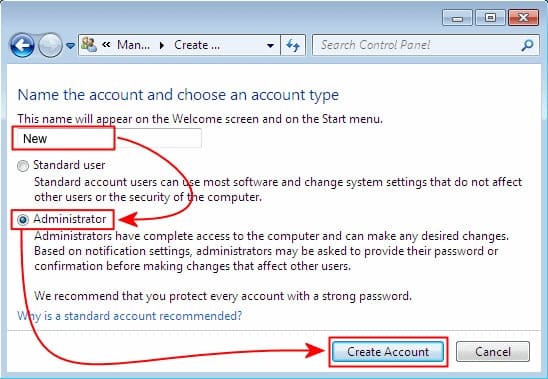
Specify the name of the new user and assign them rights. Depending on the rights you want to grant the user, select either “Standard User” or “Administrator.” In this example, let’s choose “Administrator” so that I can modify system settings and make any changes to it (installation, uninstallation of programs). After selecting the rights, click “Create Account.”
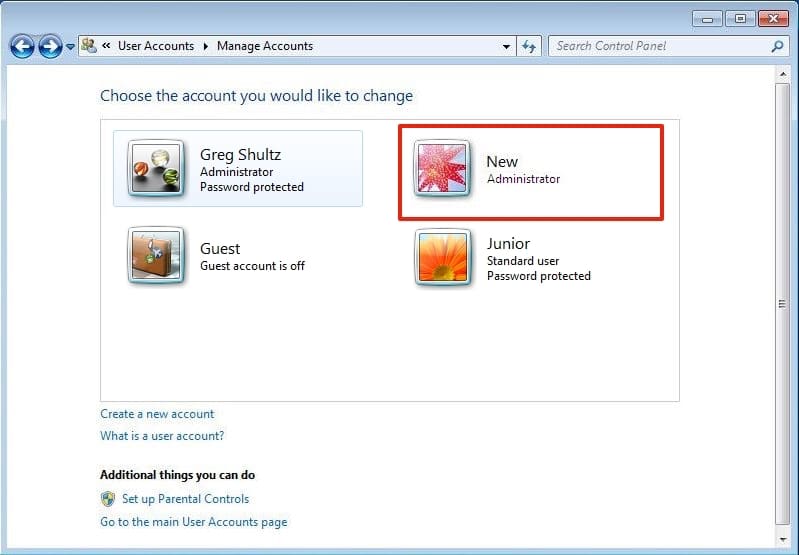
Now in the user account management menu, you can see the new user. To edit, modify, or delete their settings, click on the desired user and go to the new menu.
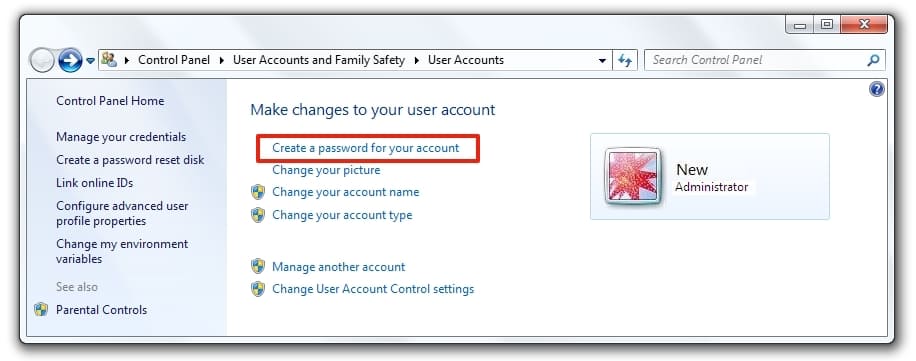
In the user’s own menu, you can change their avatar, name, create, modify, or delete a password. It is also possible to change the account type, for example, revoke administrator rights and set standard user rights, or vice versa. In this same menu, you can delete the user account by clicking on the corresponding button.
So, to switch to using a new user, click on the “Start” menu => Left arrow => Switch user.
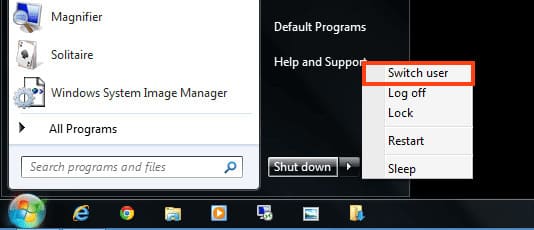
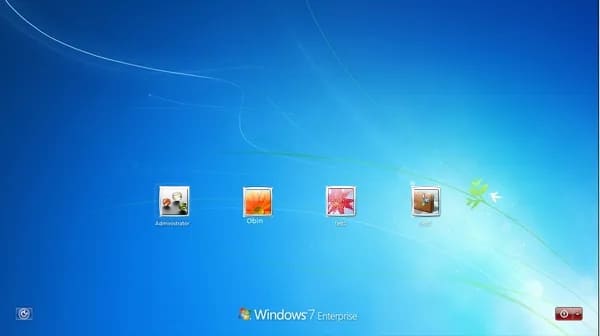
Now I can see the selection of accounts in your system, and here you can choose the desired user.
