In this article, we’ll explain how to connect to a remote computer using RealVNC, set up the server and client for remote management, and monitor the system. We’ll walk you through the process of connecting to a remote computer for control and monitoring using the RealVNC application, which simplifies remote access setup.
Step 1: Downloading and Installing VNC Viewer
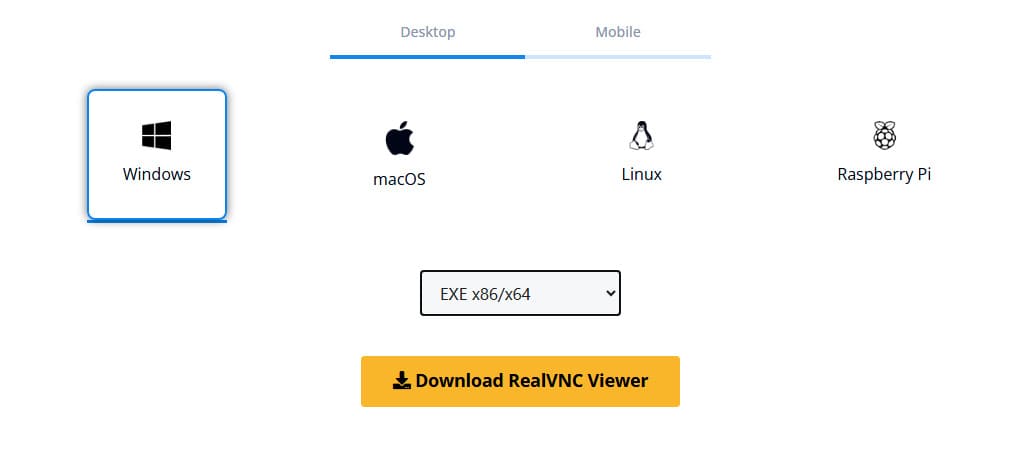
1. Visit the official RealVNC website and download VNC Viewer for your operating system.
Or download VNC Viewer for Windows directly from our server.
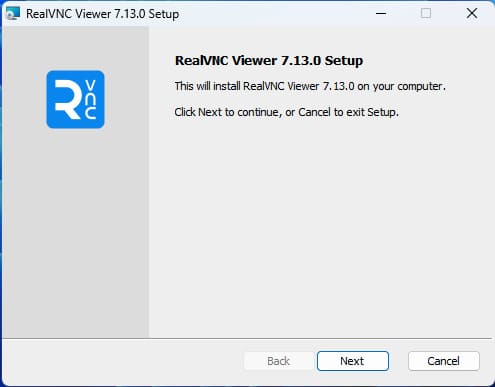
2. Install the application by following the setup wizard:
– Click Next.
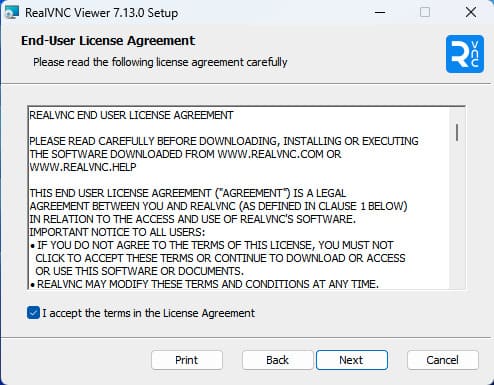
– Accept the license agreement by clicking Accept.
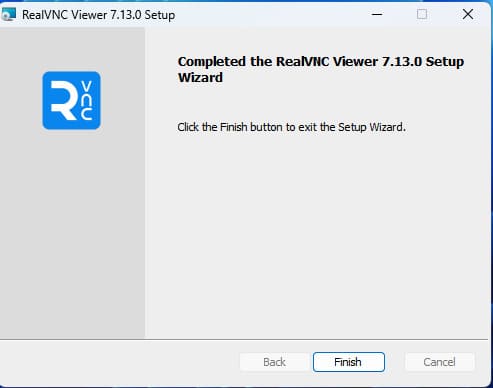
– Complete the installation.
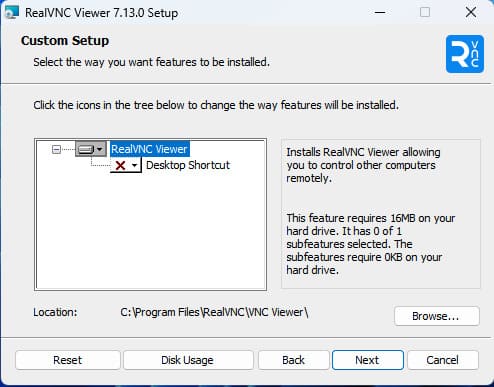
3. Launch VNC Viewer.
Step 2: Registering in VNC Viewer
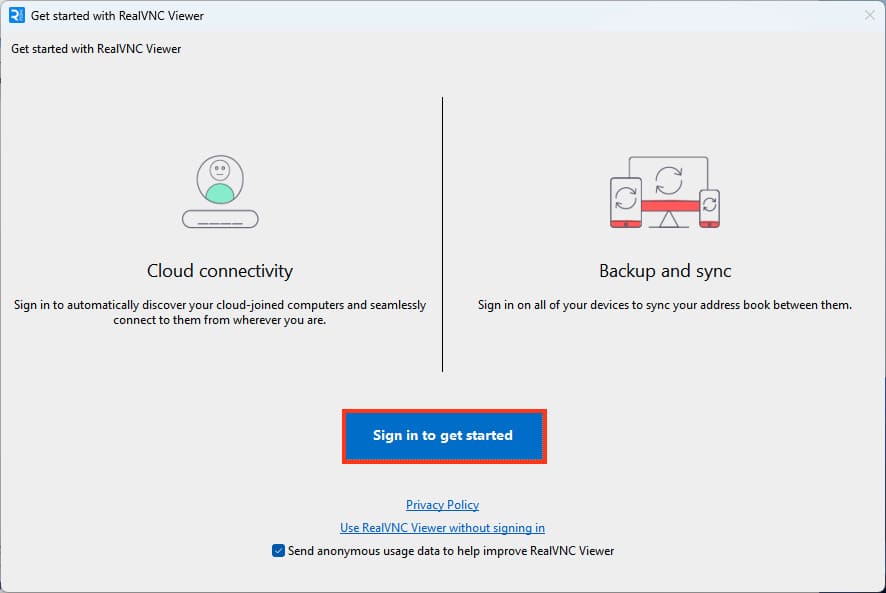
1. On the first launch, you’ll be prompted to log in or register. Select Sign in to get started.
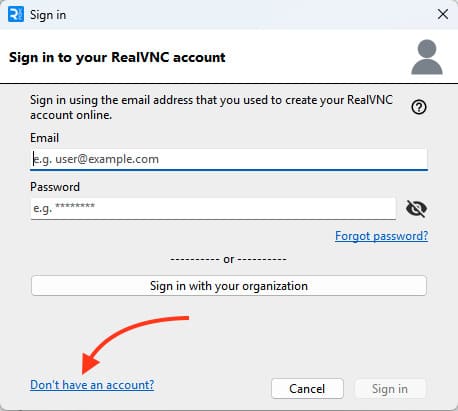
– Click Don’t have an account to begin registration.
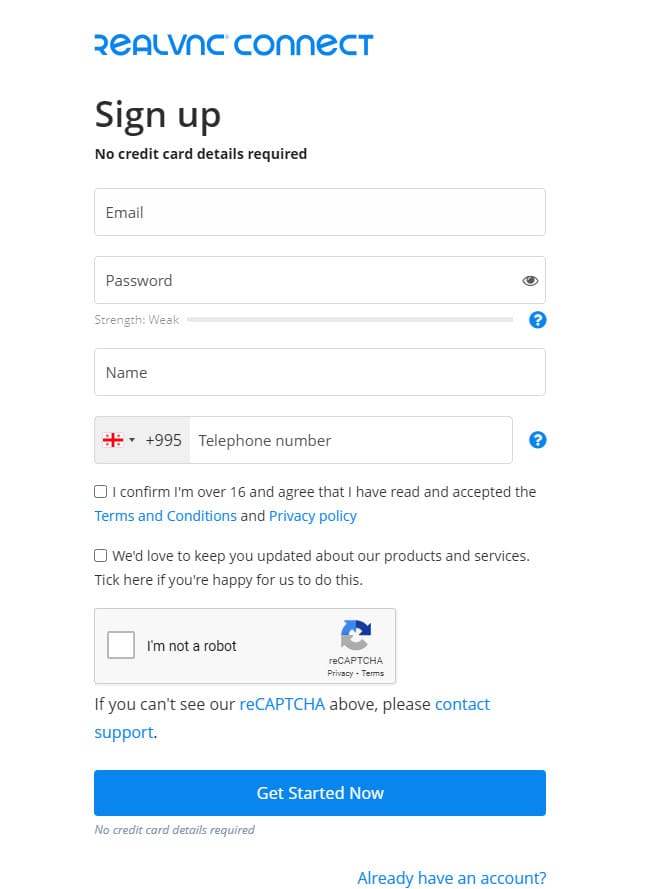
2. Fill out the registration form with your email and password (phone number is optional).
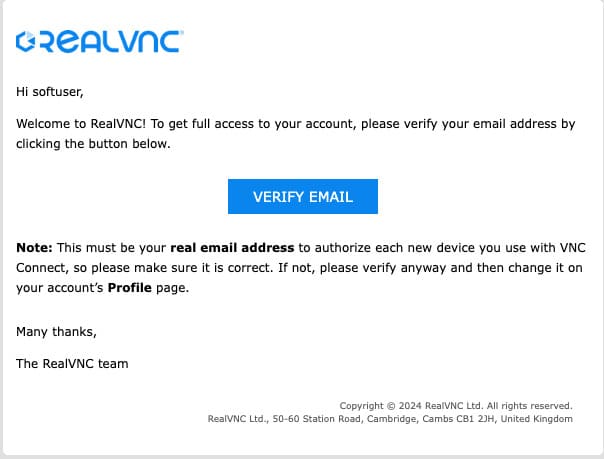
3. Check your email and confirm the registration by clicking the link in the email.
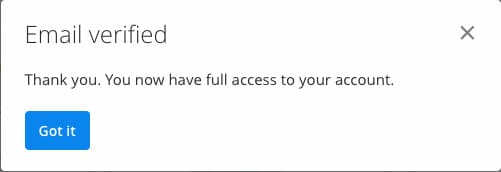
Step 3: Logging into VNC Viewer
1. After confirming your registration, log into VNC Viewer with your account.
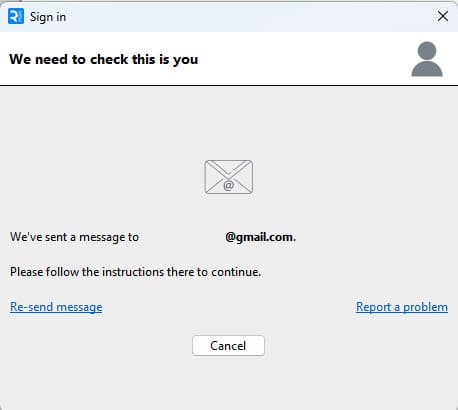
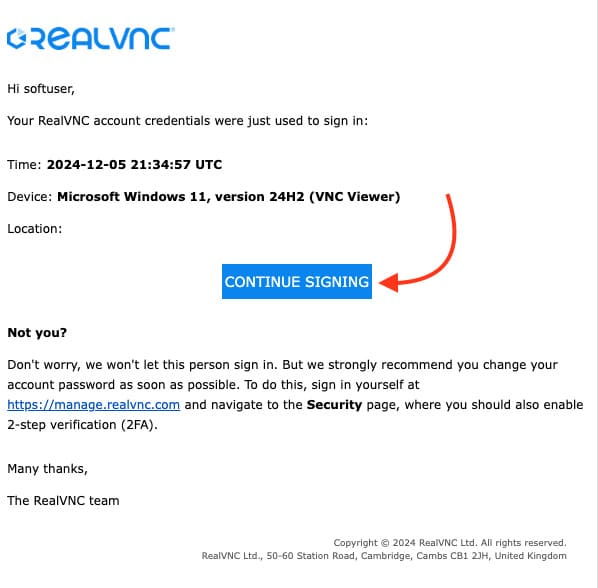
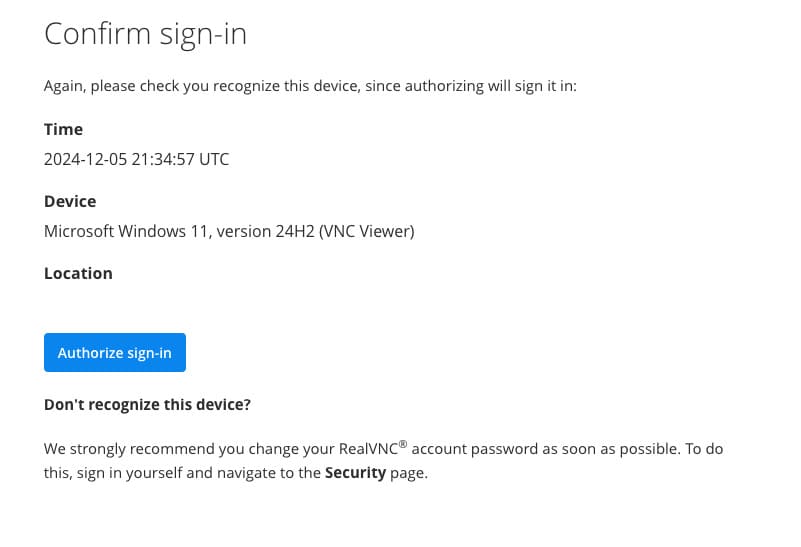
2. The app will request email authorization. Check your email and confirm the login.

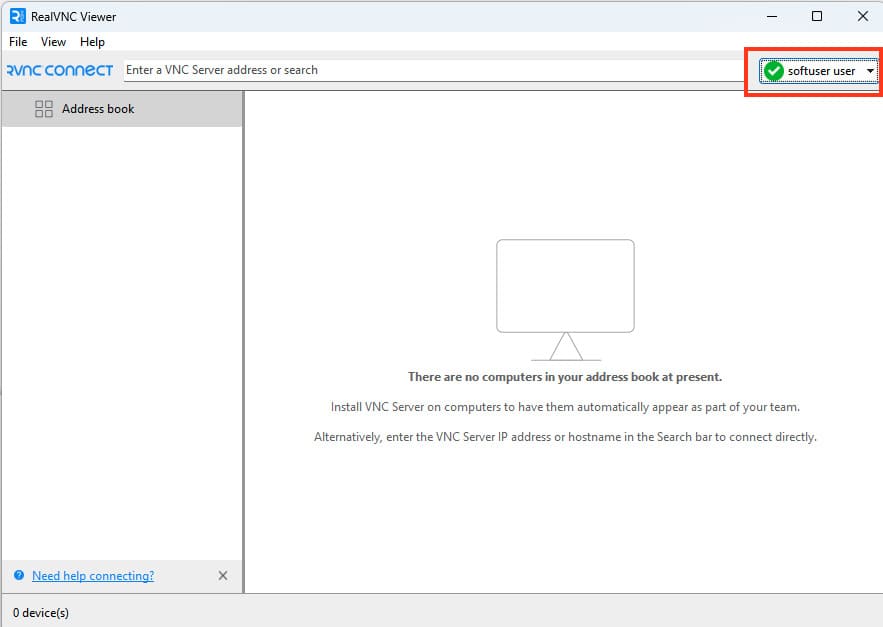
3. A green checkmark will appear in the top-right corner, confirming that everything is active.
Step 4: Downloading and Installing VNC Connect (Server)
Important: The server must be installed on the machine you plan to control remotely.
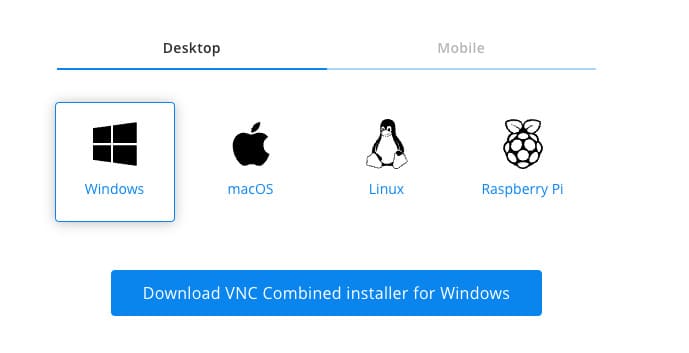
1. Download VNC Connect from the official RealVNC website.
Or download VNC Connect for Windows directly from our server.
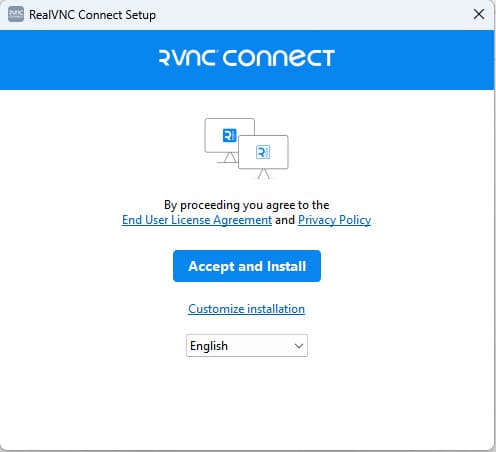
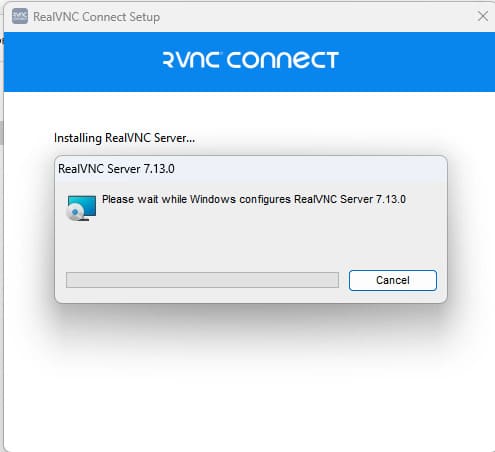
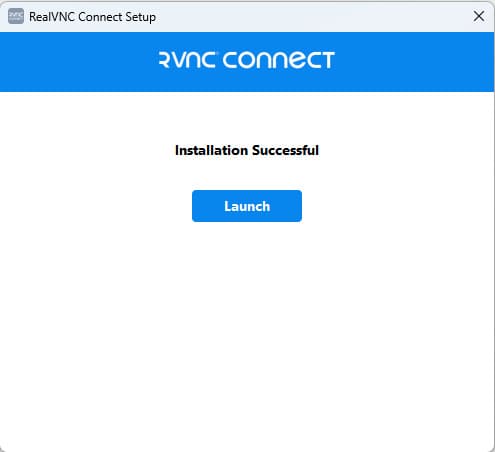
2. Install the application by following the standard procedure.

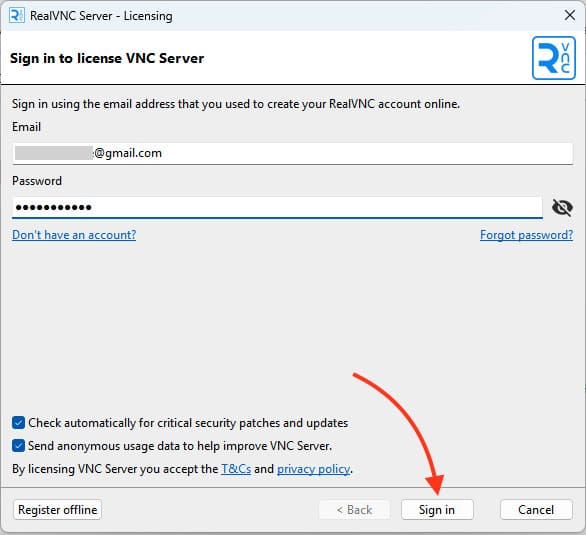
3. Log in with your previously created account.
Step 5: Activating the Trial Version
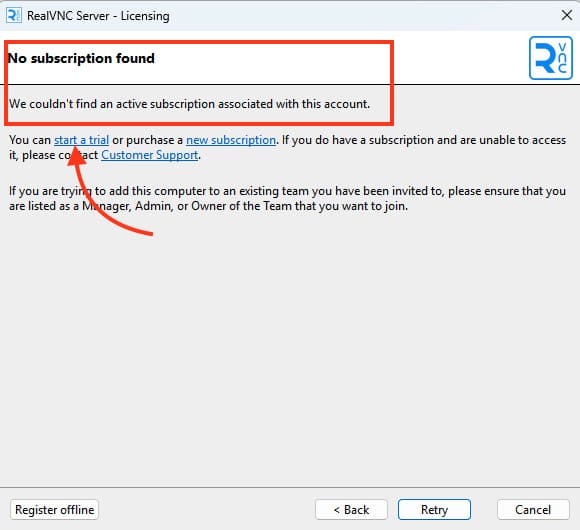
1. If the app shows an error about missing a subscription, click “Try Trial”.
2. You’ll be redirected to the RealVNC website, where you can select a version (in our case, we chose Essential).
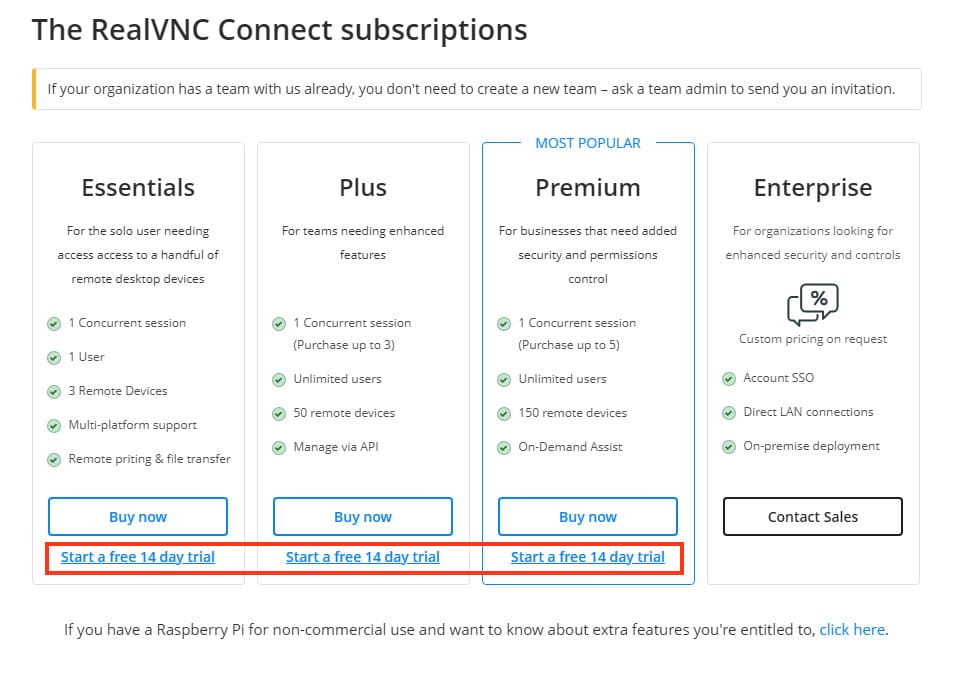
3. Click Start a free 14-day trial, then confirm by clicking Subscribe to RealVNC Connect.
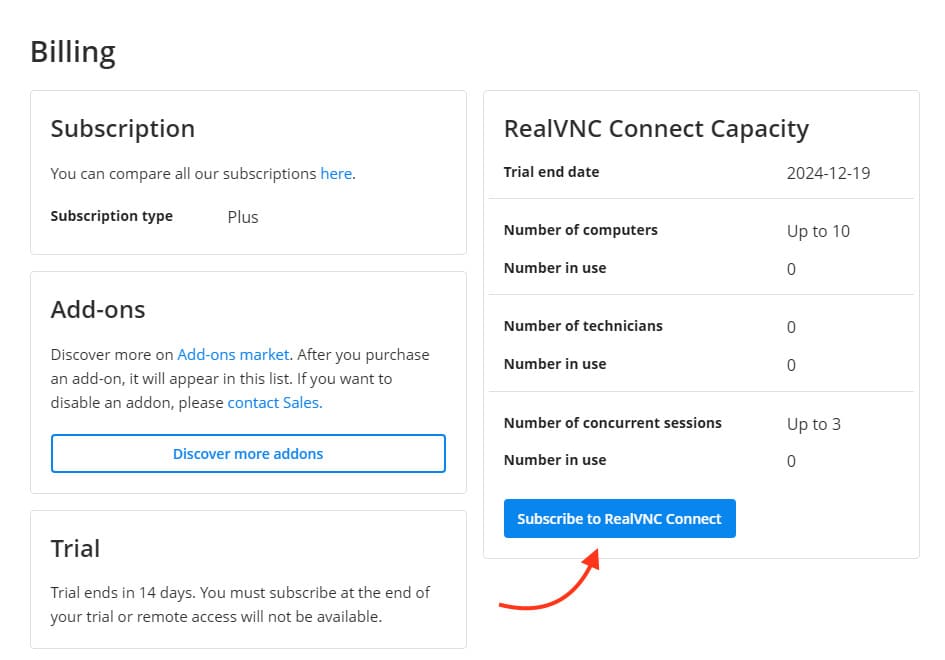
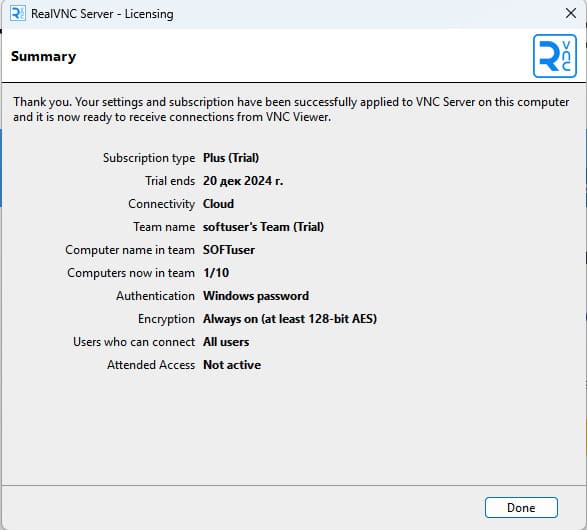
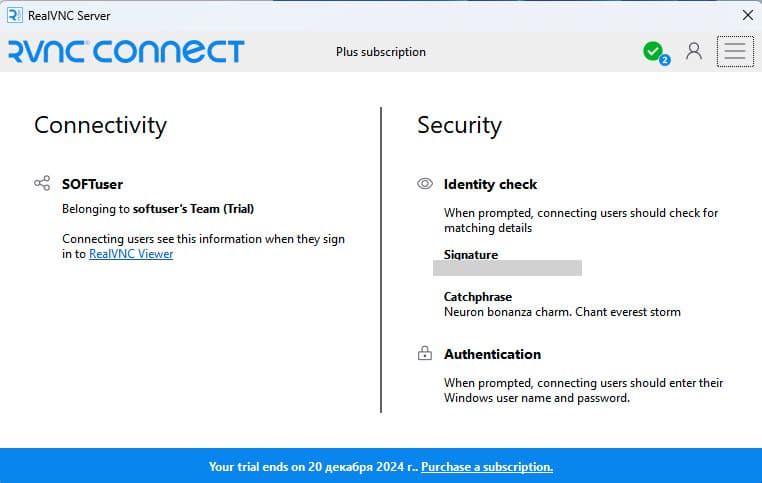
Step 6: Configuring VNC Connect
1. Log into VNC Connect again with your account.
2. Choose the authentication method:
– Windows Password (log in with your Windows account password).
– VNC Password (recommended for better stability).
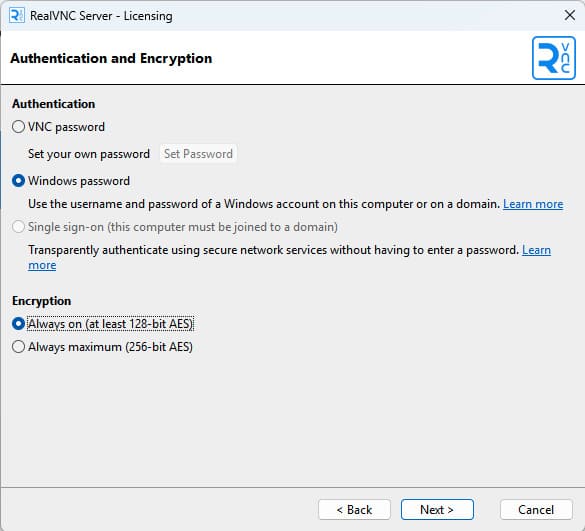
3. If you chose VNC Password:
– Set a password for the connection.
– Specify who can connect to the computer: all users, only the administrator, or a specific user.
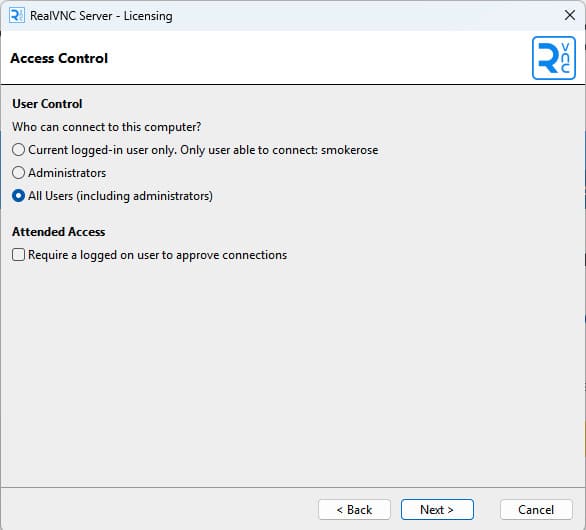
4. Enter the server name to complete the setup.
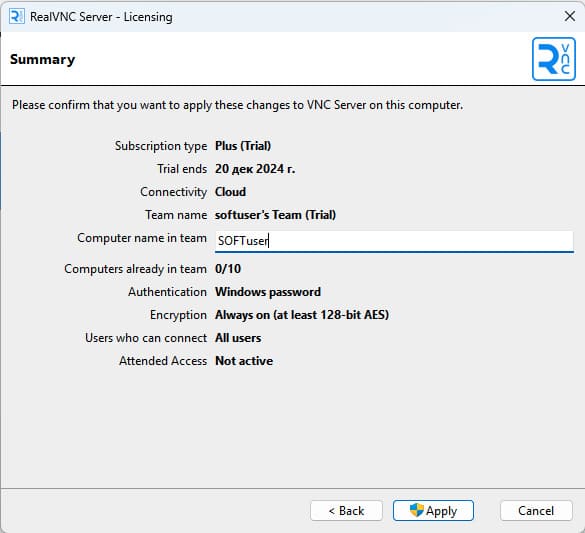
Step 7: Connecting via VNC Viewer
1. Go to the computer where VNC Viewer is installed.
2. In the main menu, you’ll see the added server (your PC).
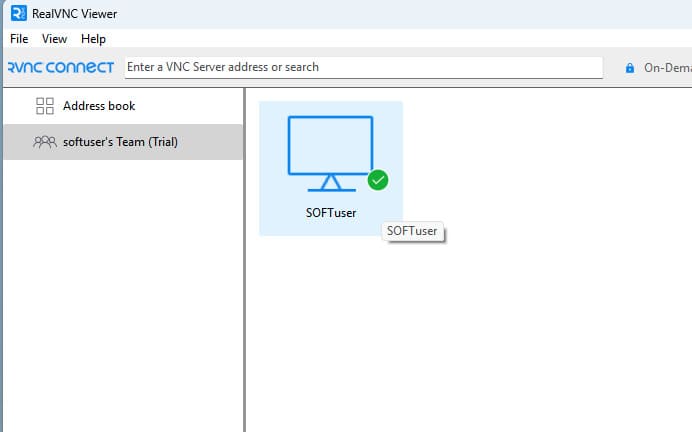
3. Double-click it to connect.
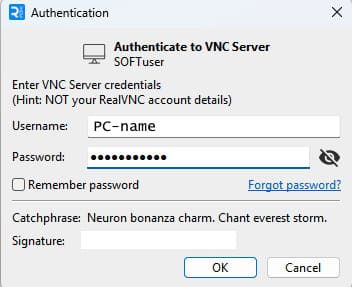
4. Enter the login and password:
– If you selected Windows Password, use your Windows username and password.
– If you selected VNC Password, enter the previously created password.
Step 8: Troubleshooting Connection Issues
If you can’t connect using the Windows password:
1. Go to the VNC Connect (Server) settings.
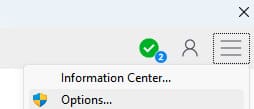
2. In the Security section, change the Authentication setting to VNC Password.

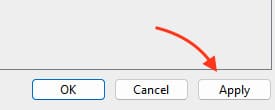
3. Click Apply and set a new password.
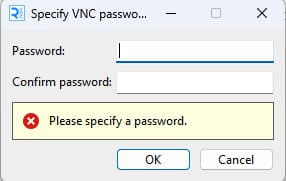
4. Try connecting again using this password.
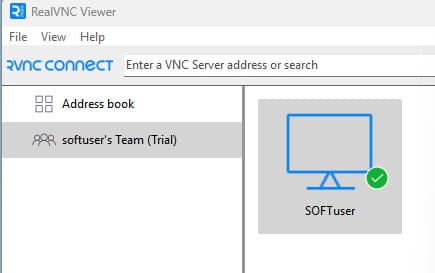
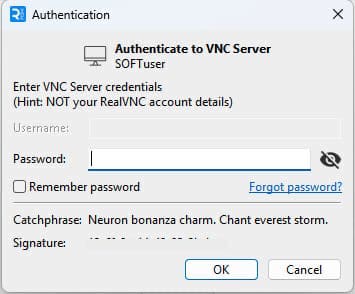
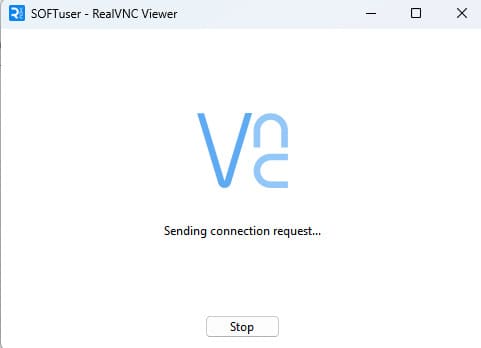
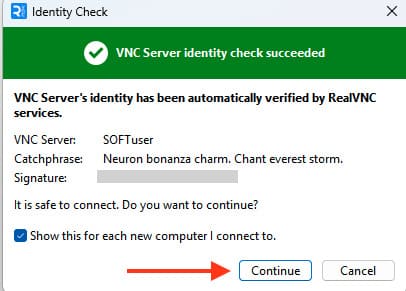
This time, everything should work, and you’ll be connected to the desktop of your remote PC.
Additional Settings
– To add a device not linked to your account, use the remote computer’s IP address.
– For passive monitoring (without control), check the “View Only” option in the connection settings.
Now you’ve successfully connected to a remote desktop using VNC Viewer and VNC Connect. This tool is perfect for managing computers on a local network or over the internet.


