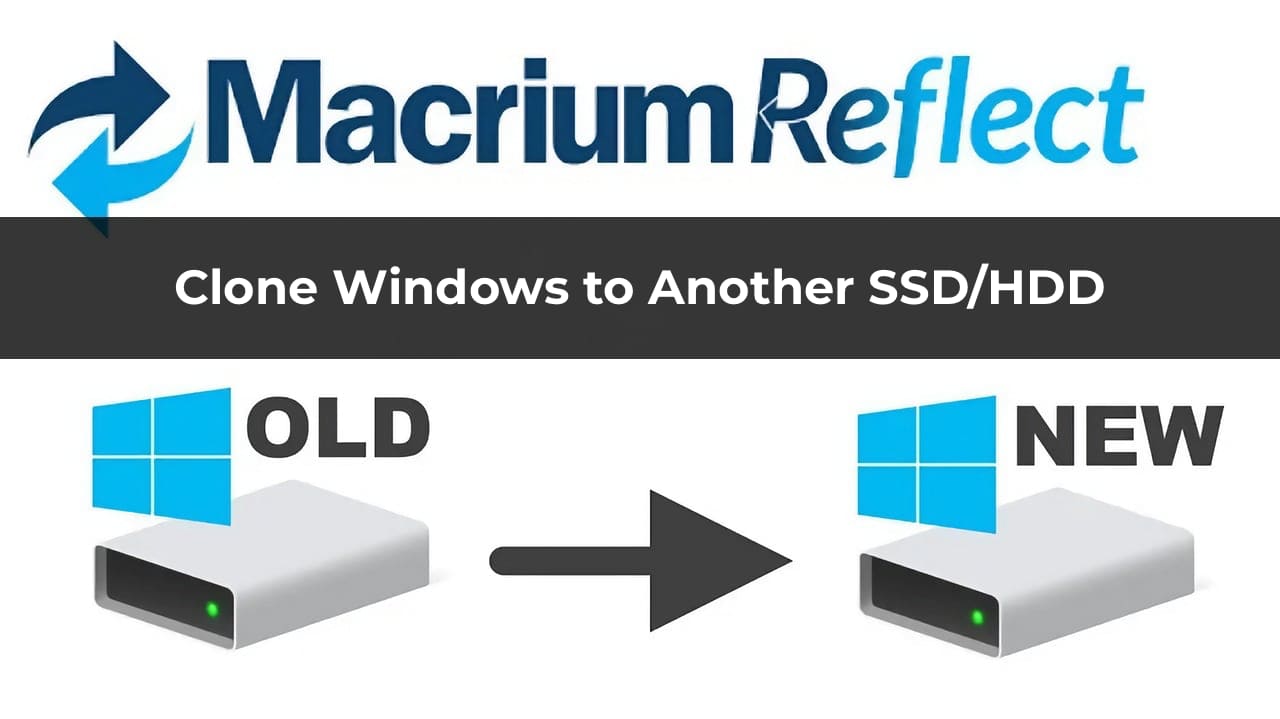
In this article, we will explain how to clone Windows from one hard drive to another SSD or HDD using the free Macrium Reflect Free application. This is a convenient solution for transferring the Windows 10, 8, or 7 operating system to a new drive, whether it’s an HDD or SSD. We will cover all the steps, starting from downloading and installing the application to the cloning process and adjusting partitions after the transfer.
Downloading and Installing Macrium Reflect Free
Step 1: Download the Application
First, you need to download Macrium Reflect Free from the official website. When downloading, choose the version for home use (Home Use).
Or you can download Macrium Reflect Free directly from our server:
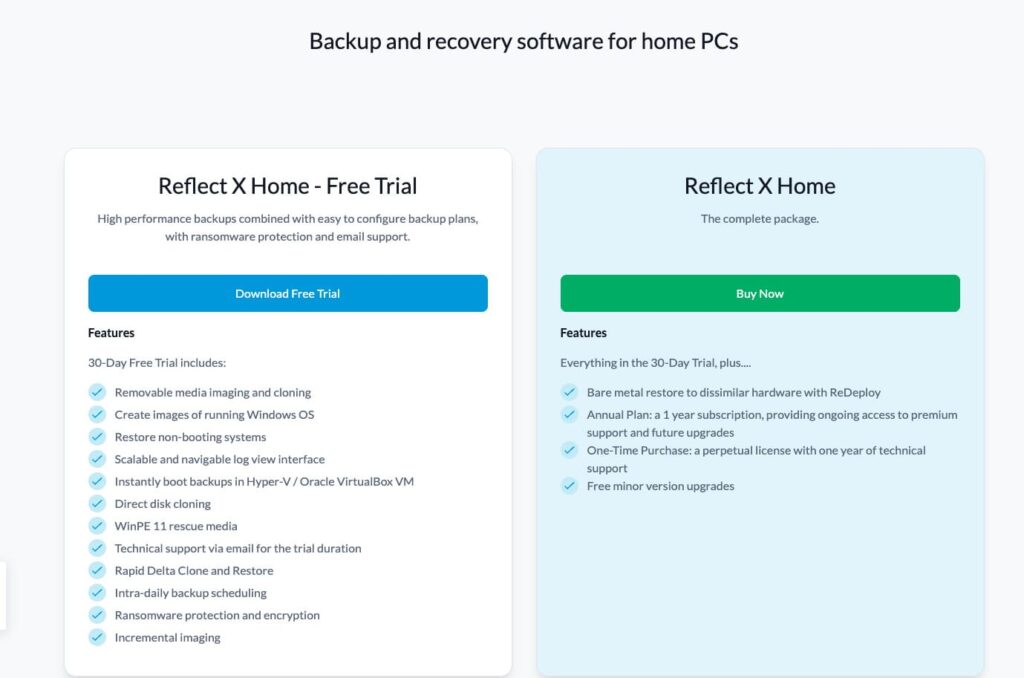
Step 2: Install the Application
After downloading the installer file, run it. In the installation window, select the Free version.

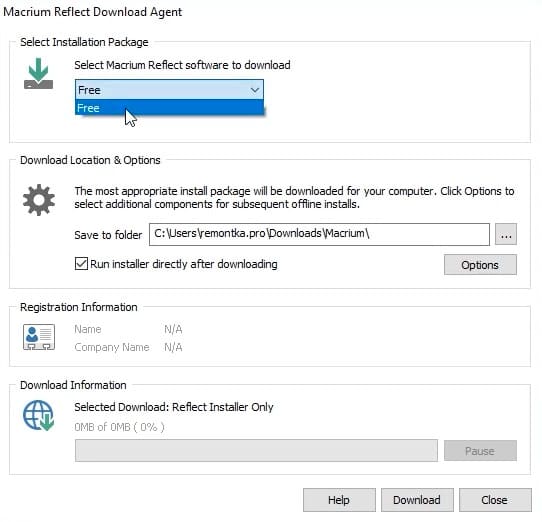
Specify the location where the installer will be saved. Click the Download button, and after downloading the installer file, run it to install the application.
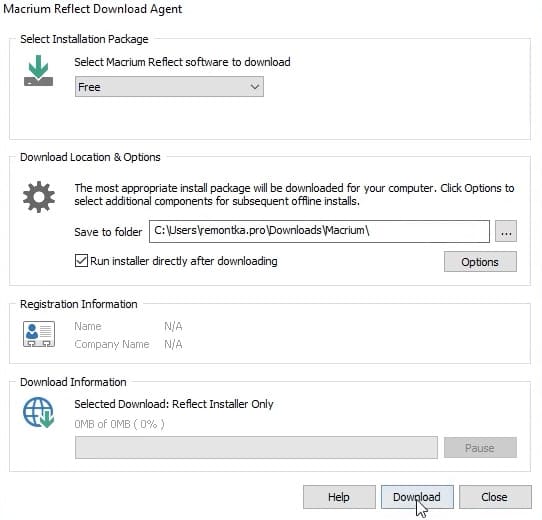
The installation process is straightforward — no additional components are required, and the application installs quickly.
Step 3: Launch the Application
After installation, launch Macrium Reflect Free. The application opens in the main window, where you can see all the drives connected to your computer.

Cloning a Disk with Macrium Reflect
Step 1: Select the Disk to Clone
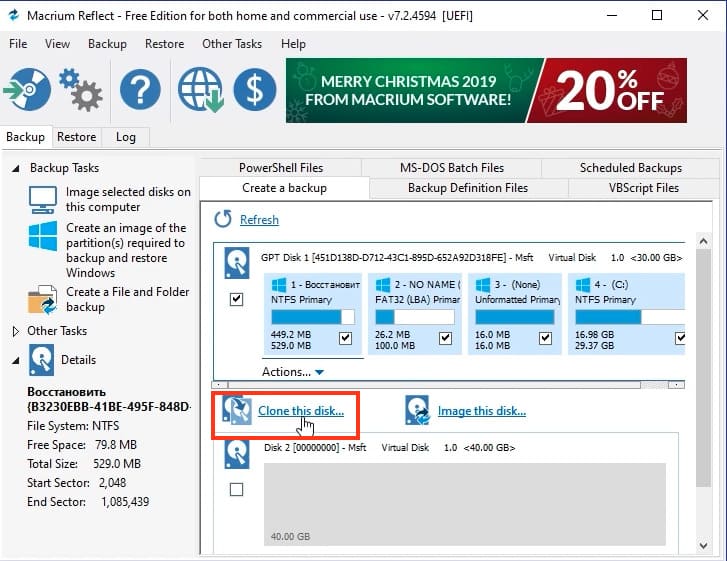
In the main window of the application, all the disks connected to the system are displayed. In our case, this is Disk 1, which contains the system partitions, including Disk C and hidden system partitions. Click the Clone this disk button to start the cloning process.
Step 2: Configure Cloning
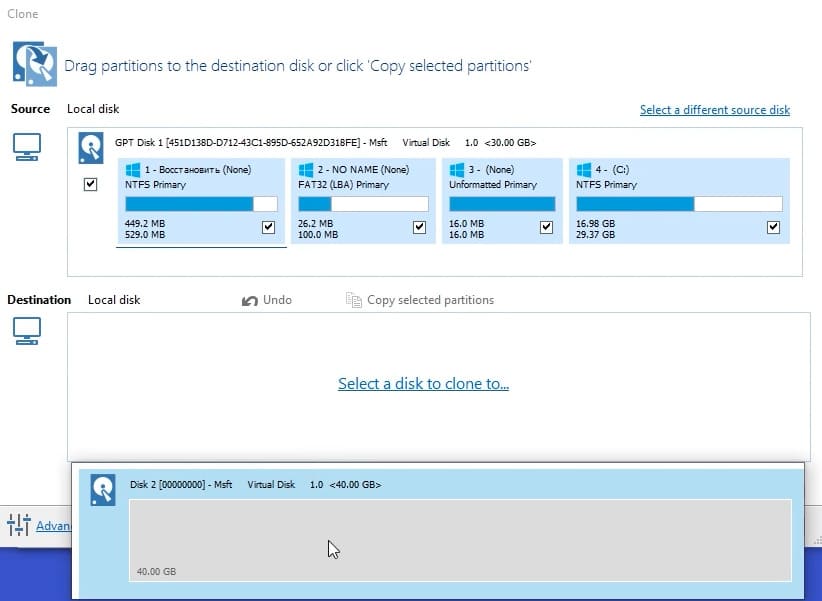
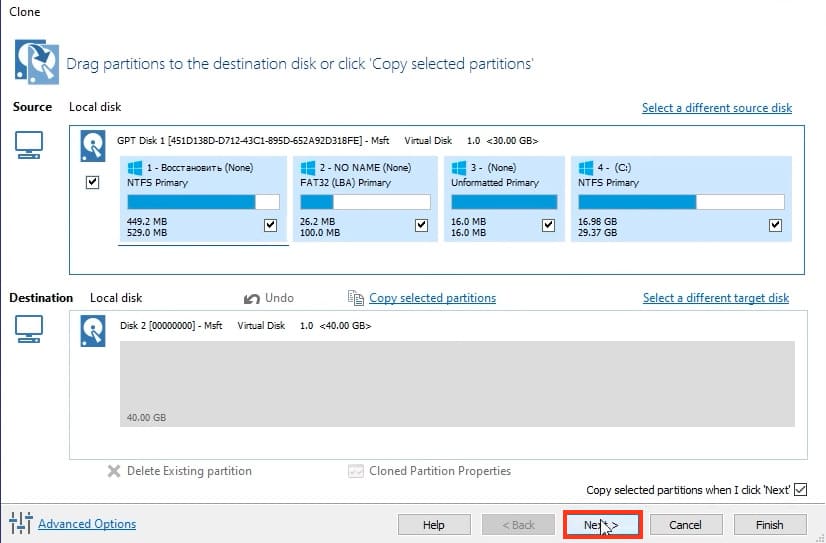
After this, a window will open where you can choose which partitions to clone. In our case, all partitions are system partitions, including Disk C and hidden system partitions, which will also be transferred. If your source disk has a data partition that does not need to be transferred, uncheck that partition.
If you are cloning the system to an SSD with a smaller capacity, you may need to reduce the size of the Disk C partition. This can be done using the built-in Disk Management tool in Windows.
Step 3: Select the Target Disk
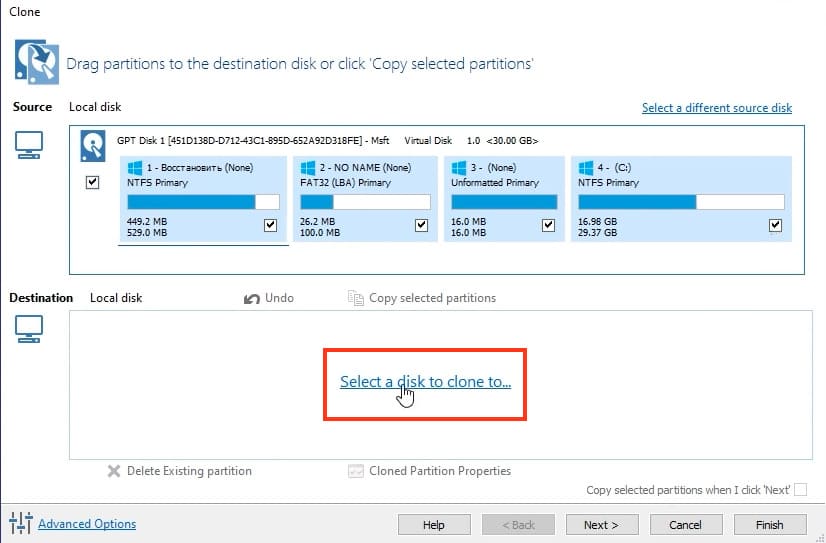
Click the Select a disk to clone to button to choose the target disk where the cloning will take place. Note that all data on the target disk will be deleted. Select the connected disk (for example, Disk 2) and click Next.
Step 4: Schedule the Cloning
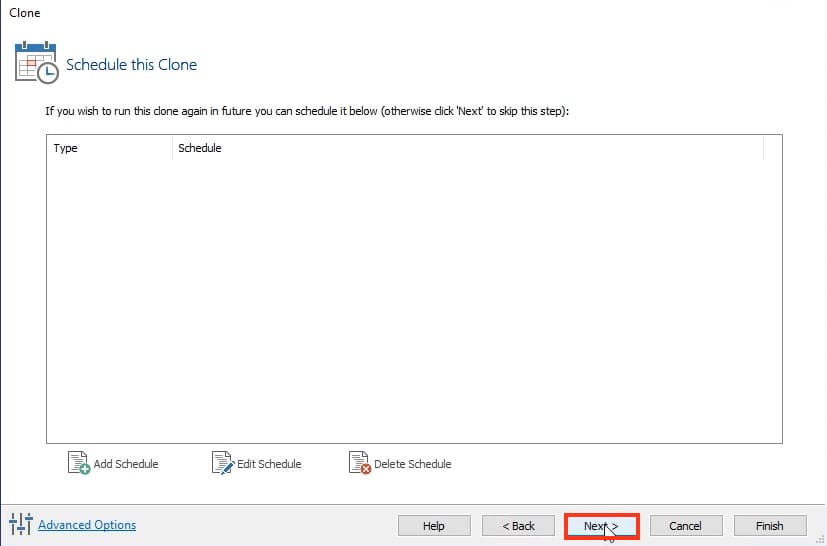
In the next step, you are offered to create a schedule for cloning if you plan to use the application for regular backups. In our case, a schedule is not required, so simply click Next.
Step 5: Confirm and Start the Cloning Process
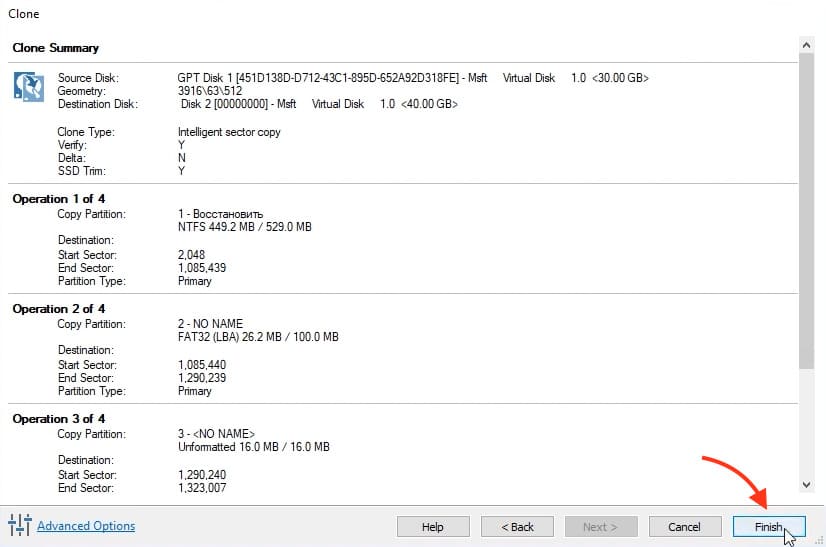
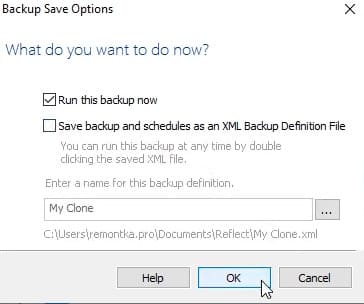
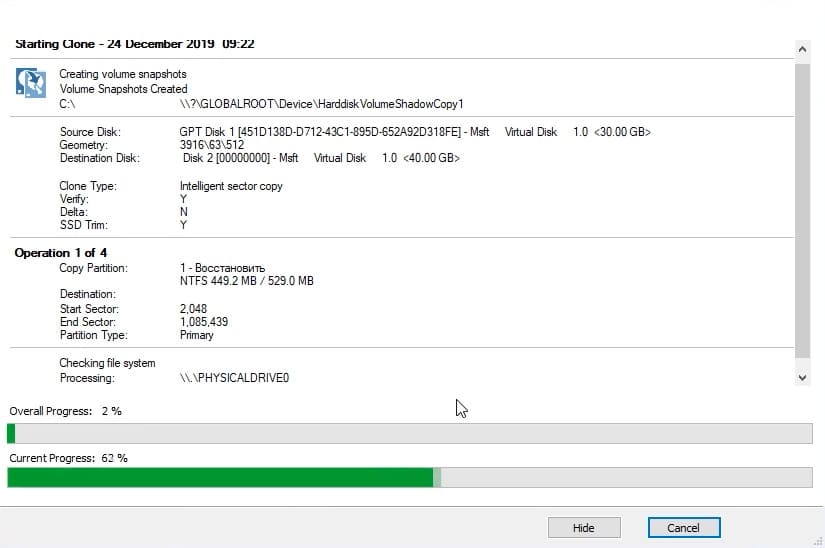
In the next window, a list of all operations that will be performed during the cloning process will be displayed. Click the Finish button, then check the “Run this backup now” option and click OK. The cloning process will begin, which may take some time depending on the amount of data and the speed of the disks.

Adjusting Partitions After Cloning
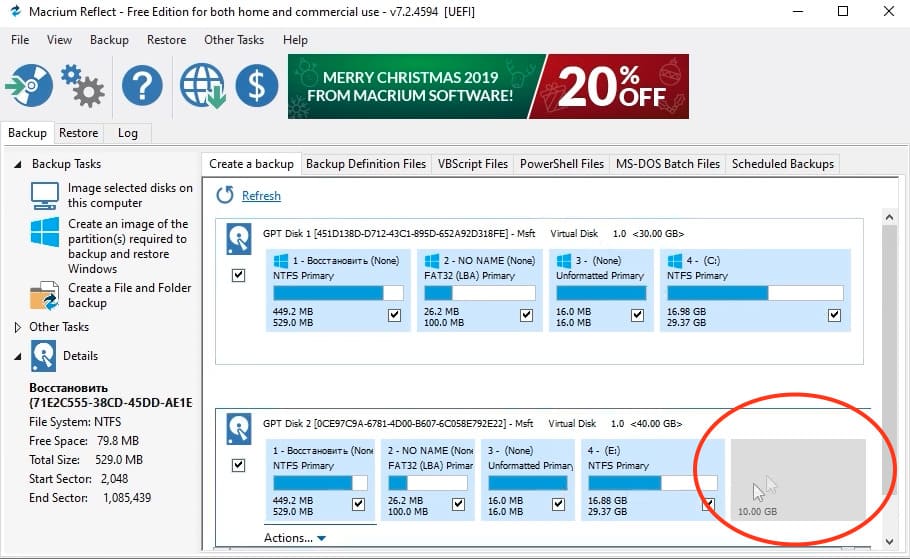
After the cloning is complete, all partitions will be transferred to the target disk. It is important to note that the application transfers the partitions in the same size as they were on the source disk. If there is unallocated space left on the new disk, you can use it as follows:
Step 1: Disk Management
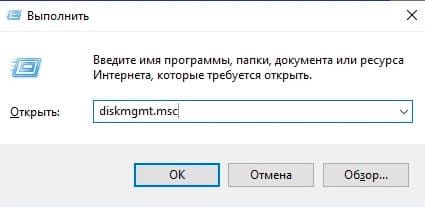
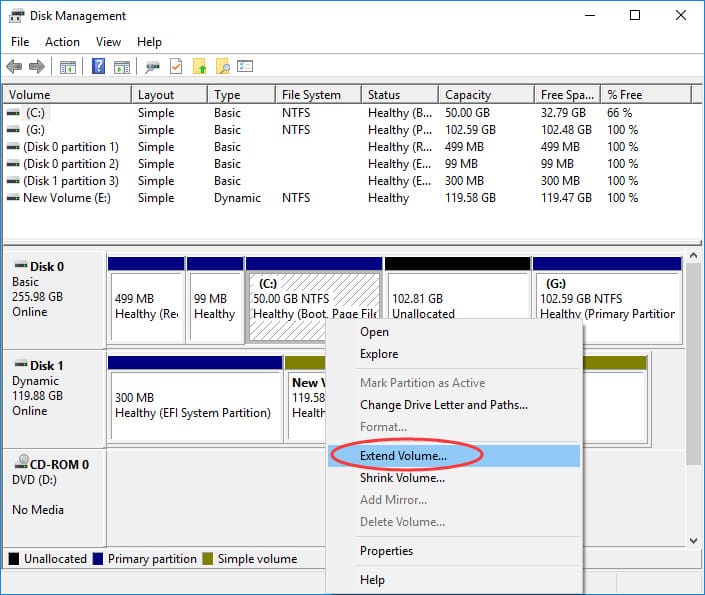
Press Win + R on your keyboard and type diskmgmt.msc to open Disk Management. Here you will see your target disk and the unallocated area.
Step 2: Extending the Partition
You can create a new partition from the unallocated area or extend an existing partition (for example, Disk C) into the remaining gigabytes. This allows you to make the most of the available space on the new disk.
Verifying System Functionality
After completing the cloning and adjusting the partitions, you can verify that the system boots from the new disk. To do this:
Step 1: Configure BIOS
Restart your computer and enter the BIOS (usually by pressing the Del or F2 key during startup). In the Boot section, set the new disk as the primary boot device.
Step 2: Boot the System
Save the settings and reboot the computer. If everything is done correctly, the system will boot from the new disk, and you will see that Disk C is your new SSD or HDD.
If the old disk is still connected, it may appear as another partition (for example, Disk E). In some cases, the old disk may not appear in the system — then go to Disk Management and assign it a letter.
Macrium Reflect Free is an excellent solution for cloning your system to a new disk. It is easy to use, reliable, and provides all the necessary features for successfully transferring Windows to an SSD or HDD. We hope this guide helps you effortlessly clone your drive and start using your new storage device without any issues.
