This article explains how to set up kiosk mode in Windows 11, a restricted operating mode that allows users to access only one or a few applications in full-screen mode, blocking all other Windows functions. Kiosk mode is commonly used for self-service terminals or to provide access to company information websites.
Available Kiosk Modes in Windows 11
– Single App (Single-App Kiosk Mode): Only one UWP application or Microsoft Edge browser runs in full-screen mode, and users cannot launch other applications.
– Multi-App (Multi-App Kiosk Mode): The administrator can select multiple allowed applications, restricting access to other apps and settings.
Setting Up Single-App Kiosk Mode
To configure kiosk mode for a single application in Windows 11:
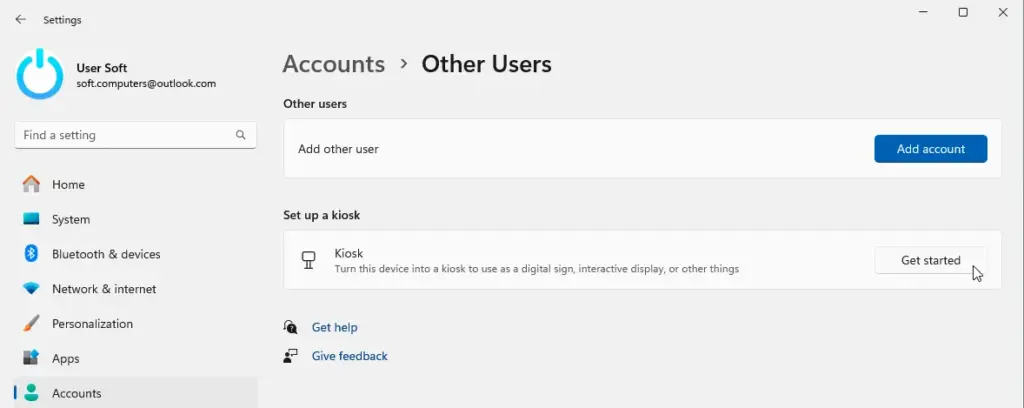
1. Go to Settings -> Accounts -> Other users.
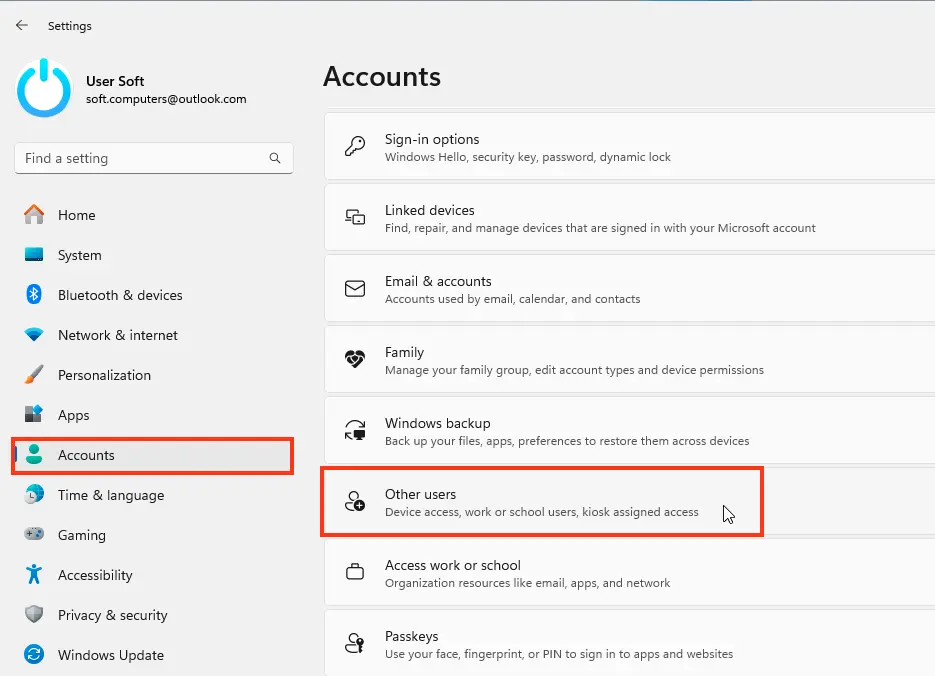
2. Click the Get started button in the Set up a kiosk section.
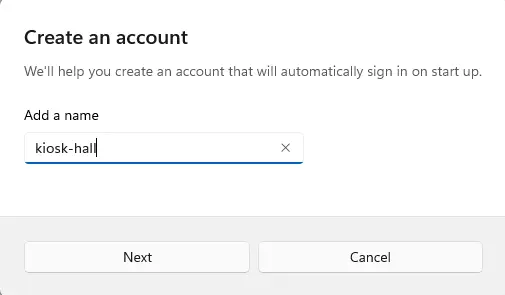
3. Specify a username for automatic login in kiosk mode.
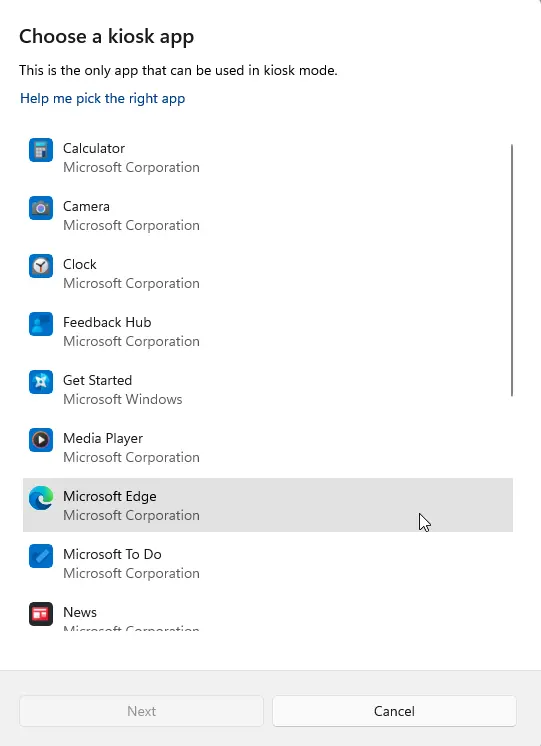
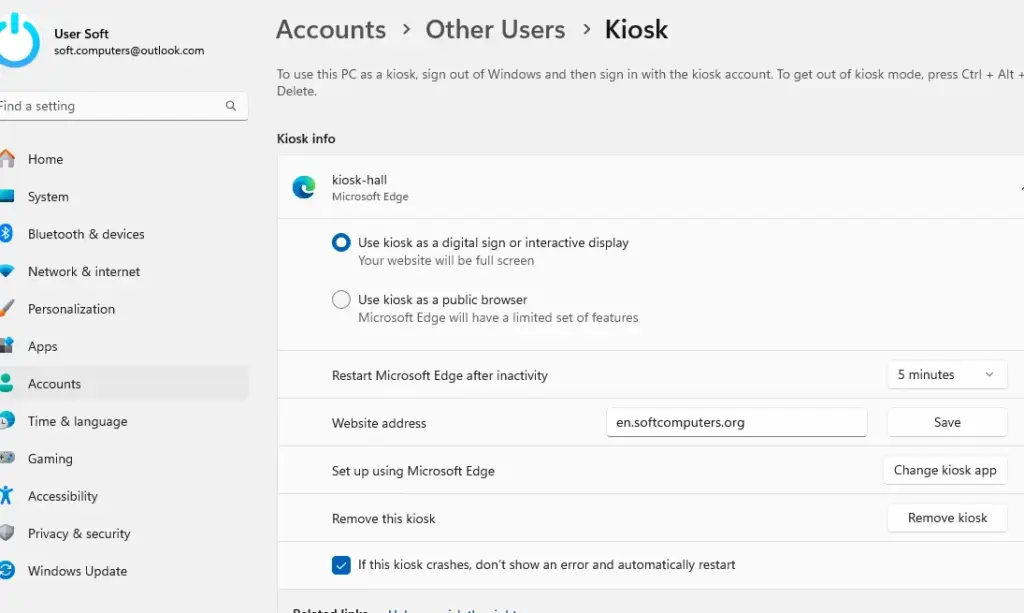
4. Select the application to run in kiosk mode. This can be a UWP application or the Microsoft Edge browser.
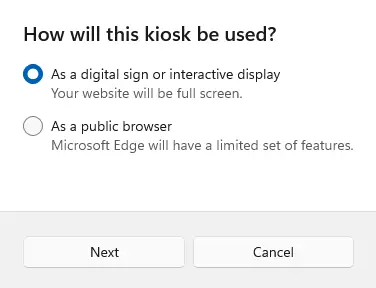
– For Edge, you can choose to open a single website or enable public browsing mode.
5. Configure launch settings:
– Specify the website to open automatically.
– Set an inactivity timeout after which the session is reset and data (cookies, browsing history) is cleared.
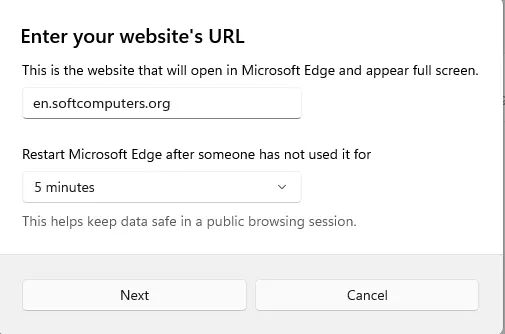
6. Click Next, then Finish.
7. Restart the computer.
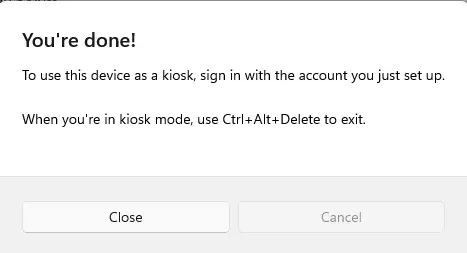
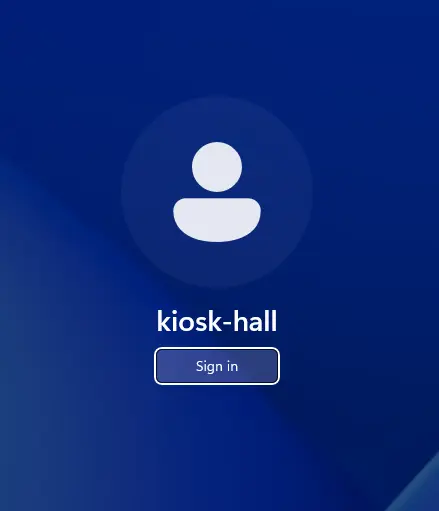
After the restart, the system will automatically log in to the kiosk account and launch the selected application in full-screen mode.
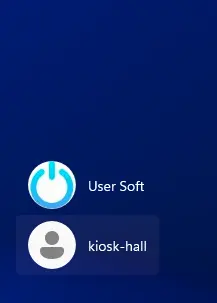
To exit kiosk mode, press CTRL+ALT+DEL and log in with a different account.
To modify or disable kiosk mode, go to Settings -> Accounts -> Other users -> Kiosk.
Setting Up Multi-App Kiosk Mode
To configure kiosk mode with multiple allowed applications in Windows 11, you will need to use PowerShell or MDM (e.g., Intune).
You can use a ready-made PowerShell script for configuration, which you can download from our server:
win11-multi-app-kiosk-mode.ps1
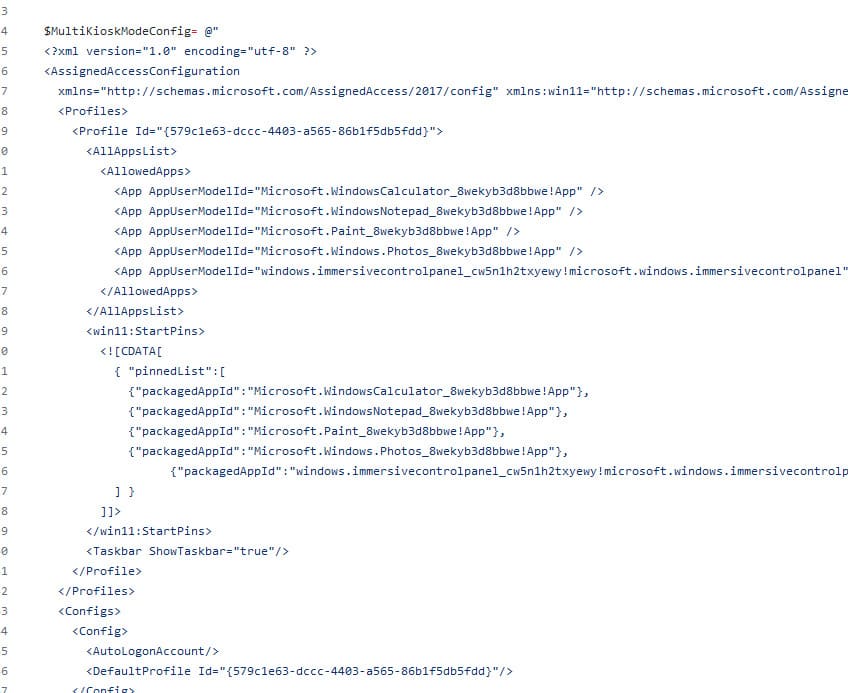
Key parameters of the XML configuration for kiosk mode:
– Profile Id: A unique identifier for the configuration.
– AllowedApps: A list of applications permitted to run.
– StartPins: Pinning specified applications to the Start menu.
– AutoLogonAccount: Creating an account for automatic login in kiosk mode.
To apply the settings:
1. Download and save the PowerShell script provided above.
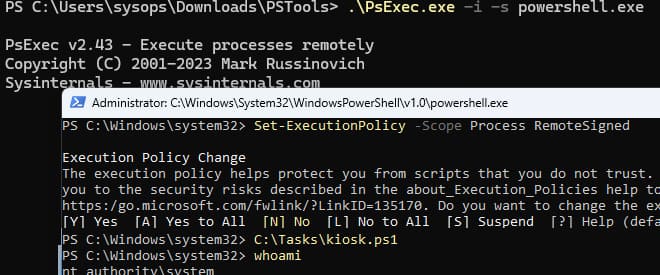
2. Launch PowerShell as SYSTEM using the PsExec utility:
psexec.exe -i -s powershell.exe
3. Allow script execution:
Set-ExecutionPolicy -scope Process RemoteSigned
4. Run the script:
C:\tasks\win11-multi-app-kiosk-mode.ps1
5. Restart the computer.
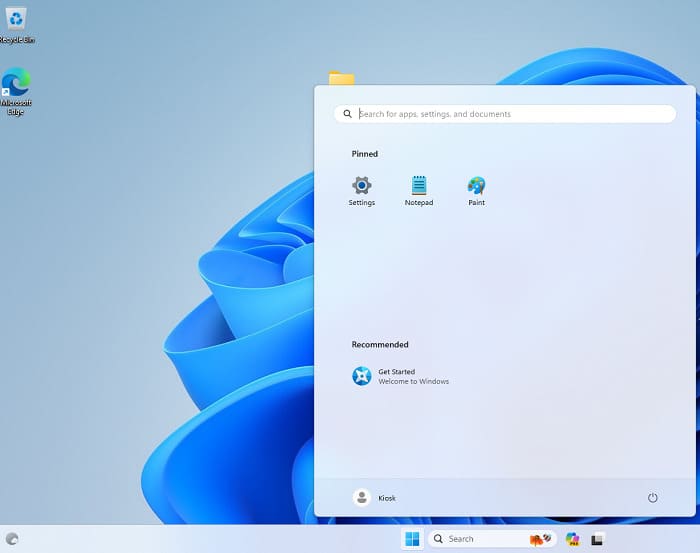
After the restart, the system will automatically log in to the KioskUser0 account, and the user will only be able to run permitted applications.
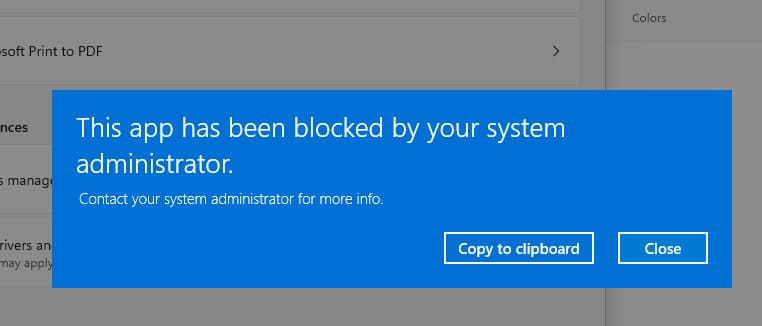
Attempting to launch an unpermitted UWP or classic application will trigger an AppLocker message:
This app has been blocked by your system administrator.
Disabling Kiosk Mode
To disable kiosk mode, run the following commands:
$obj = Get-CimInstance -Namespace "root\cimv2\mdm\dmmap" -ClassName "MDM_AssignedAccess"
$obj.Configuration = $NULL
Set-CimInstance -CimInstance $obj
After executing these commands, kiosk mode will be disabled, and the computer will return to normal operation.
Now you know how to enable and configure kiosk mode in Windows 11, with all terms aligned to the Russian-language version of Windows.