This article demonstrates how to correctly rename an Active Directory domain from test.com to resource.loc. Although renaming an AD domain is a complex operation, it is entirely feasible and functional. For large AD infrastructures, a gradual migration of users, computers, and servers to a new domain may be preferable to renaming.
You can purchase original Windows Server product keys from our store from 10.80 €
Download Windows Server installers from our catalog.
Before You Begin
Ensure the following:
1. You have a current backup of all domain controllers.
2. Domain replication is functioning correctly with no critical errors on domain controllers or DNS.
3. The domain does not have Exchange deployed (except for Exchange 2003), as renaming a domain with Exchange is not supported.
4. The domain and forest functional levels are at least Windows Server 2003 (this example uses Windows Server 2016).
Step 1: Creating a New DNS Zone
Before starting the renaming process, create a DNS zone for the new domain on the domain controllers.
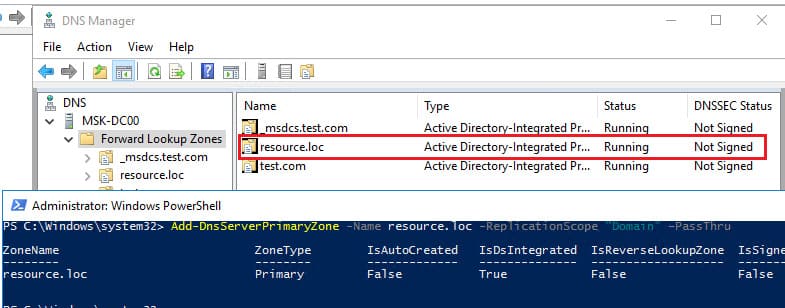
1. Open the dnsmgmt.msc console and create a new primary Forward Lookup Zone named resource.loc. Replicate it to all DNS servers in the old domain test.com.
2. Alternatively, create the DNS zone using PowerShell:
Add-DnsServerPrimaryZone -Name resource.loc -ReplicationScope "Domain" –PassThru
3. Wait for the new zone to replicate to all domain controllers.
Step 2: Generating the Current Domain Configuration
1. Run the command:
rendom /list
This generates a Domainlist.xml file with the current domain configuration.
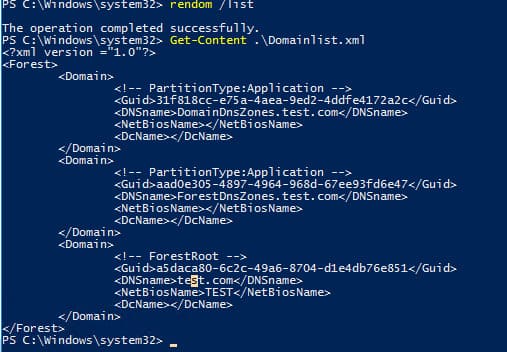
2. Open the Domainlist.xml file for editing, for example, using Notepad:
Notepad .\Domainlist.xml
3. Replace all instances of the old domain name test.com with the new name resource.loc.
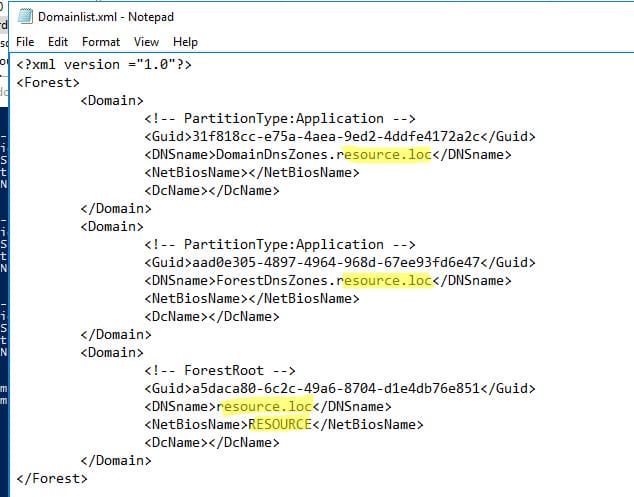
4. Save the file after making the changes.
Step 3: Verifying and Uploading the New Domain Configuration
1. Verify the changes by running:
rendom /showforest

2. Upload the new domain configuration (Domainlist.xml) with:
rendom /upload
![]()
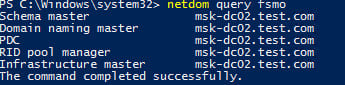
3. Confirm that the new file was successfully uploaded to the controller with the Domain Naming Master role:
netdom query fsmo
Step 4: Preparing and Executing the Rename
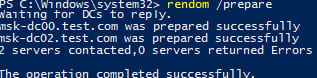
1. Check the readiness of all domain controllers for renaming:
rendom /prepare
Ensure the command returns no errors.
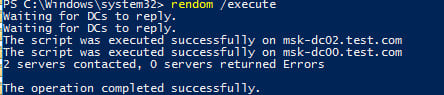
2. Execute the domain rename with:
rendom /execute
The domain controllers will automatically reboot.
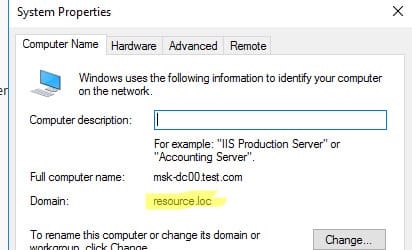
3. Verify that the domain controller properties now reflect the new domain name. Note that the full computer name may still reflect the old domain.
To log in to the domain controller, specify the account with the new domain name. On Windows Server Core domain controllers, you can specify a different username by pressing ESC multiple times.

Step 5: Updating Bindings and Finalizing the Procedure
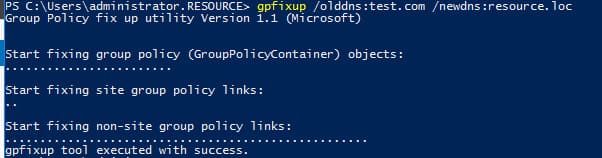
1. After renaming, update group policy bindings:
gpfixup /olddns:test.com /newdns:resource.loc
2. Update the NetBIOS domain name:
gpfixup /oldnb:TEST /newnb:RESOURCE
3. Remove references to the old domain:
rendom /clean
4. Unlock the domain configuration:
rendom /end
Step 6: Updating Domain Controller Names
1. On each domain controller, add the new name:
netdom computername %COMPUTERNAME%.test.com /add:%COMPUTERNAME%.resource.loc
2. Set the new name as primary:
netdom computername %COMPUTERNAME%.test.com /makeprimary:%COMPUTERNAME%.resource.loc
3. Reboot the domain controller:
shutdown –f –r –t 0
Step 7: Verifying Changes
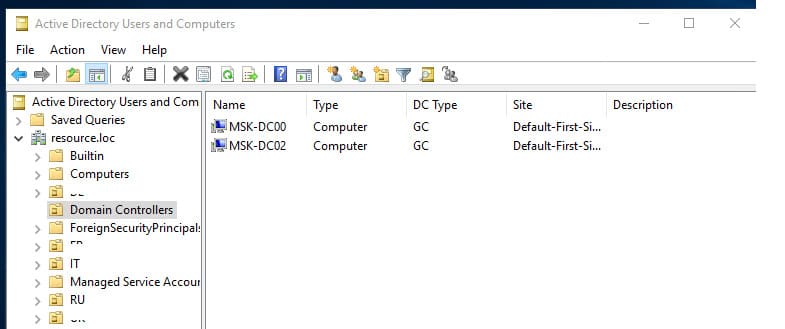
1. Open the ADUC (dsa.msc) console and confirm it connects to the new domain name. Verify that the organizational unit (OU) structure, users, and computers are intact.
2. If necessary, rename the domain controllers.
3. Update the “Full computer name” on all computers and servers in the domain using the commands above.
4. After completing the domain rename, verify replication status and check for errors on the domain controllers.
Renaming an Active Directory domain is a complex process that requires careful preparation and backups. If your domain has no critical errors and replication is configured correctly, the renaming process can be successfully completed using the rendom tool.