In this article, we’ll guide you through installing Windows on a Mac via BootCamp. If macOS doesn’t meet your needs—perhaps you want to use software exclusive to Windows or play Windows-only games—this tutorial will be helpful. After installing Windows 10, you’ll still retain the ability to boot into macOS.
Step 1: Preparing to Install Windows 10
1. First, download the Windows 10 ISO image. You can do this from our catalog.
2. You’ll also need to activate your Windows. Purchase genuine product keys from our store:
Windows 10 – starting at 9.16 €
Windows 11 – starting at 11.20 €
Note: Windows 11 cannot be installed via BootCamp on newer M1/M2/M3 Macs.
Windows 11 is Microsoft’s latest operating system, and many users want to install it on their Macs. However, on newer Macs with M1 processors, installing Windows 11 through BootCamp isn’t possible due to several technical limitations:
1. New M1-based Macs don’t support BootCamp, so Windows installation requires a virtual machine.
2. Windows 11 requires a TPM 2.0 module for cryptographic operations and security. Macs since 2018 include the Apple T2 chip, which supports this at the motherboard level, but BootCamp cannot verify its presence, resulting in an error.
Workaround:
Despite these restrictions, you can install Windows 11 on a Mac by first installing Windows 10 and then upgrading to Windows 11.
After installing Windows 10:
– Visit the script site Universal Media Creation Tool.
– Download and extract the archive.
– Run the MediaCreationTool.bat file and select the Windows 11 version.
– Choose “Upgrade” and wait for the process to complete.
This method bypasses BootCamp and TPM 2.0 requirements, allowing Windows 11 installation on a Mac. Ensure you install all Windows 11 updates post-installation for system stability.

Step 2: Launching BootCamp
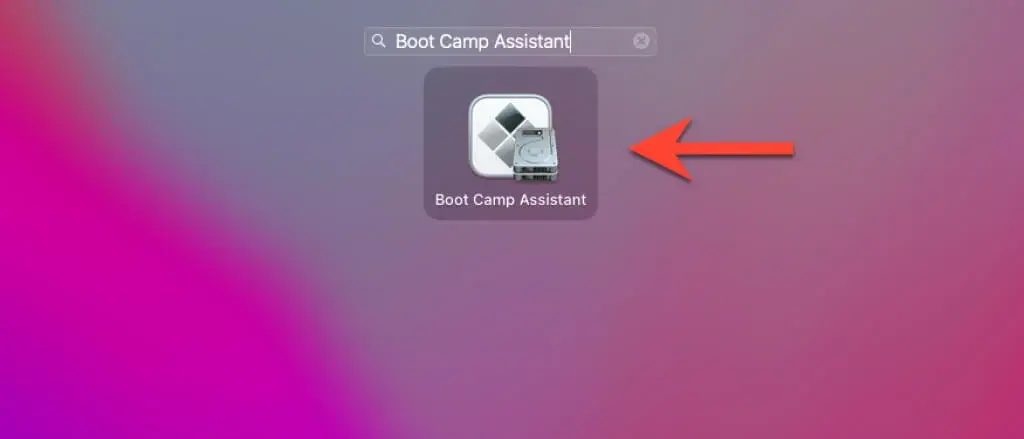
Once the ISO is downloaded, open Launchpad and locate the “Other” folder.

Select “Boot Camp Assistant.”
Note: It’s recommended to back up your computer before proceeding.
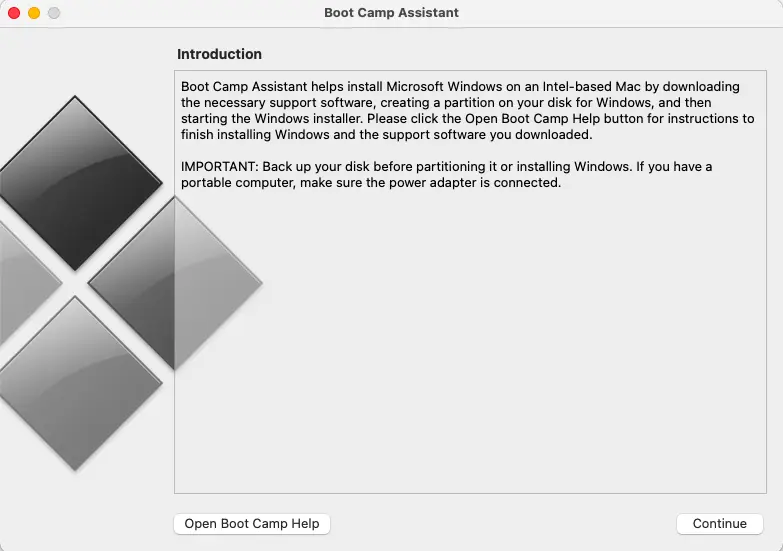
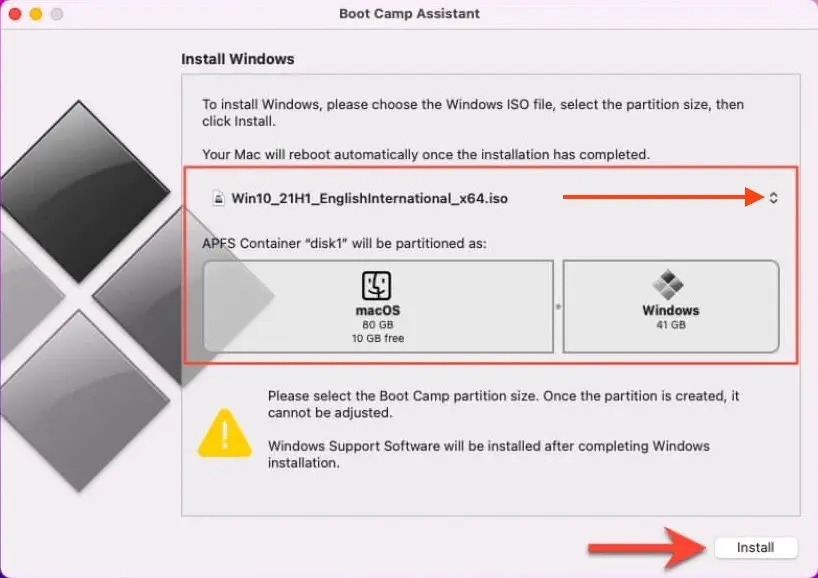
Step 3: Preparing for Installation
You’ll need at least 40 GB of free space for Windows 10, though in practice, over 50 GB is ideal. Click “Continue.”
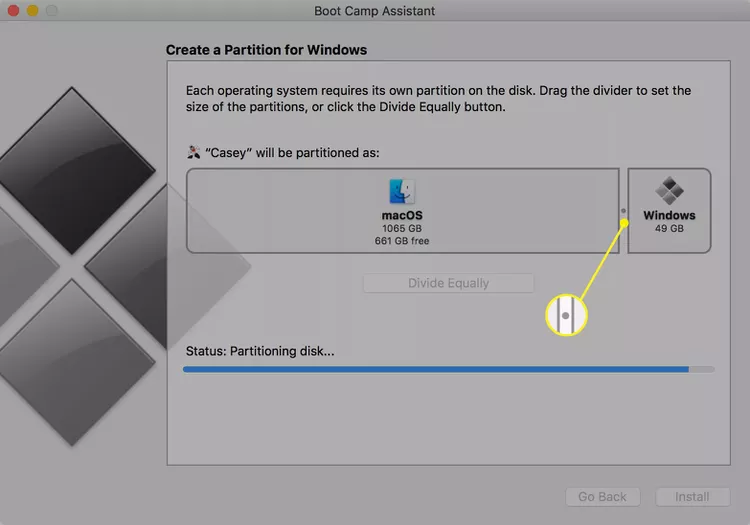
1. Choose the size of the new partition—how many gigabytes to allocate for the new OS.
2. Click “Choose” and locate the previously downloaded ISO image.
Note: If you have an ISO of a different Windows version, you can select it here too.
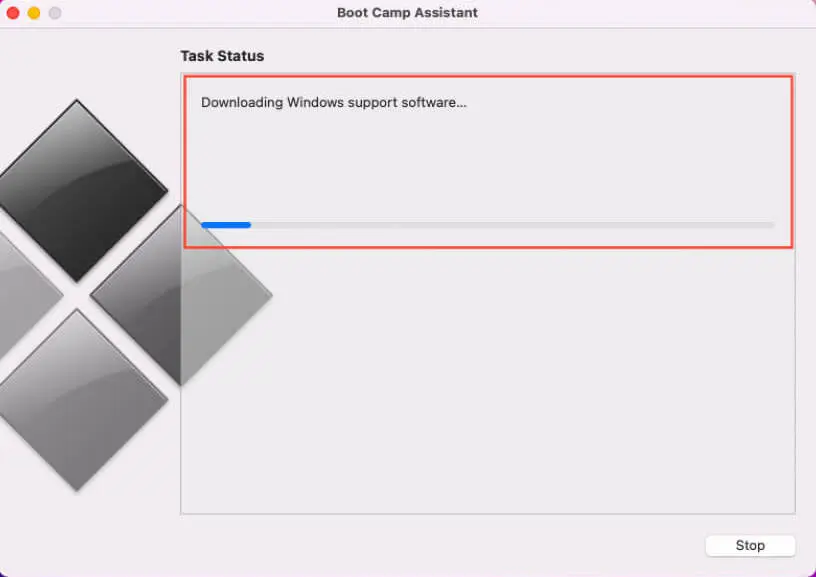
3. Click “Install” to start downloading the necessary software and partitioning the drive.
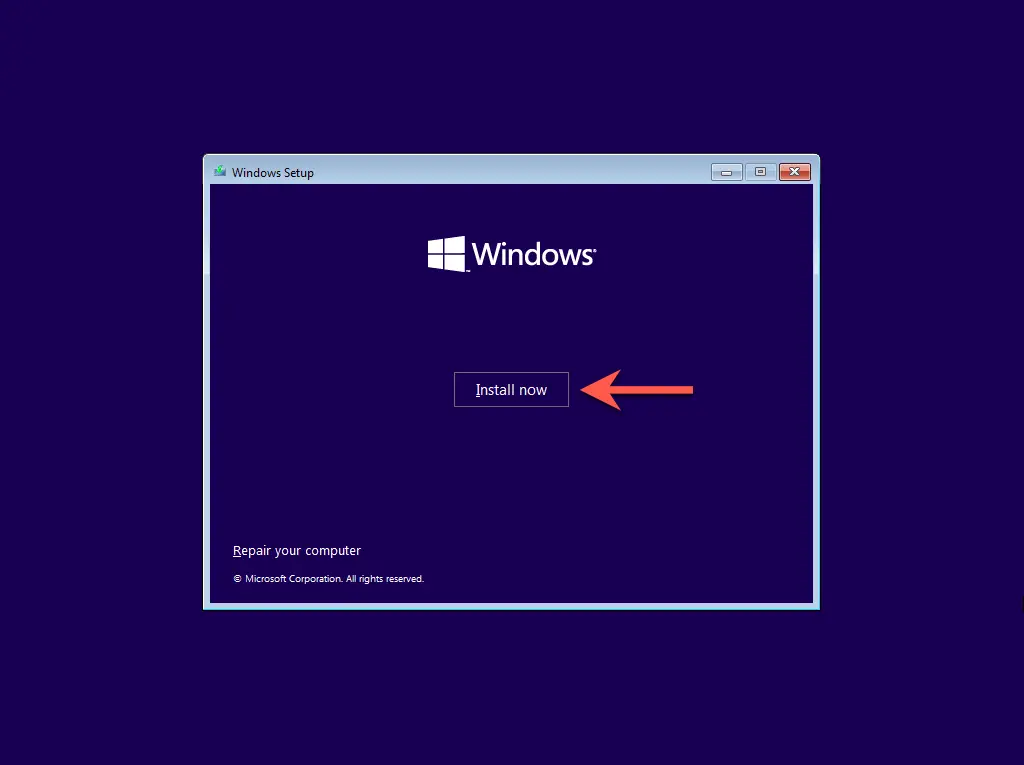
Step 4: Installing Windows 10
1. Enter your computer’s admin password, and the system will reboot.
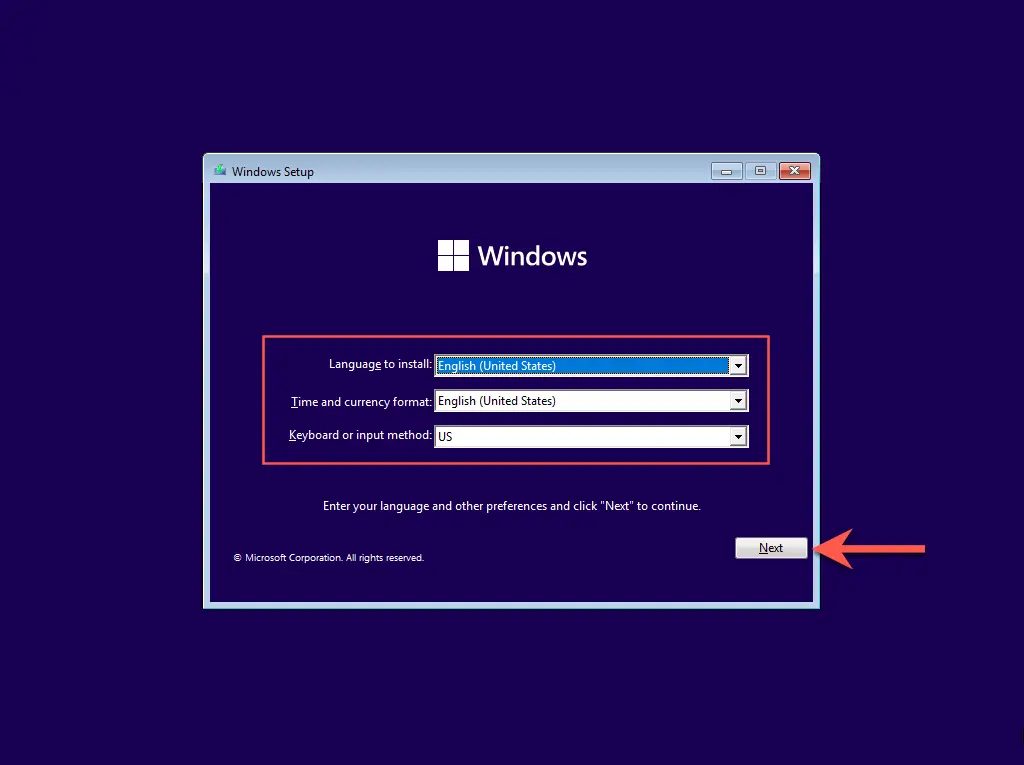
2. You’ll see the Windows installation screen. Select your language and click “Next.”
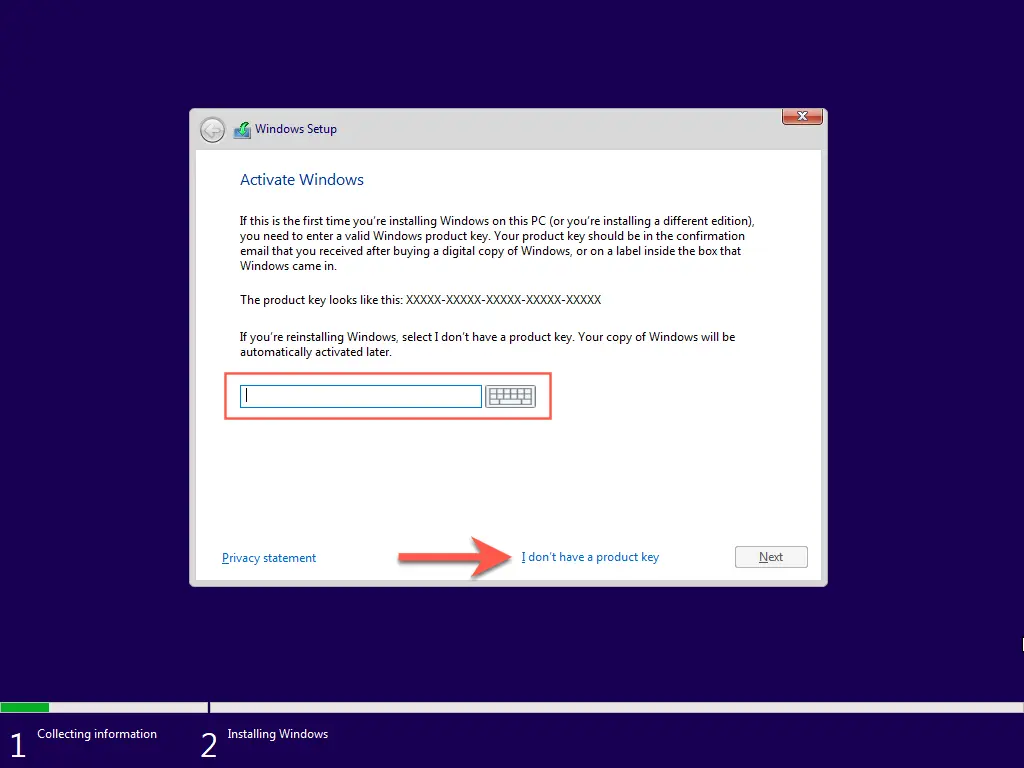
3. Click “I don’t have a product key”—you can enter it later after installation.
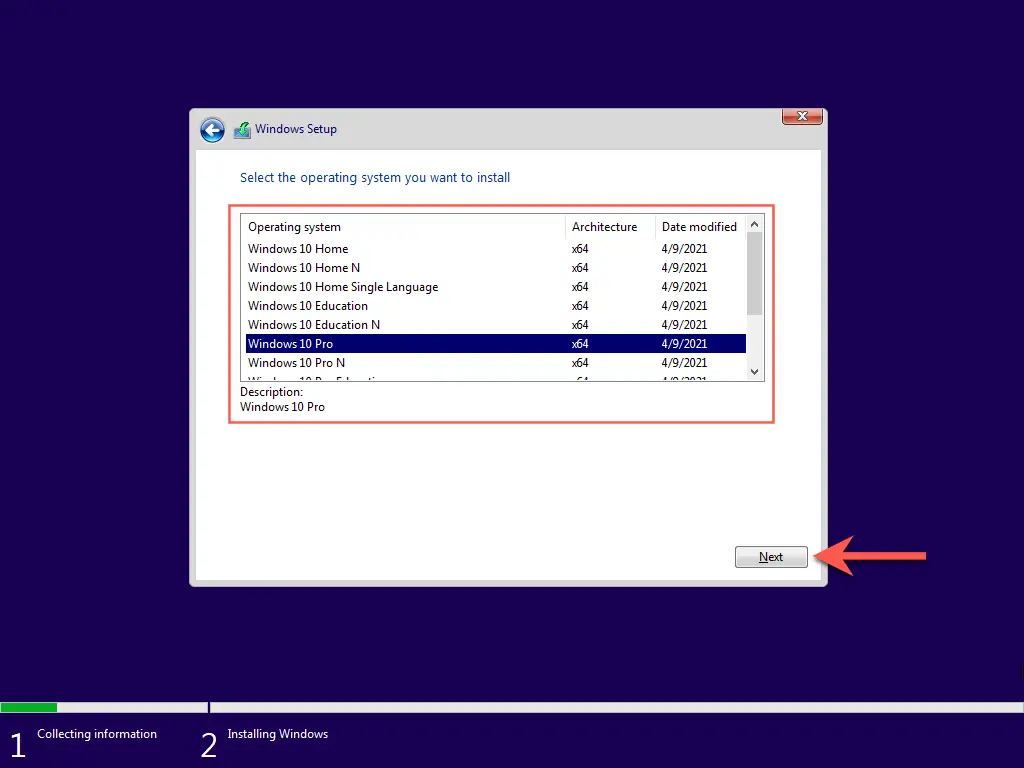
4. Select your Windows 10 edition. I’m choosing the basic Home version.
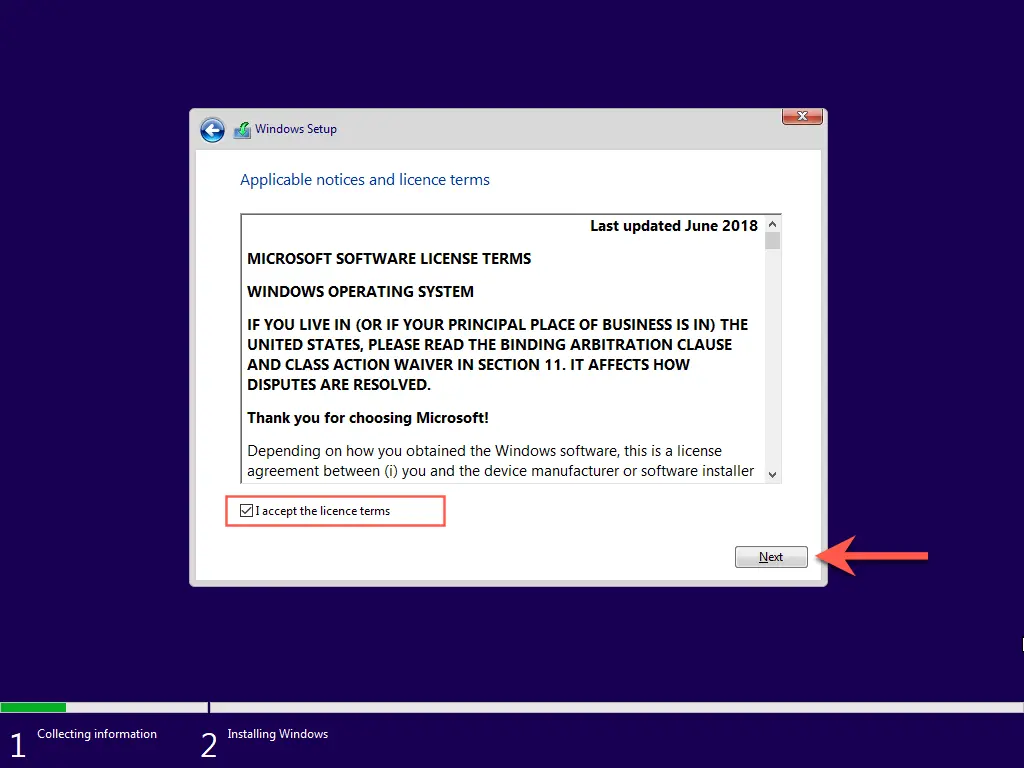
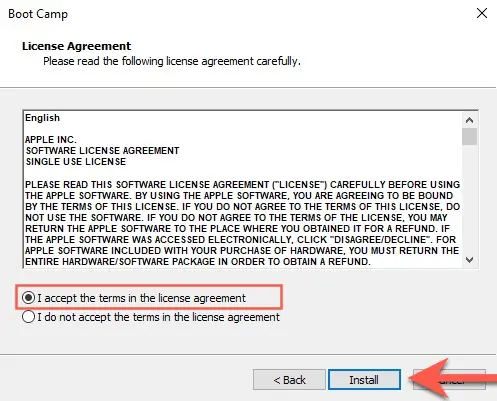
5. Accept the license agreement.
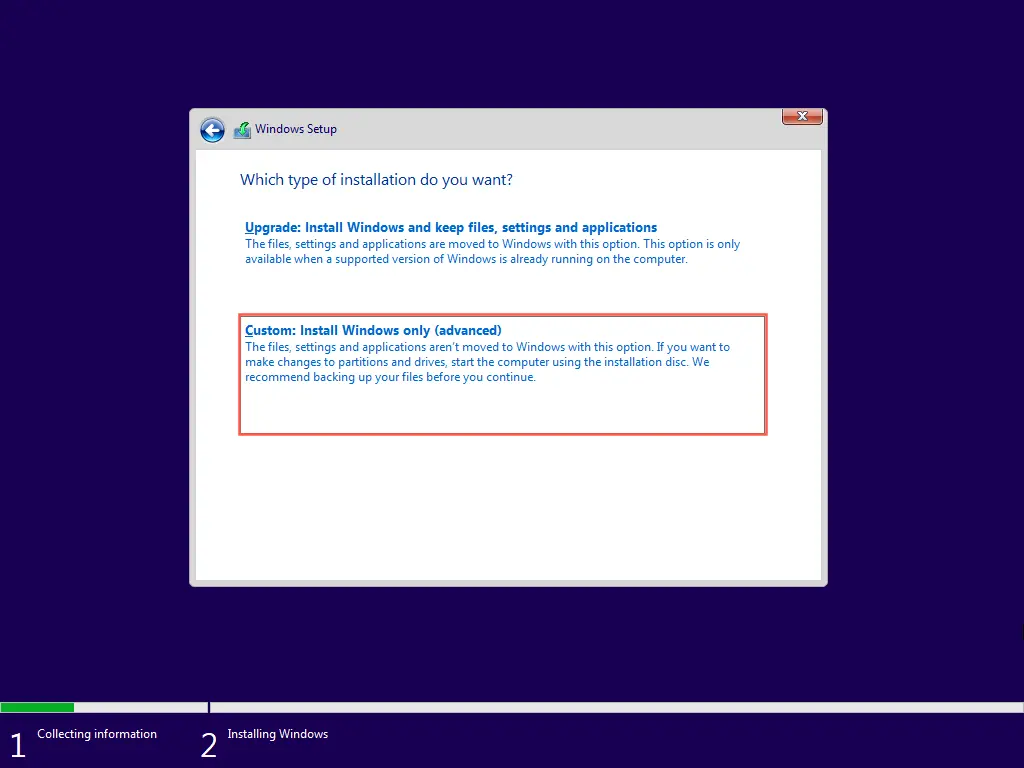
Step 5: Partition and Installation
1. Select the partition for Windows installation. In this case, choose the one labeled “BOOTCAMP” and click “Next.”
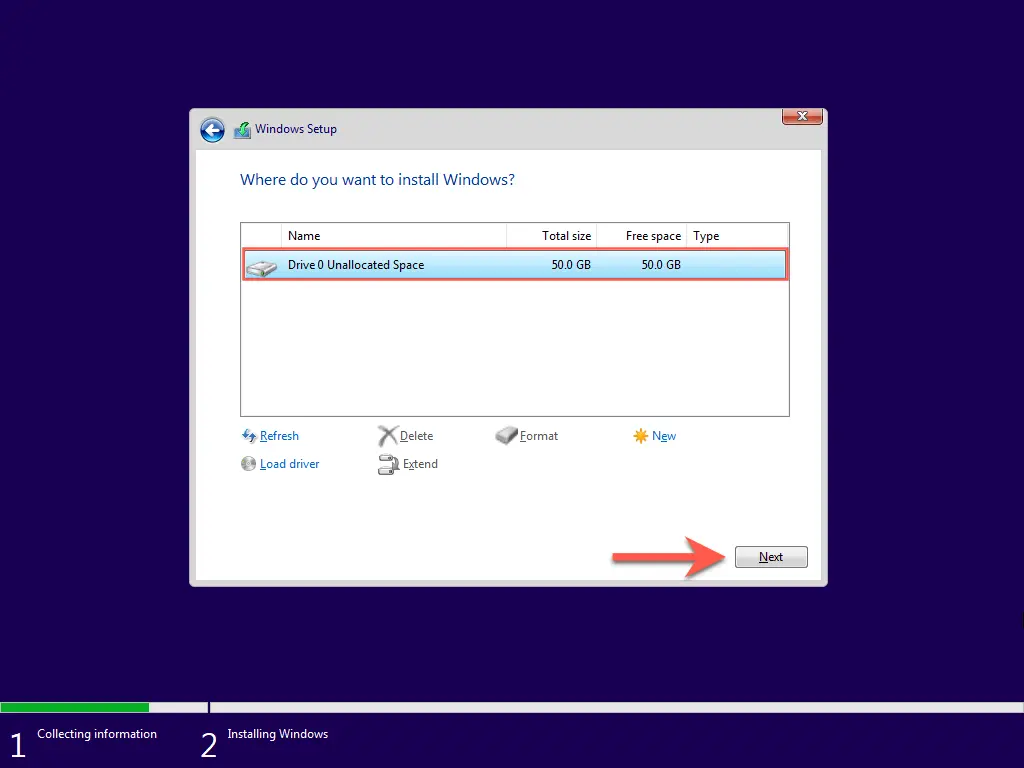
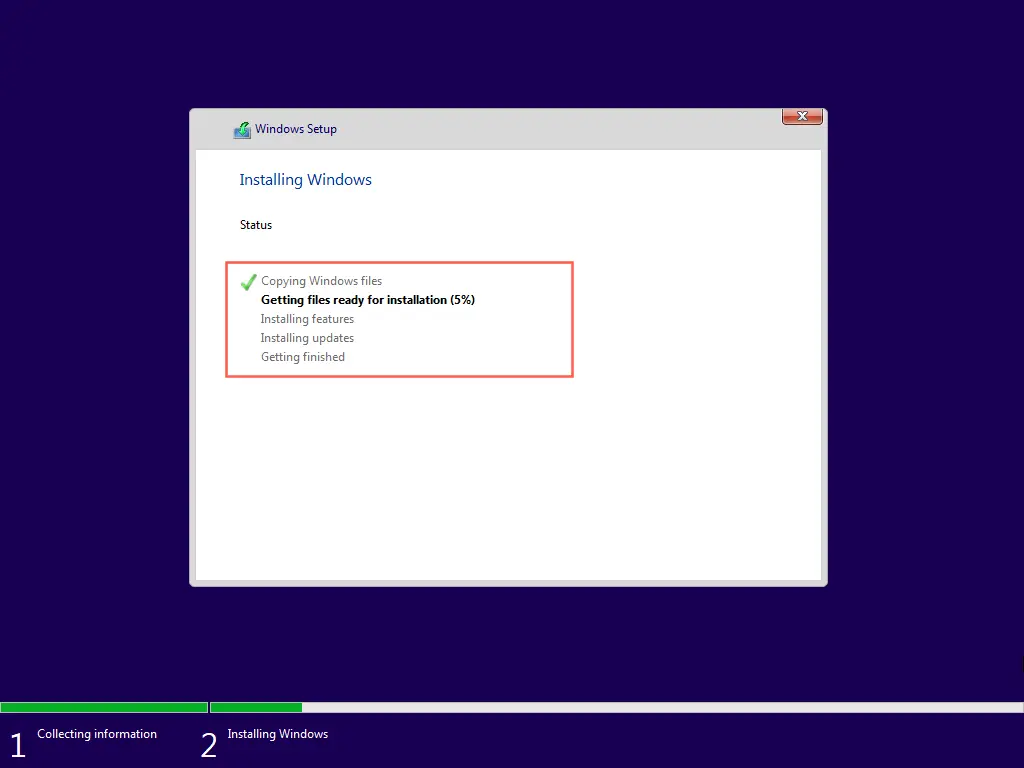
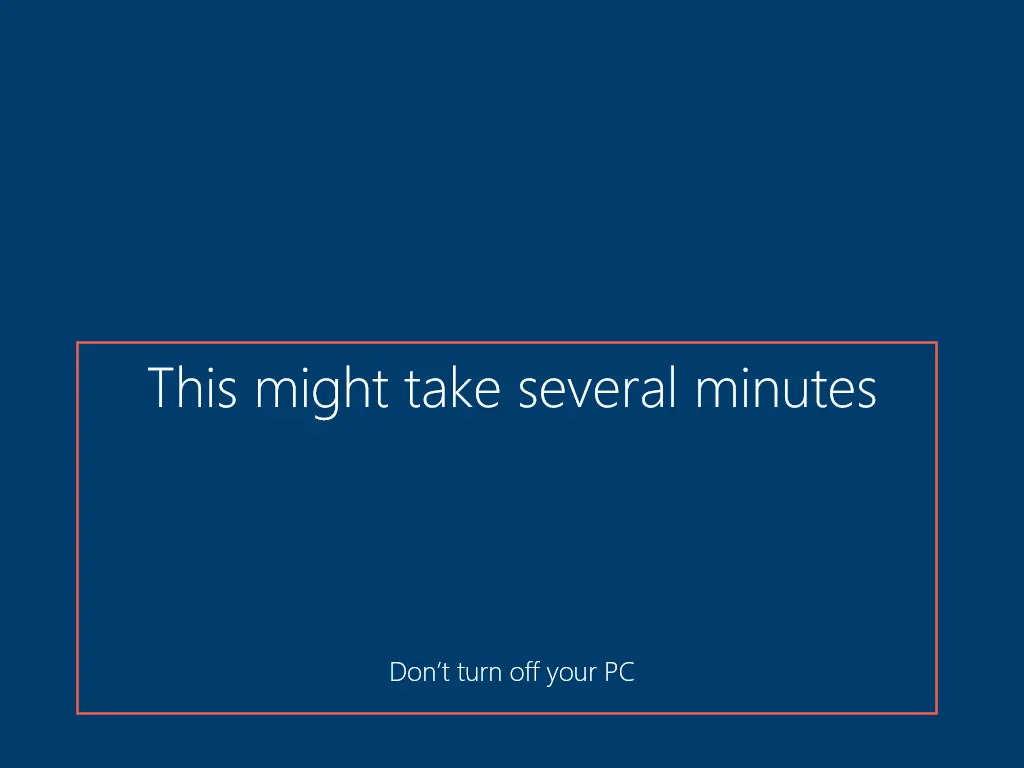
2. The Windows installation will begin. Your computer will restart multiple times, and Windows 10 will boot for the first time.
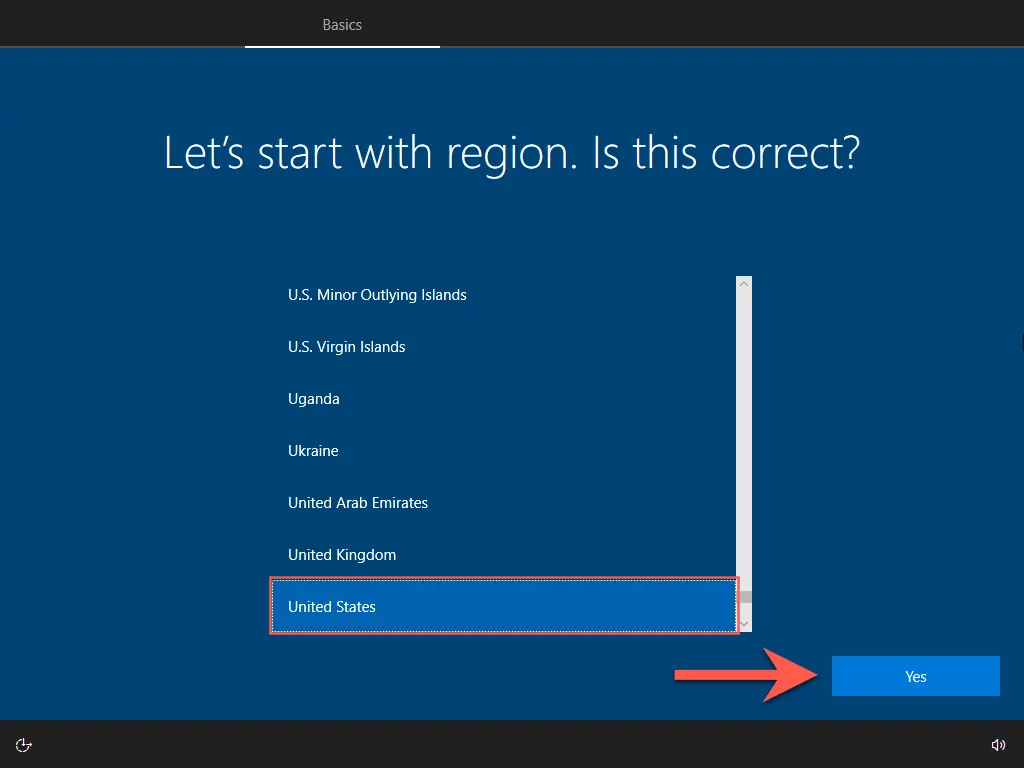
Step 6: Initial Windows 10 Setup
1. Confirm your region. In my case, it’s Russia.
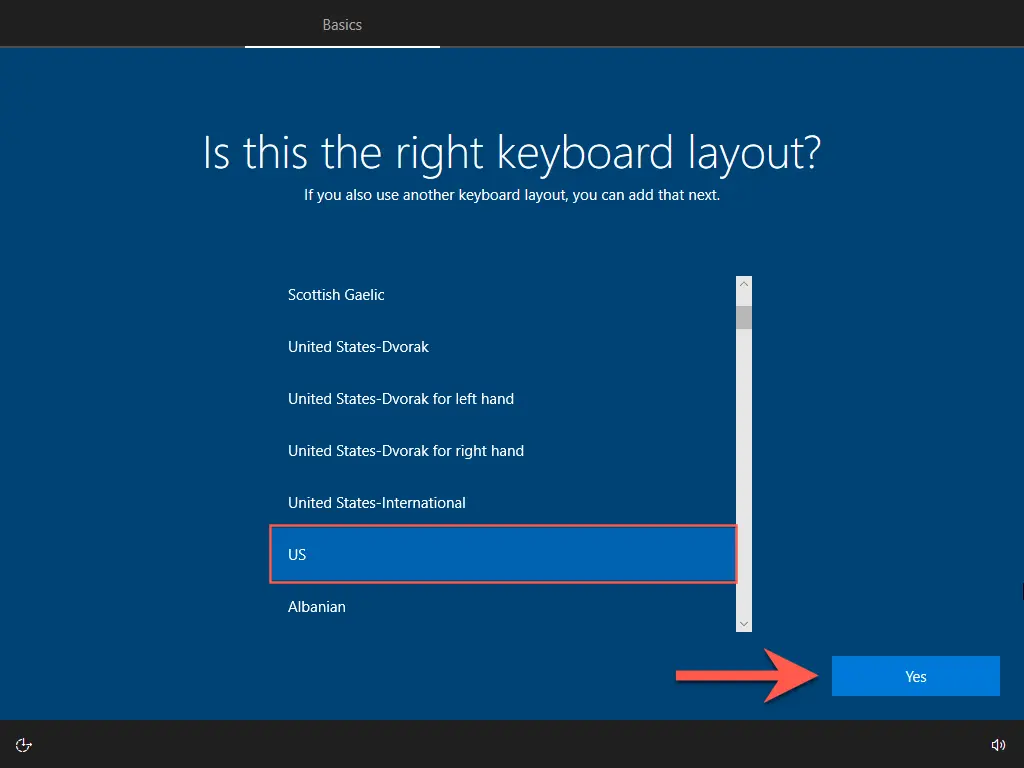
2. Select your keyboard layout language.
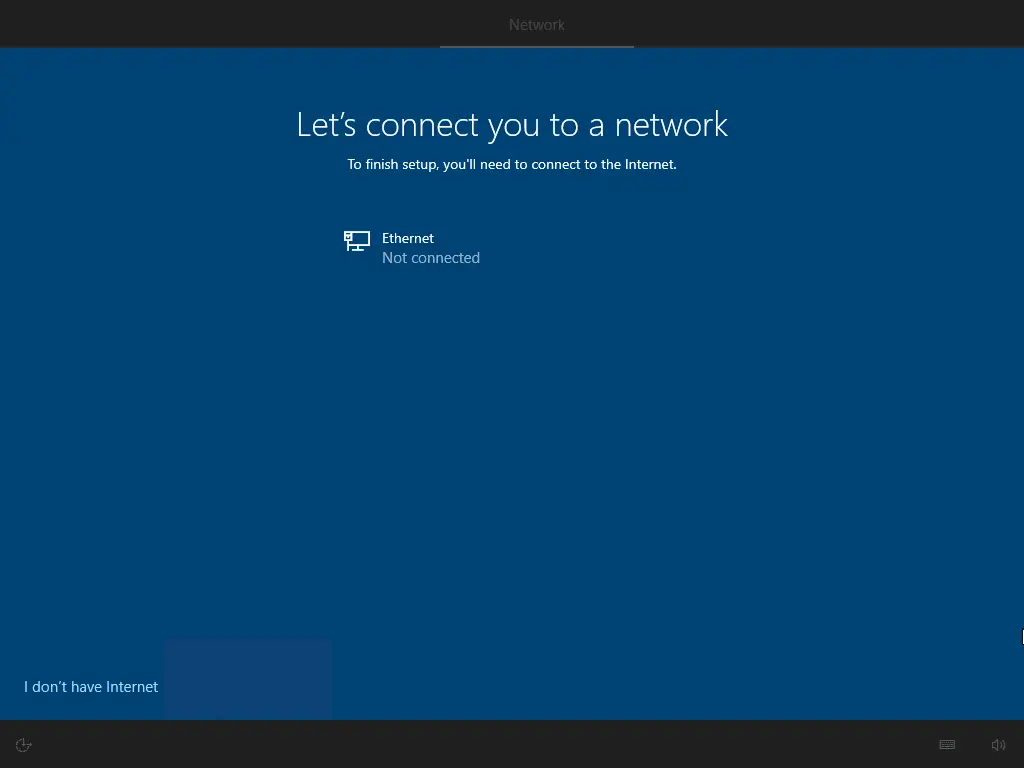
3. Connect to the internet.
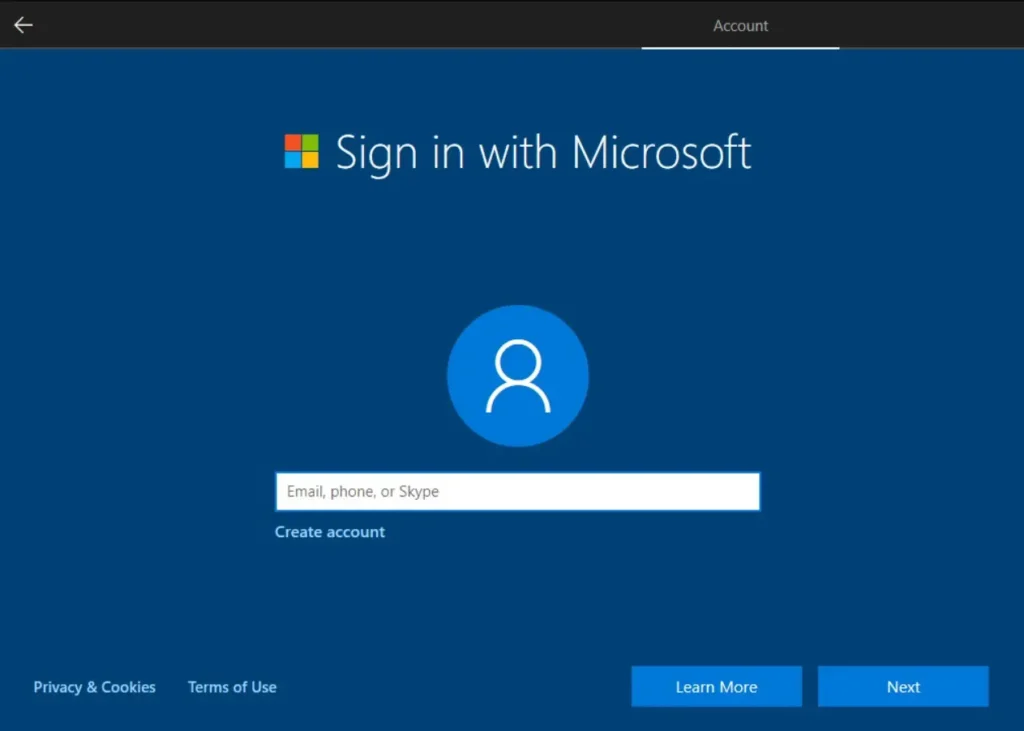
4. Sign into a Microsoft account or create a new one.
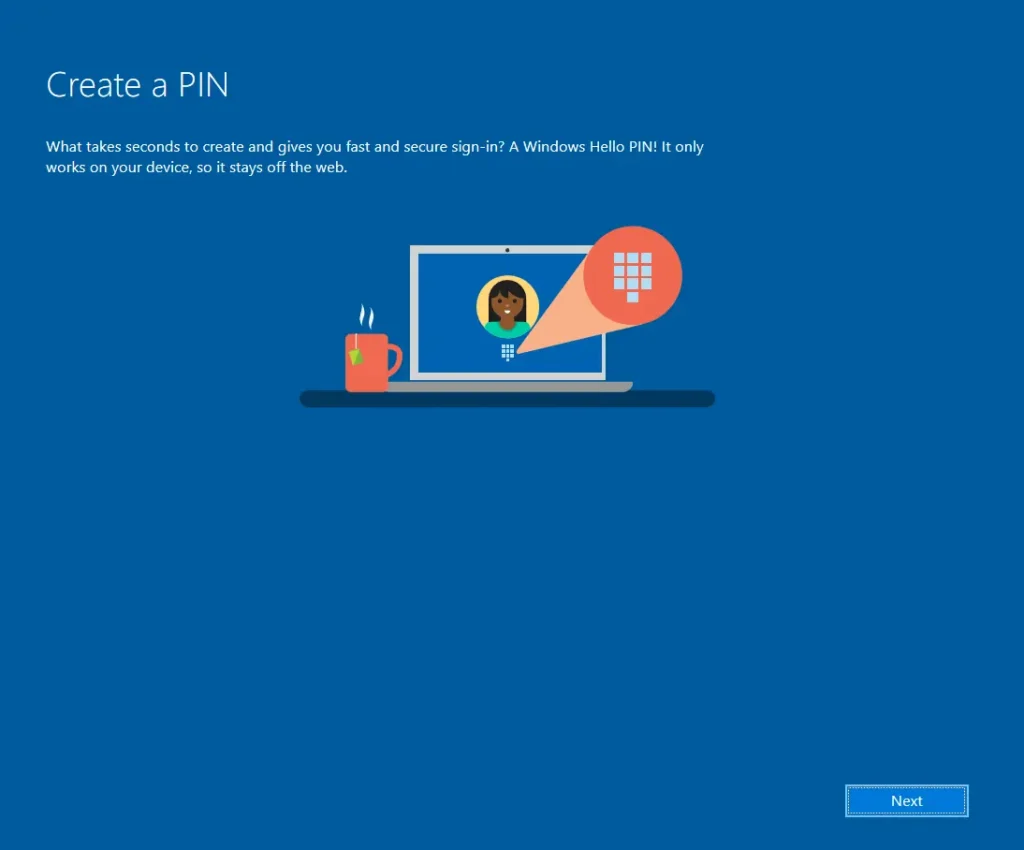
5. Set up a PIN.
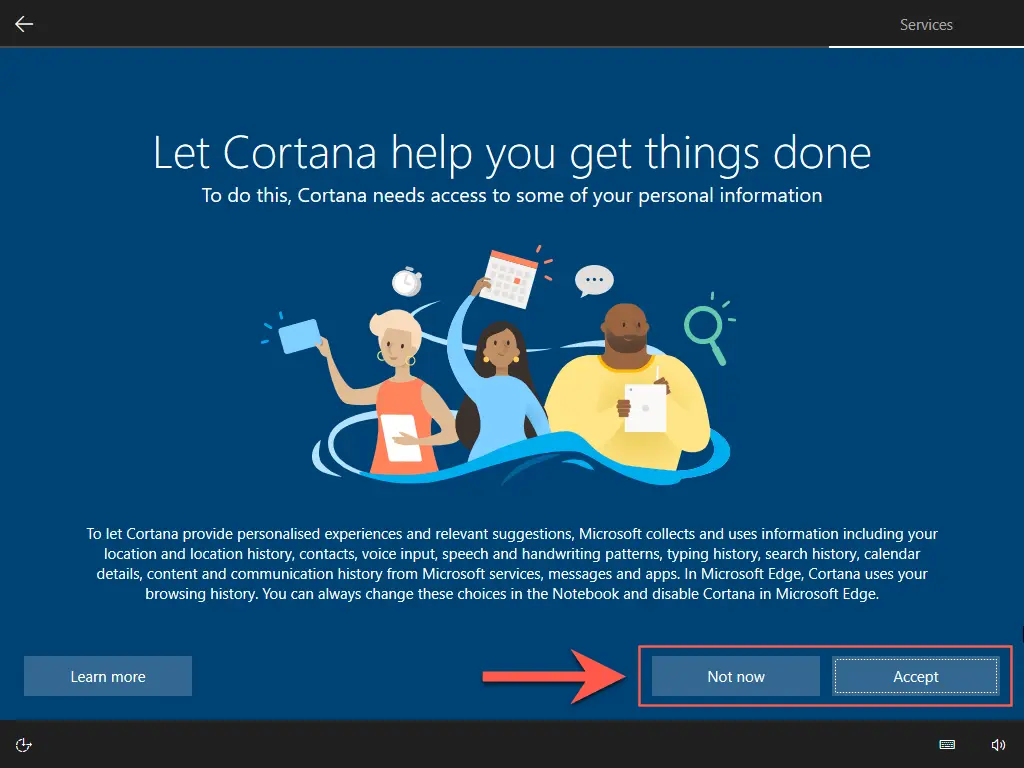
6. Skip through the remaining prompts, disable optional settings, and proceed until the desktop loads.

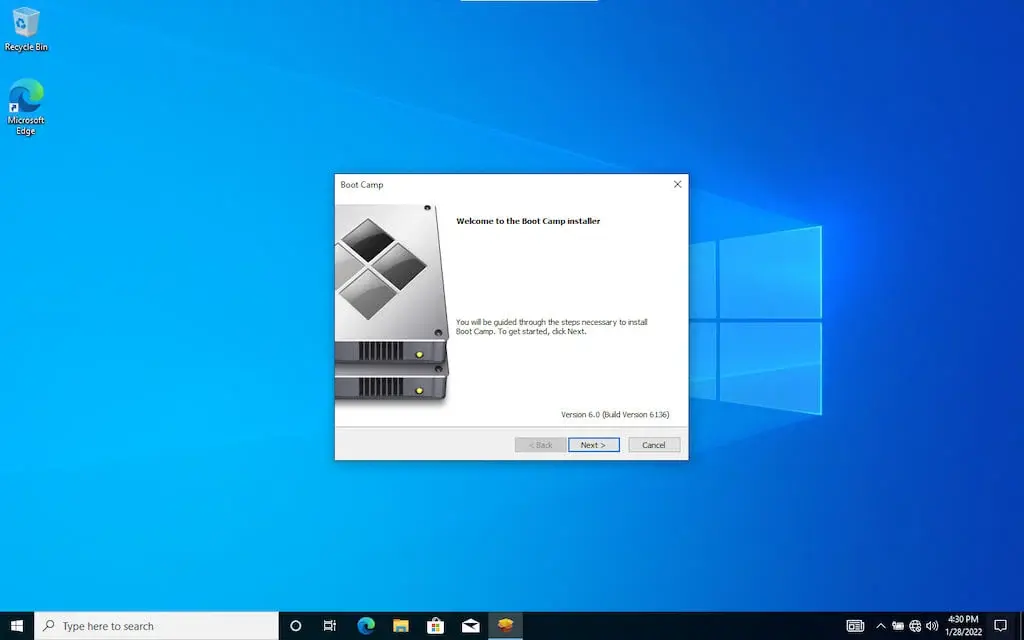
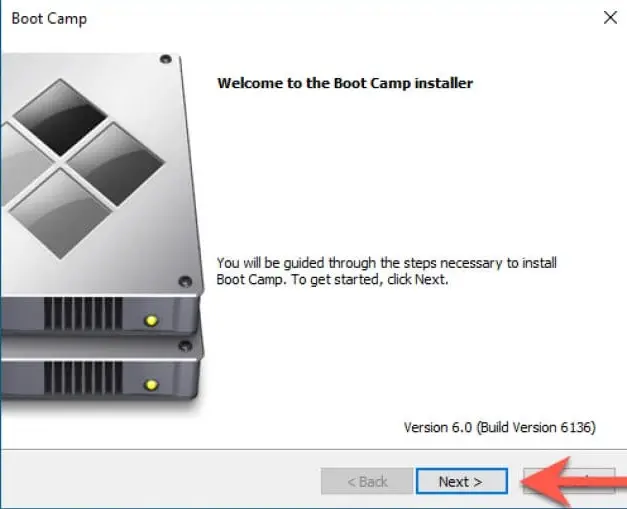
Step 7: Installing BootCamp Drivers
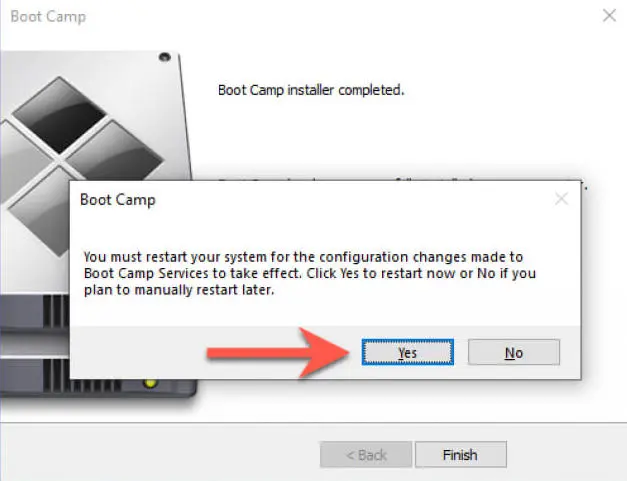
1. Complete the BootCamp driver installation. This will install drivers for your graphics card and other devices.
2. Click “Finish” and agree to restart.
Step 8: Switching Back to macOS
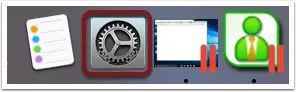
1. In the bottom right corner near the clock, find the BootCamp icon and right-click it.
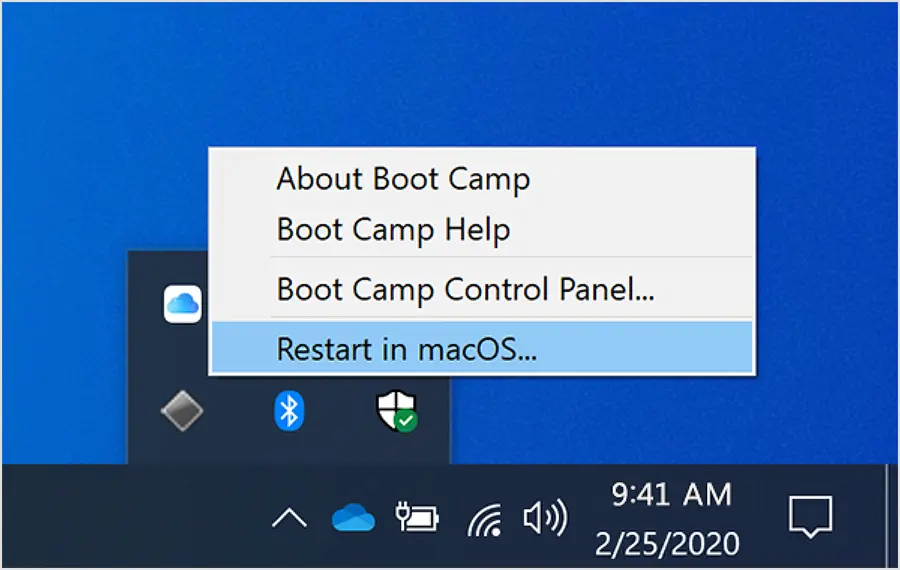
2. Select “Restart in OS X” and click “OK.” You’ll be taken to the boot disk selection screen.
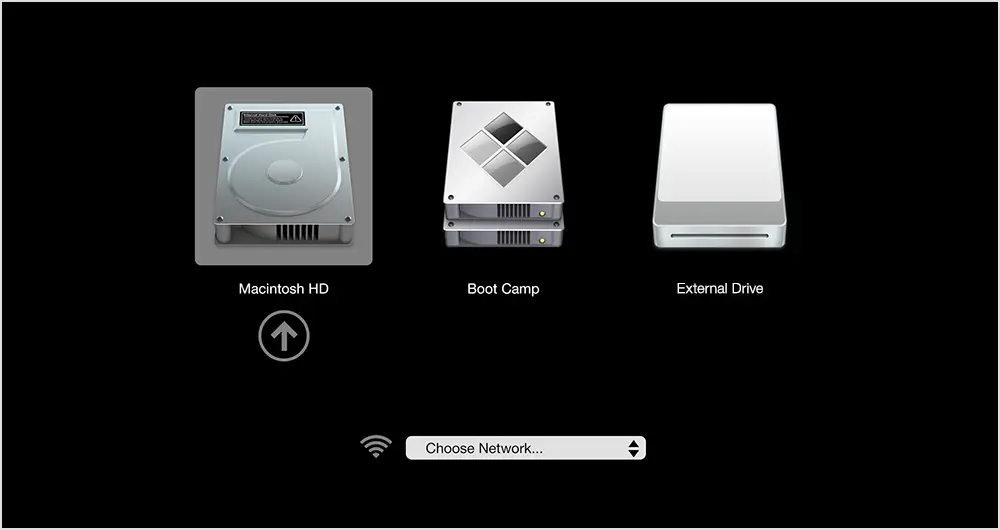
Note: If this method doesn’t work, restart your computer normally via the Start menu and hold the “Alt” or “Option” key. You’ll see the boot selection screen. Choose the macOS partition to return to your original OS.
Step 9: Switching Back to Windows
To return to Windows:
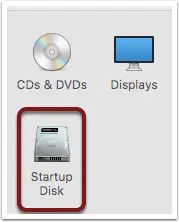
1. Go to Settings and select “Startup Disk.”
2. Click the lock icon in the bottom left corner and enter your admin password.
3. Select the “BOOTCAMP Windows” partition and click “Restart.”
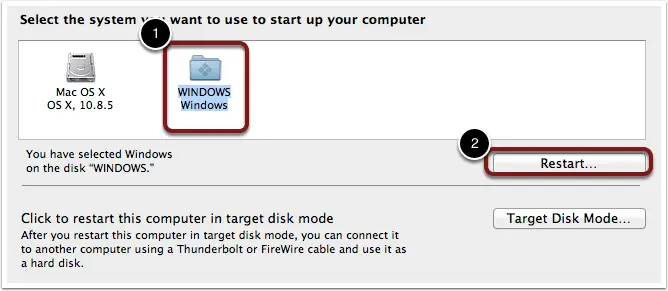
You’ll boot back into Windows and can use it as before.