For Mac users with Apple Silicon processors (M1/M2/M3/M4), there are several ways to install Windows. Among free solutions, the UTM utility is the optimal choice due to its high performance and ease of setup. In this article, we will thoroughly examine how to install Windows using UTM, including all setup steps and useful tips.
Methods to Run Windows on a Mac with Apple Silicon
Currently, there are three main ways to install Windows on a Mac with M1/M2 processors and above:
– Parallels Desktop: a simple and convenient solution, but requires a license purchase.
– VMware Fusion: a free solution, with installation instructions available in our other article.
– UTM: a free emulator and virtualizer that works excellently on macOS.
In this guide, we focus on UTM as the most reliable free solution.
Stages of Installing Windows via UTM
1) Downloading and Installing UTM
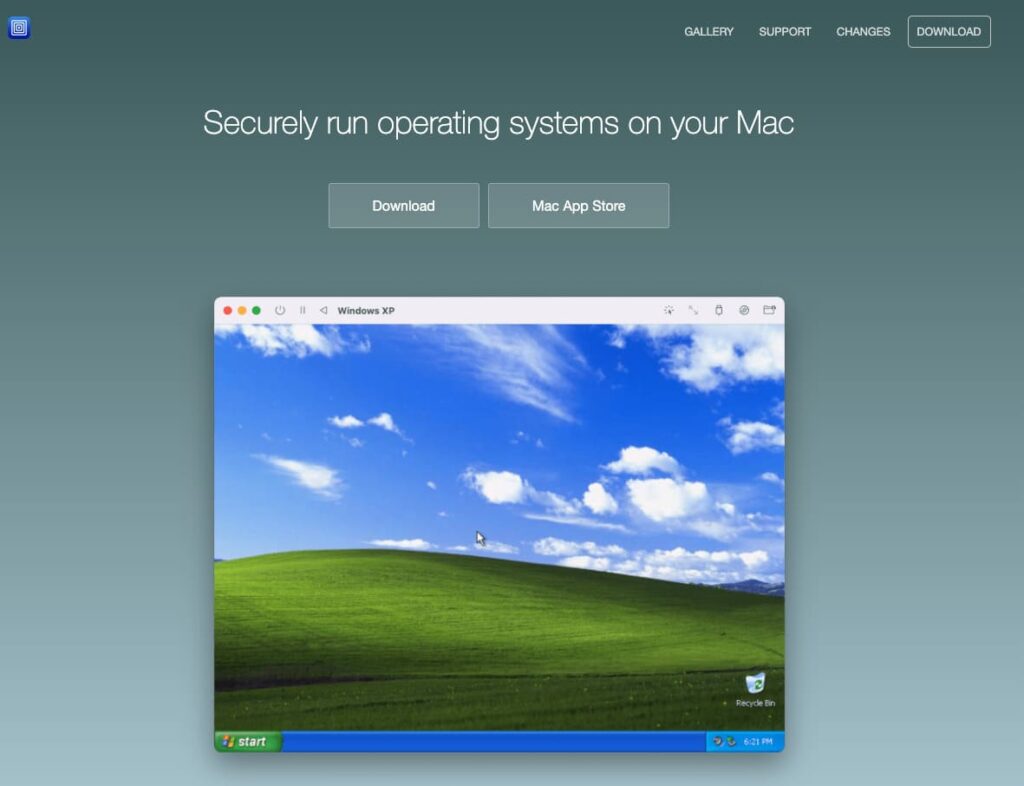
– Go to the official UTM website and download the application for macOS.
– Alternatively, download it directly from our server.
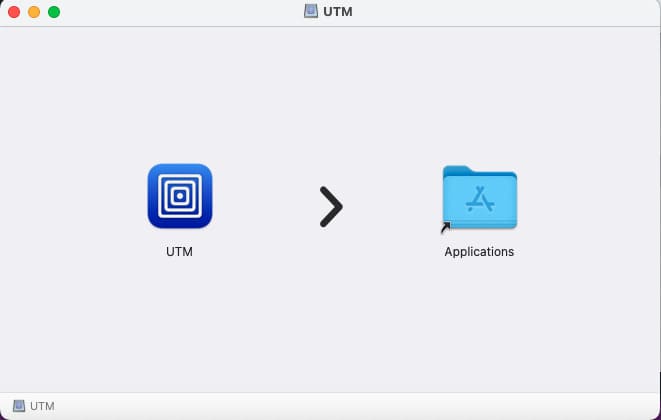
– Install UTM by opening the dmg file and moving the application into the Applications folder.
2) Preparing the Windows Image
Download the ISO image of Windows for ARM; several options:
– Use our catalog to download the official Windows 11 ARM installer.
– Use the official Microsoft website.
– Alternatively, use the Crystal Fetch utility to create an ISO image on macOS.
3) Launching UTM
– Open UTM.

The startup window will prompt you to choose a mode:
– Emulation: used for Intel-based images, works slowly.
– Virtualization: the optimal mode for Windows images built for ARM architecture. Choose this mode for use on M1/M2 processors.

4) Configuring the Virtual Machine
– In UTM, choose to create a new Windows virtual machine.

– Select the recently downloaded Windows 11 ARM ISO image and click continue.


– Configure parameters for your virtual machine:
– Memory: allocate at least 4-6 GB of RAM.
– Processors: select 2-4 or more cores.

– Hard Disk: create a virtual disk with a minimum size of 64 GB.

– Shared Folder: create a folder for transferring files between macOS and Windows.


– Name your virtual machine.

5) Starting the Windows Installation
1. Click the “Play” button to launch the virtual machine.

If you see a blank screen and nothing happens:
– Right-click on the virtual machine > Edit

– In the “System” section, select QEMU virt one version lower, for example virt-9.0


– Press reset, then save changes and try launching the virtual machine again. In our case, it worked.


2. When the message “Press any key to boot from CD or DVD” appears, press any key to start the installation.

Windows Installation Process
After the installation starts, follow the standard steps:
1) Choose the system language, keyboard layout, and region.


2) When prompted for a product key, choose “I don’t have a product key”. You can activate Windows later from the system settings.

3) Choose the Windows 11 edition you want to install. In our example, we will install the Pro edition.

4) Accept the license agreement.

– Specify the disk for installation (the virtual disk created earlier).

– Click “Next” and wait for the installation to complete.


Configuring Windows 11 After Installation
1) After installation, Windows 11 setup will begin. Choose your language, keyboard layout, and region.


2) Skip an additional keyboard layout.

3) Enter a name for your future Windows 11 and create a password.


– You will also be asked to create 3 security questions and answers for password recovery.

4) After that, Windows 11 ARM will begin updating and finalizing the installation. This may take some time.


5) Finally, Windows 11 ARM will launch and prompt you to install drivers.

– Simply click Next and wait for the installation to complete, then restart the virtual machine.


9) Verify the functionality of the following:
– Internet: ensure the virtual machine has network access.
– USB: connect USB devices and check their operation.
– Shared Folder: use it to transfer files between Windows and macOS.
10) Activate your Windows for full functionality by going to Settings > System > Activation, then click “Change” and enter the product key, which you can purchase in our store.


Advantages of UTM
– Support for ARM architecture, ensuring fast and stable Windows performance.
– Ability to flexibly configure virtual machine resources.
– Free to use without the need to purchase a license.
The UTM utility allows you to easily install Windows on a Mac with Apple Silicon processors. It is an excellent free solution for those who want to use Windows on macOS without significant expenses.
