In this article, we will discuss what to do if your computer or laptop running Windows 7, 8, or 10 does not recognize a USB drive. We will explore the reasons why the USB drive might not appear in File Explorer and provide step-by-step solutions, starting with simple checks and moving on to more advanced methods, such as working with the Registry Editor and Device Manager.
Purchase genuine product keys with instant delivery to your email for Windows 11, 10, and more in our catalog:
Windows 11 – from 11.20 €
Windows 10 – from 9.16 €
Step 1: Check the Physical Connection of the USB Drive
The first thing to do is check how you are connecting the USB drive to your computer:
1. If you are connecting the USB drive through the front panel of your computer or via a USB extension cable, try connecting it directly to the rear panel of the computer. Sometimes, front ports or extension cables can cause issues.
2. For laptops, try connecting the USB drive to a different USB port. For example, if it is connected to a USB 2.0 port, try a USB 3.0 port, and vice versa.
Step 2: Check Disk Management
If the issue persists, proceed to the next step—checking Disk Management:
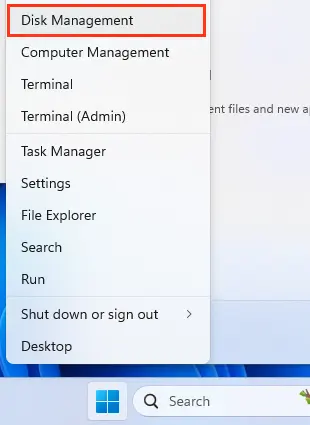
1. In Windows 10, right-click the Start button and select Disk Management.
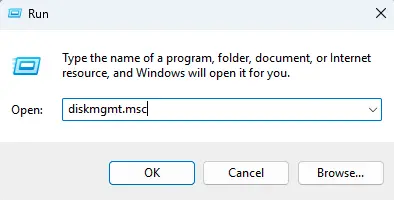
2. In other versions of Windows, press Windows+R and type the command diskmgmt.msc. Click OK.
3. In the window that opens, check if the USB drive is displayed. It may not appear in the upper part of the window but should be visible in the lower part.
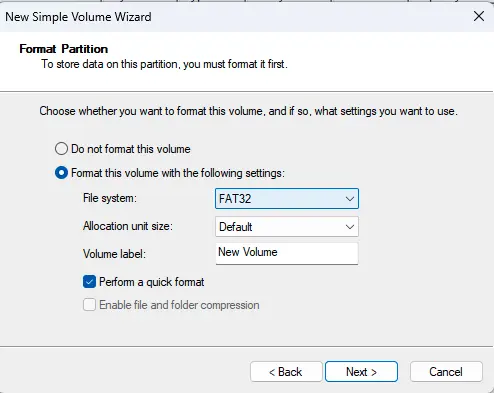
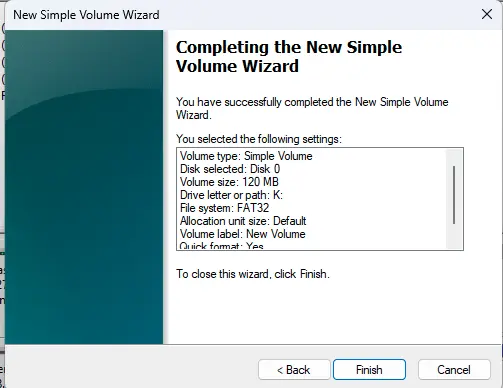
a) If the USB drive appears as “Unallocated Space,” do the following:
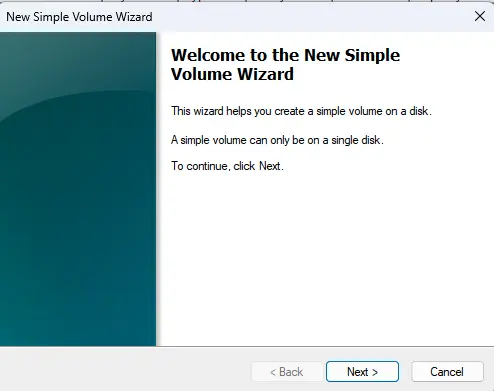
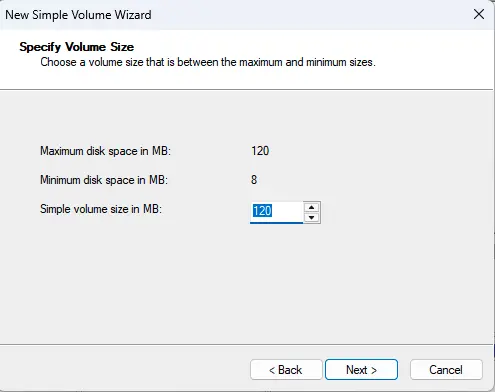
– Right-click the space and select New Simple Volume.
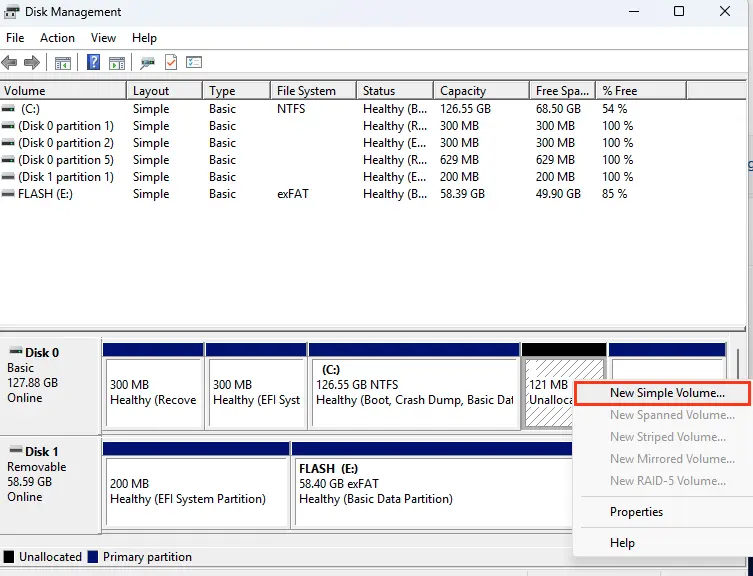
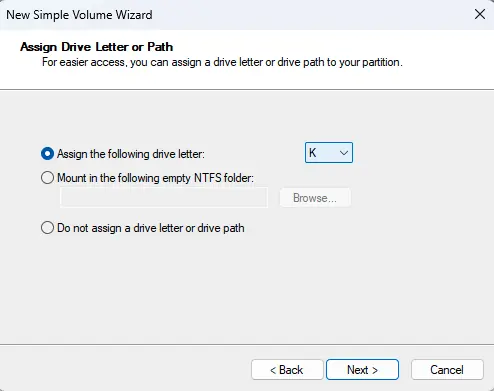
– Follow the wizard’s instructions to assign a drive letter and format the USB drive.
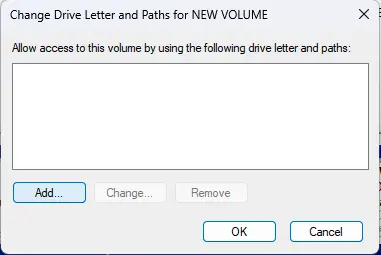
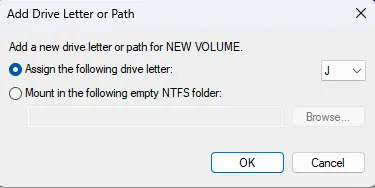
b) If the USB drive already has a file system (FAT32 or NTFS) but no drive letter is assigned, it will not appear in File Explorer:
– Right-click the volume and select Change Drive Letter and Paths.
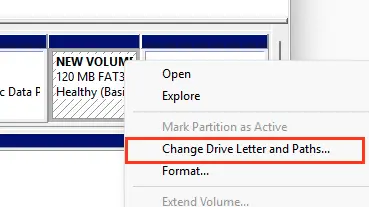
– Add the desired drive letter and click OK.
c) If an arrow is displayed next to the device name or the device is marked as “Not Initialized”:
– Right-click and select Initialize Disk.
d) If the USB drive’s file system is displayed as RAW:
– This may indicate a corrupted file system. In this case, you will need to repair the file system.
Step 3: Removing Unnecessary Partitions
If your USB drive has multiple partitions, this might be the reason why it is not recognized by older versions of Windows (e.g., Windows 7 or 8). In such cases, it is recommended to delete all partitions and create a new one:
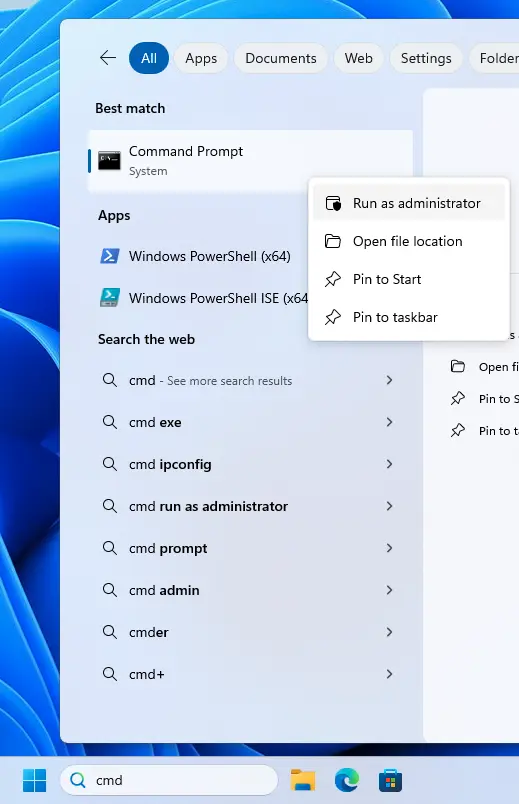
1. Open Command Prompt as an administrator.
2. Type the command diskpart, then list disk to see a list of disks.
3. Find the disk number corresponding to your USB drive and type select disk [disk number].
4. Type clean to delete all partitions.

5. Create a new partition and format it.
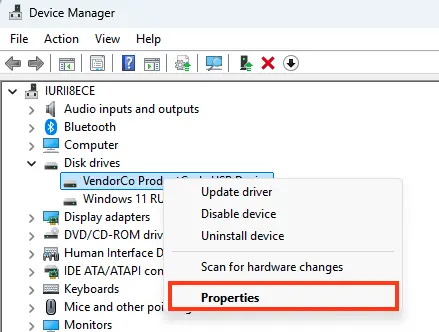
Step 4: Checking Device Manager
If the USB drive does not appear in Disk Management, proceed to Device Manager:
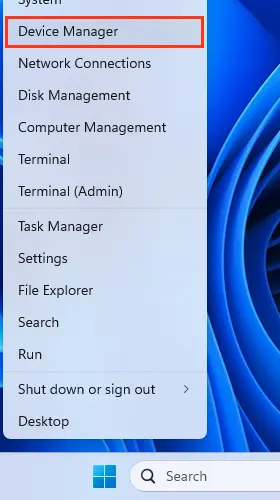
1. In Windows 10, right-click the Start button and select Device Manager.
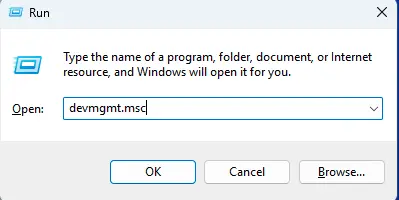
2. In other versions of Windows, press Windows+R and type the command devmgmt.msc.
3. Check for errors among disk devices:
a) If the USB drive appears with a yellow triangle or another error icon:
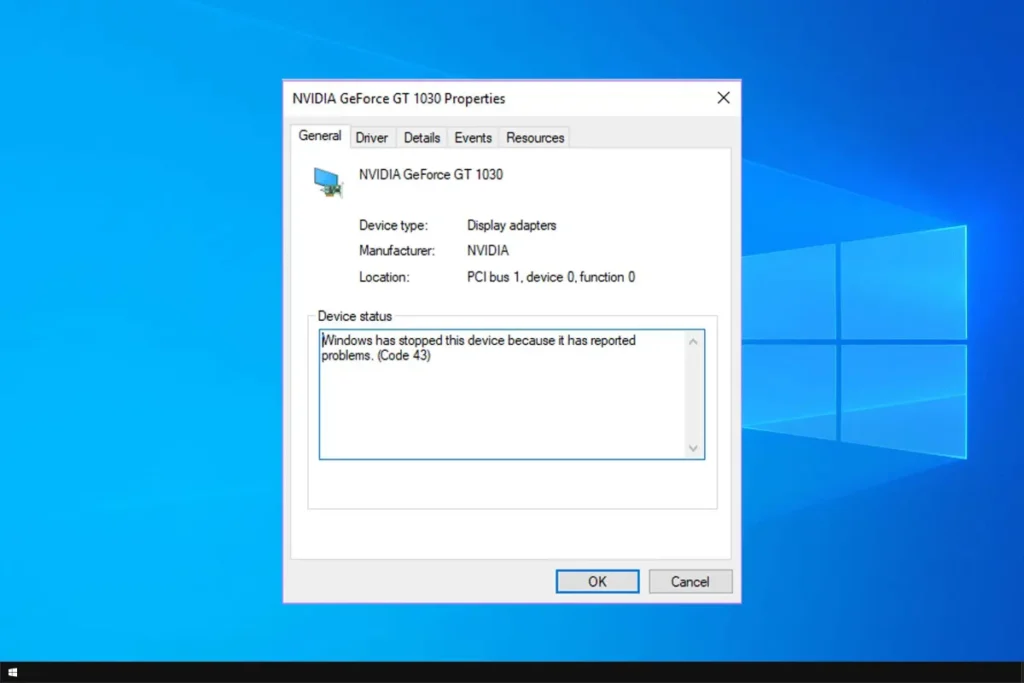
– Open the device properties and check the error code. You can find solutions for most error codes online.
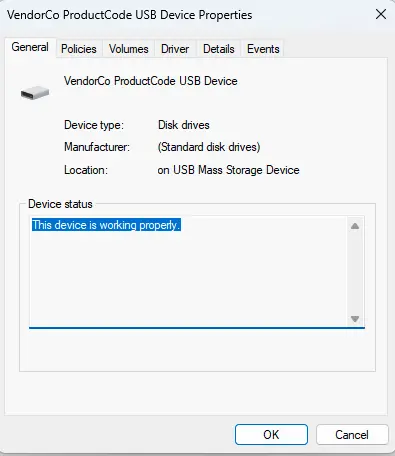
For example, if the error code is 43, this may indicate a hardware issue with the device or the USB port. In this case, try connecting the USB drive to another port or computer to rule out hardware problems.
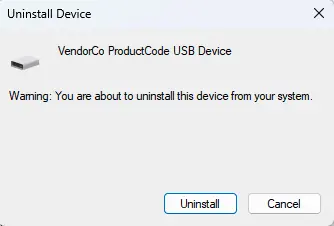
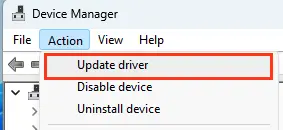
b) If the USB drive does not appear, but there are other unknown devices:
– This may indicate a driver issue. Delete the device, click Action -> Scan for hardware changes, and check if the USB drive appears.

c) Check the Other Devices section:
– Devices with an undefined status, such as Unknown Device or Storage Device, may be displayed here.
If you find such a device, it may require the correct driver. Try deleting it through the context menu and then scanning for hardware changes, as described above.
Alternatively, download and install drivers from the official website of your laptop or motherboard manufacturer.
After completing these steps, restart your computer and try connecting the USB drive again. If the issue was related to drivers or incorrect configuration, the USB drive should now work correctly.
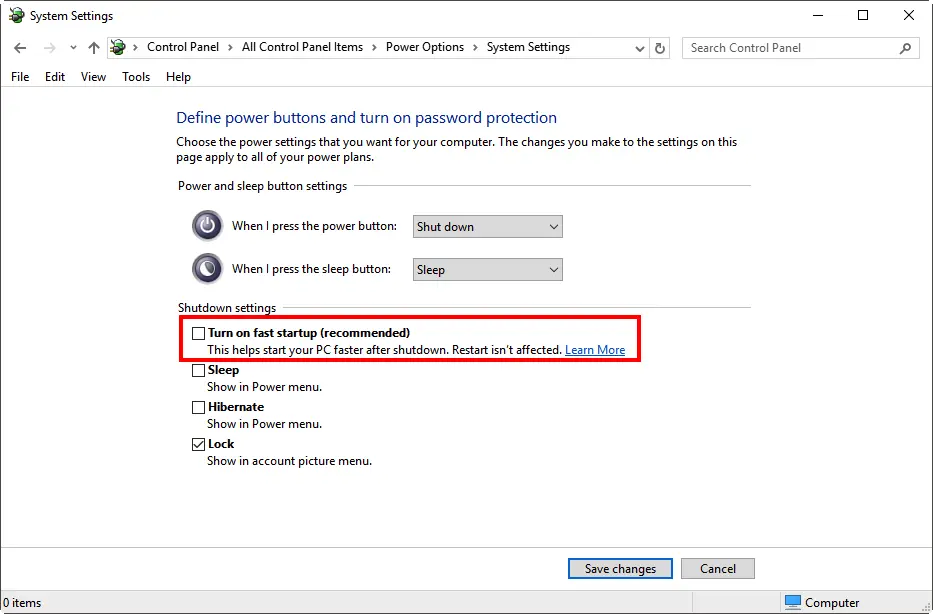
Step 5: Disabling Windows Fast Startup
If the issue occurs only after restarting the computer but not after a full shutdown, try disabling Fast Startup:
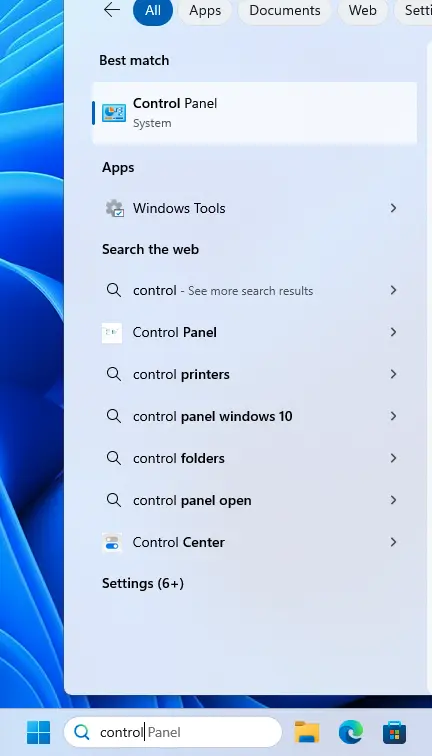
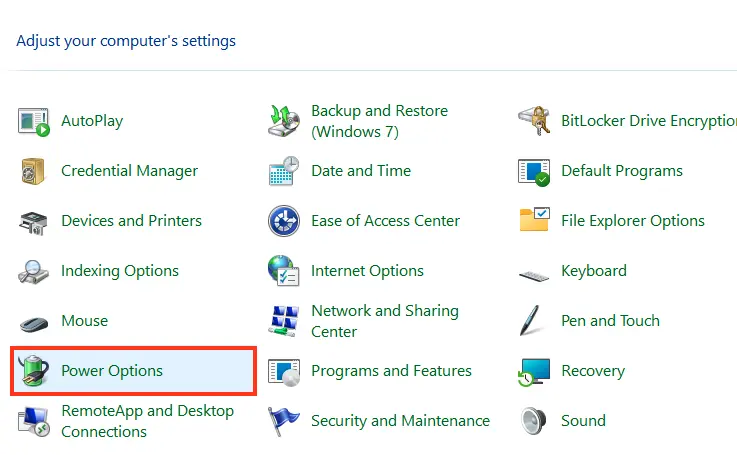
1. Go to Control Panel and select Power Options.
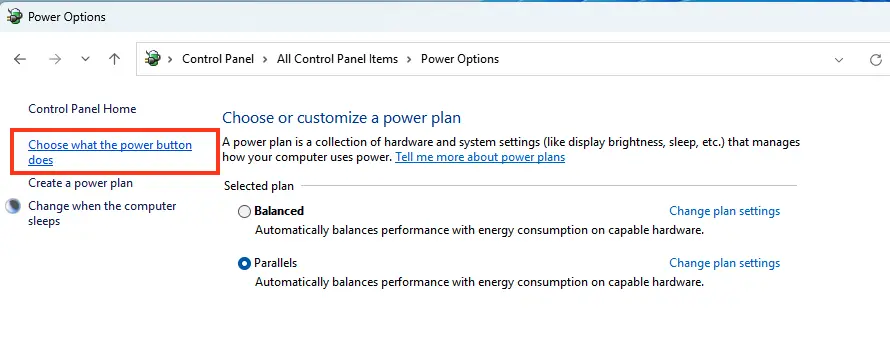
2. Select Choose what the power buttons do, then Change settings that are currently unavailable.
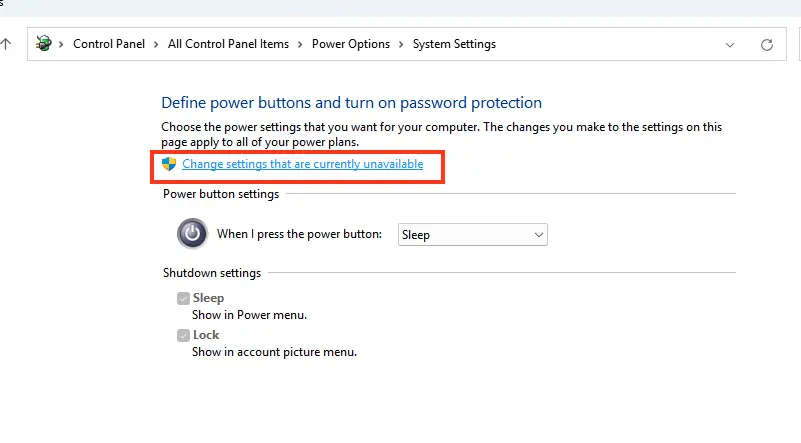
3. Disable the Turn on fast startup option.
Step 6: Editing the Registry
If the previous steps did not help, you can try editing the Windows Registry:
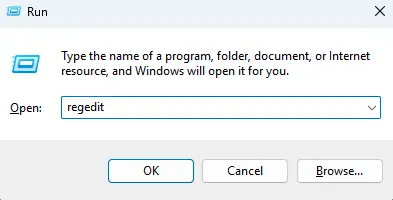
1. Open the Registry Editor by pressing Windows+R and typing regedit.
2. Navigate to the following registry paths:
– HKEY_LOCAL_MACHINE\SYSTEM\CurrentControlSet\Control\Class – Delete the LowerFilters and UpperFilters values if they exist.

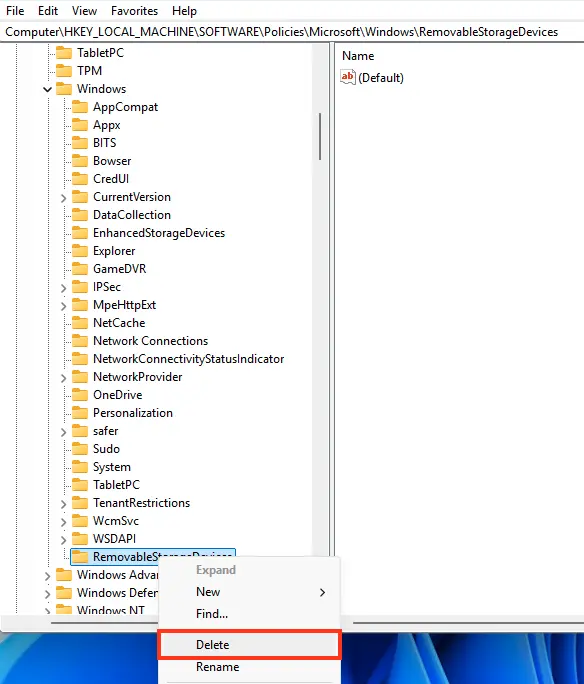
– If there is a RemovableStorageDevices subkey under HKEY_LOCAL_MACHINE\SOFTWARE\Policies\Microsoft\Windows\, you can delete it as well.
– HKEY_LOCAL_MACHINE\SYSTEM\CurrentControlSet\Services\USBSTOR – Ensure the Start value is set to 3.

– In the HKEY_CURRENT_USER\Software\Microsoft\Windows\CurrentVersion\Policies\Explorer path, there should be no NoDrives value.
– In the HKEY_LOCAL_MACHINE\System\CurrentControlSet\Control path, there should be no StorageDevicePolicies key.
3. Close the Registry Editor and restart your computer.
Step 7: Removing Old Drivers and USB Connection Points
If the previous steps did not help, the issue might be related to old USB drivers or connection points that remain in the system and interfere with the proper functioning of new devices. To resolve this issue, you can use specialized utilities such as USB Oblivion and DriveCleanup. Below is the process for working with these utilities.
Before running the utilities, be sure to create a system restore point. This will allow you to revert any changes if something goes wrong.
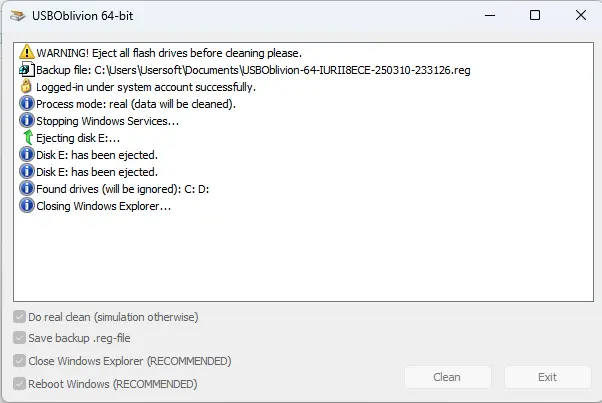
1. Using USB Oblivion
USB Oblivion is a free utility that completely cleans traces of previously connected USB devices and their drivers from the system. Here’s how to use it:
– Download USB Oblivion and extract the archive on your computer. The utility does not require installation and is ready to use immediately.
Before running the utility, ensure that no USB devices are connected to your computer except for the mouse and keyboard. This is important to avoid accidentally deleting drivers for necessary devices.
– Run USB Oblivion as an administrator (right-click the utility icon and select Run as administrator).
The utility interface has several options.

Important: Check the Perform real cleanup option to ensure the utility performs an actual cleanup rather than just simulating the process.

Click the Clean button and wait for the process to complete. After the utility finishes, restart your computer.
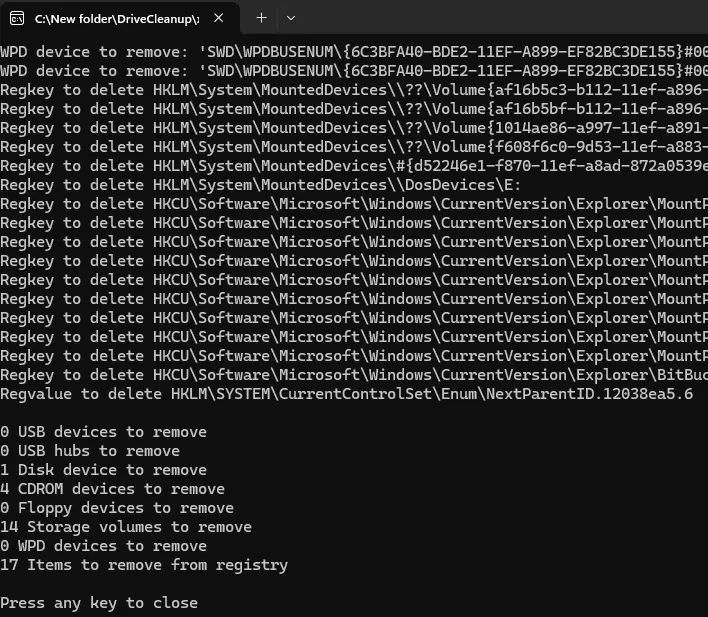
2. Using DriveCleanup
DriveCleanup is another utility that automatically removes old USB connection points and drivers left behind by previously connected devices. Here’s how to use it:
– Download DriveCleanup and extract the archive. Inside the archive, you will find versions for 32-bit and 64-bit systems.
Disconnect all USB devices from your computer except for necessary ones (e.g., mouse and keyboard).
Run the utility as an administrator:
For 32-bit systems, open the Win32 folder and run DriveCleanup.exe.
For 64-bit systems, open the x64 folder and run DriveCleanup.exe.

The utility will automatically start the cleanup process, removing old drivers and USB connection points. The process takes a few minutes, after which you will be prompted to restart your computer.
Restart your computer, then reconnect your USB drive. If the issue was related