With the release of the Windows 10 version 1903 update, a new feature called Windows Sandbox was introduced. This built-in tool, based on Hyper-V and containerization technologies, allows you to create a temporary isolated environment for running untrusted applications, potentially harmful software, or even viruses. Applications launched in the sandbox cannot affect the host operating system. Once Windows Sandbox is closed, all changes are erased, and each new launch starts with a clean slate. In this article, we’ll cover how to install, configure, and use Windows Sandbox in Windows 10.
You can purchase Windows 10 from our store starting at 9.16 €.
Download the original Windows 10 installer from our catalog!
What is Windows Sandbox?
Windows Sandbox is a lightweight virtual machine, approximately 100 MB in size, that utilizes the kernel of the host Windows 10 OS. A key feature of the sandbox is its use of the host system’s kernel files, significantly reducing resource consumption and enabling fast startup. All files remain immutable and cannot be deleted or altered from within the sandbox.
Unlike a conventional virtual machine, Windows Sandbox does not require a separate operating system installation or updates. The sandbox leverages the system binaries and libraries (DLLs) of the host OS, accessing them from both RAM and disk, which minimizes memory usage. There’s no need to maintain a large virtual disk.
To use Windows Sandbox on your computer, the following conditions must be met:
– A 64-bit processor with at least two cores.
– Windows 10 version 1903 (build 18362 or higher) in the Pro or Enterprise editions.
– Virtualization support enabled in BIOS/UEFI.
– At least 4 GB of RAM and 1 GB of free disk space (preferably on an SSD).
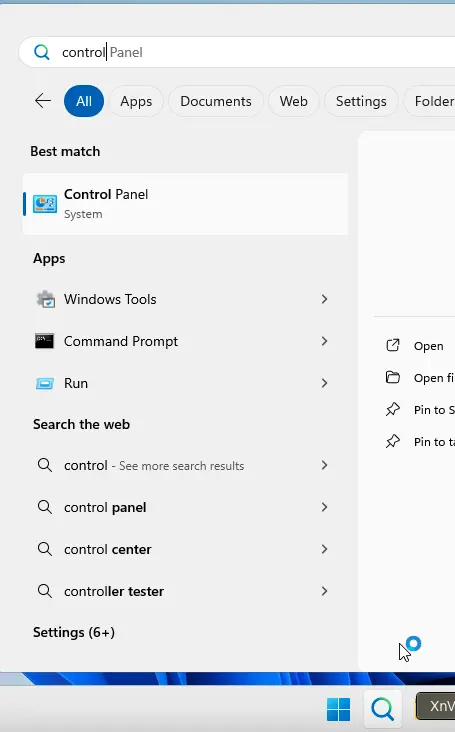
By default, Windows Sandbox is disabled. To activate it, open Control Panel.
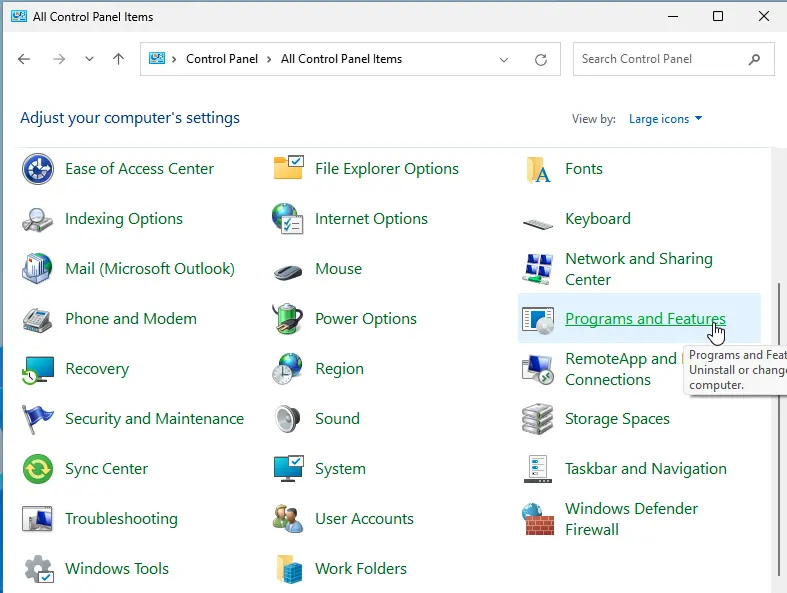
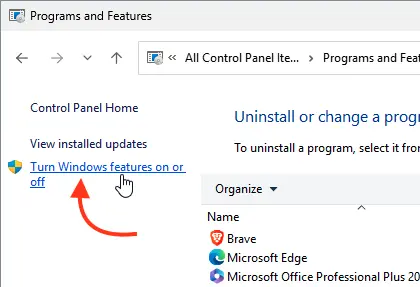
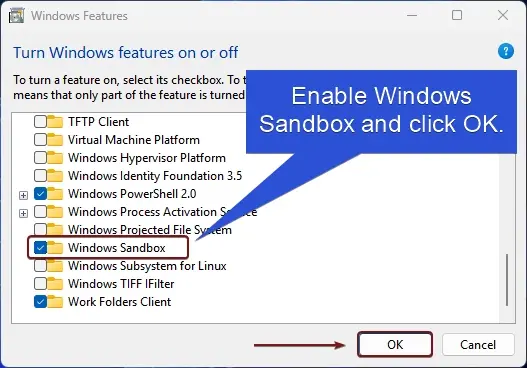
Then navigate to Programs and Features => Turn Windows features on or off, or run the command optionalfeatures.exe, and select Windows Sandbox from the list of Windows features.
If Windows 10 is running in a Hyper-V virtual machine, you need to enable nested virtualization via PowerShell with the command:
Set-VMProcessor -VMName win10vm_name -ExposeVirtualizationExtensions $true

In VMware vSphere, enable the “Expose hardware-assisted virtualization to the guest OS” option. Alternatively, you can enable Sandbox via PowerShell:
Enable-WindowsOptionalFeature -FeatureName "Containers-DisposableClientVM" –Online

After installing the component, a computer restart is required.
After rebooting, locate Windows Sandbox in the Start menu or launch it with the command WindowsSandbox.exe.

A window will open with a desktop of a “clean” version of Windows 10 with default settings. The sandbox comes preloaded with all current security updates and drivers.
You can now copy any file from the host system into the sandbox using copy-paste or drag-and-drop, install it, and test it. When finished, simply close the sandbox window—all changes will be discarded.

Upon closing, a warning will appear:
“Are you sure you want to close Windows Sandbox? Once Windows Sandbox is closed all of its content will be discarded and permanently lost.”

By default, Windows Sandbox uses a “clean” version of Windows 10, but you can customize the sandbox environment using configuration files. For example, you can enable or disable network access, map directories from the host system, or run scripts on startup. Configuration files are XML documents with a .wsb extension.
Download a sample configuration file: win-sandbox-config.wsb
Enabling network access in the Sandbox may allow untrusted software to access your local network, so use caution. With a configuration file, you can map testing utilities like ProcMon or ProcessExplorer into the sandbox.
To launch Windows Sandbox with your configuration file, simply double-click the .wsb file.
Only one instance of Windows Sandbox can run at a time. Attempting to open a second sandbox will display the message: “Only one running instance of Windows Sandbox is allowed.”

Officially, Windows Sandbox is not supported in Windows 10 Home, but it can be enabled using the following script:
dir /b %SystemRoot%\servicing\Packages\*Containers*.mum >sandbox_cont.txt

for /f %%i in ('findstr /i . sandbox_cont.txt 2^>nul') do dism /online /norestart /add-package:"%SystemRoot%\servicing\Packages\%%i"

del sandbox_cont.txt

Dism /online /enable-feature /featurename:Containers-DisposableClientVM /LimitAccess /ALL

pause
To remove Sandbox, run the PowerShell command:
Disable-WindowsOptionalFeature –FeatureName "Containers-DisposableClientVM" -Online

Windows Sandbox is a convenient tool for testing and analyzing suspicious files without risking damage to the host system. After closing the sandbox, all changes are wiped, and thanks to its use of host OS components, it starts quickly and consumes minimal resources.


