In this guide, we’ll walk you through the steps to check if your Windows 11 is activated using system settings and the command prompt. Whether you’re troubleshooting or just want to confirm your activation status, we’ve got you covered.
Checking Activation via System Settings
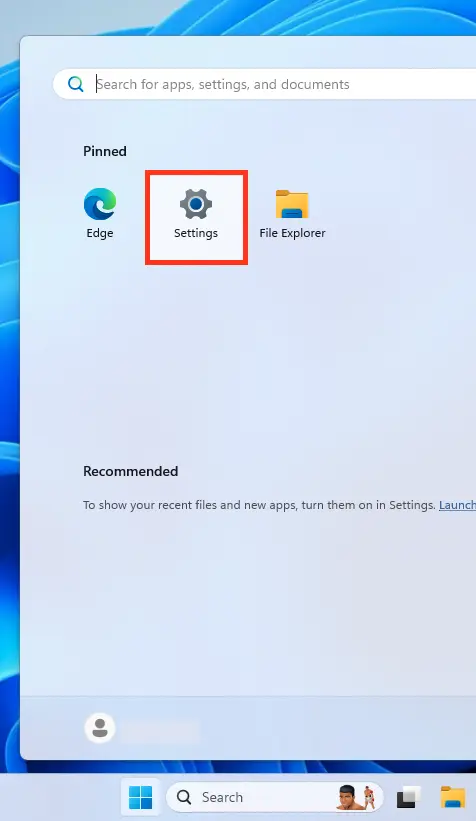
1. Open the Start menu and click on Settings (the gear icon).
2. Navigate to the System section.
3. In the left-hand menu, select Activation.
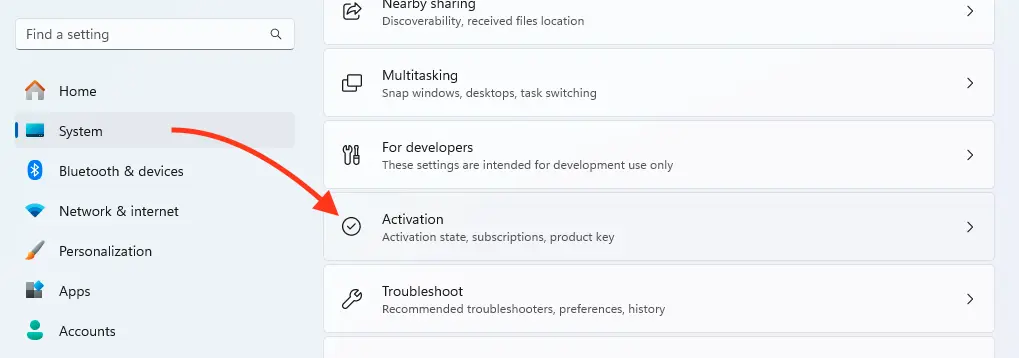
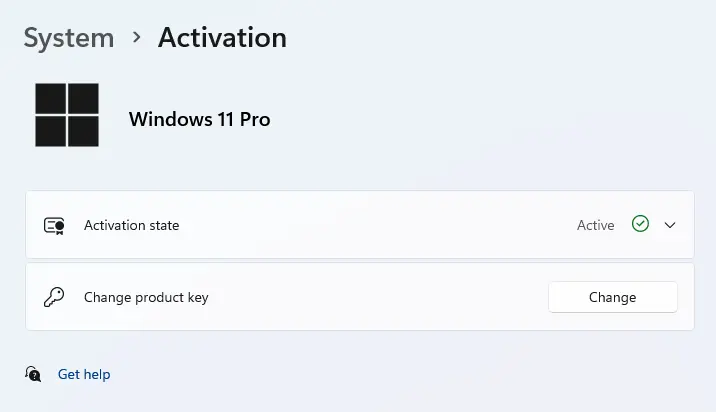
In the Activation section, you’ll see the current status. If your system is activated, it will say “Active” or “Windows is activated”. If not, you’ll see a prompt to activate, along with possible reasons or error codes.
Checking Activation via Command Prompt
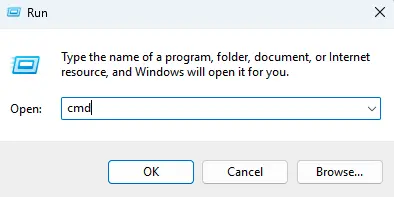
1. Press Win + R to open the Run dialog box.
2. Type cmd and hit Enter.
3. In the Command Prompt window, enter the following command:
slmgr /xpr

4. After running the command, a pop-up window will show the activation status. If your system is activated, you’ll see a message confirming that Windows is permanently activated.

Why Is Activation Important?
Activation ensures that your copy of Windows 11 is genuine and fully functional. Without activation, you may face limitations like watermarks on your desktop, restricted personalization options, and periodic reminders to activate.
What If Windows 11 Isn’t Activated?
If your system isn’t activated, you’ll need a valid product key. You can purchase one from trusted sources, such as our catalog, to unlock all features and enjoy a seamless experience.
