In this article, we will walk through the most basic configurations of Windows Server 2012 R2 (any edition: Standard, Datacenter, Essentials) step by step with screenshots. These configurations include setting up AD, DNS, DHCP, and licensing the terminal server (RDP server setup). These settings are generally suitable for most tasks and are standard for use in Windows Server.
To learn about the installation process and initial setup, such as server activation and obtaining updates for Windows Server 2012 R2, refer to our previous article.
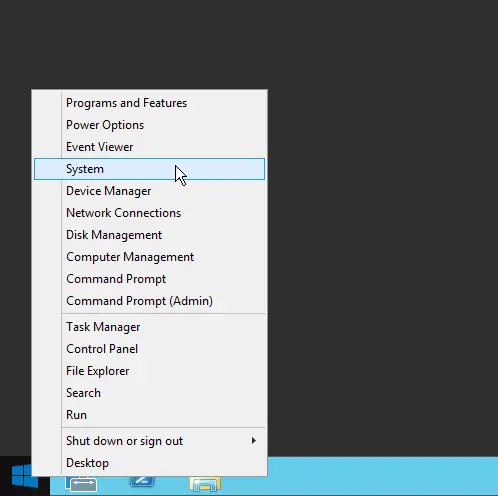
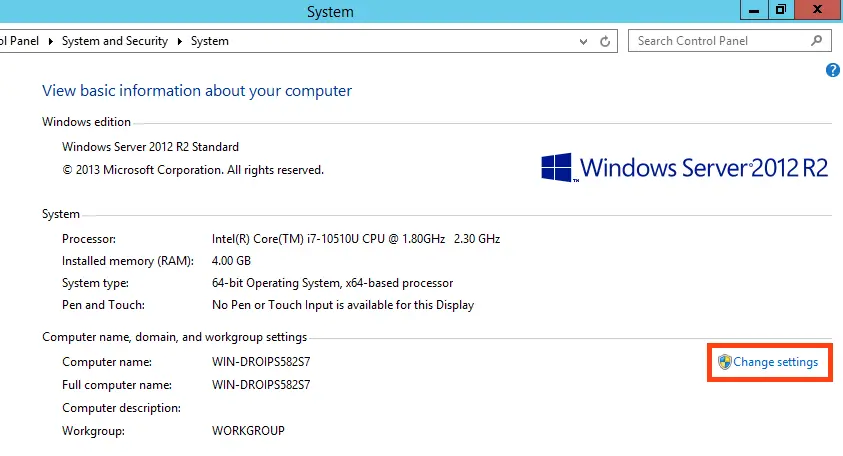
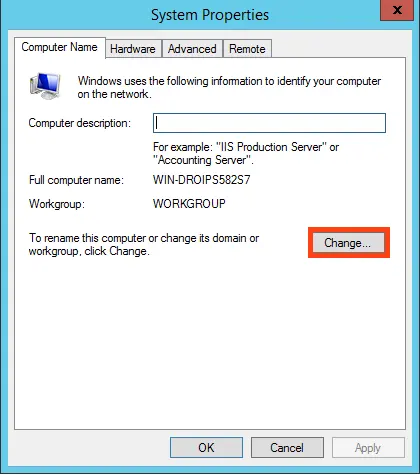
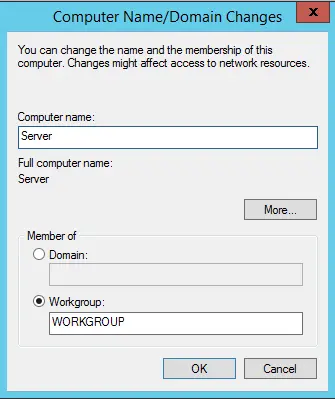
1) Let’s begin. First, we need to assign a name to the server so that it is correctly referenced in various connection settings. Go to “System Properties” => Change settings => In the “Computer Name” window, click “Change” => Then, in the “Server Name” field, enter a name of your choice. We will simply name it “Server.”
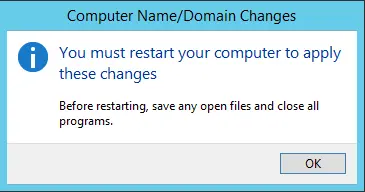
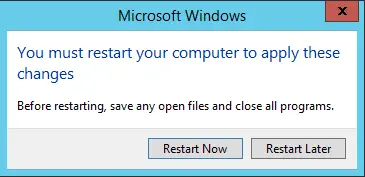
Restart your computer to apply the changes.
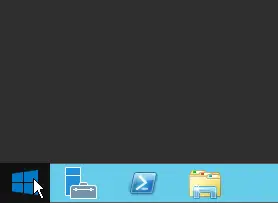
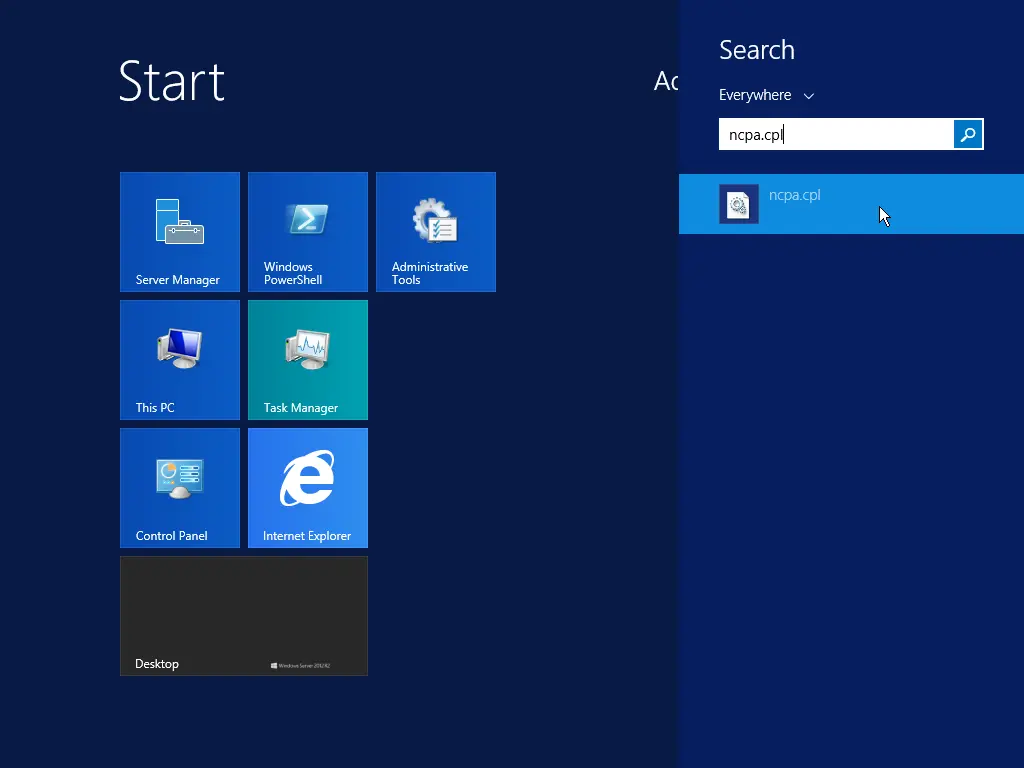
2) The next crucial step is to assign a static local IP address to the server. For quick access, go to the “Start” menu, then type ncpa.cpl in the search bar.
Right-click on your primary network adapter => Properties.
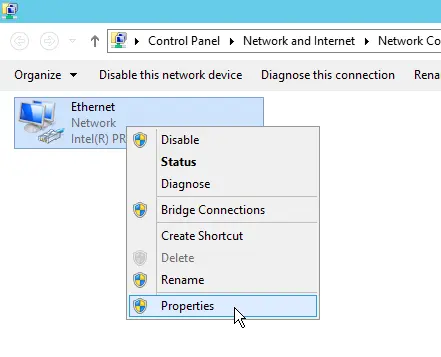
Select the IPv4 protocol and click “Properties.”

Assign a static IP address to the server based on your network. (We will cover DHCP configuration later in the article so that your server can distribute its own IP address range.) To check the current local IP address and gateway, open the command prompt by typing “Cmd” in the search bar => Then, enter the command “ipconfig.” For the preferred DNS server, you can use your gateway’s IP address (router), and for the alternate DNS, use Google’s – 8.8.8.8.
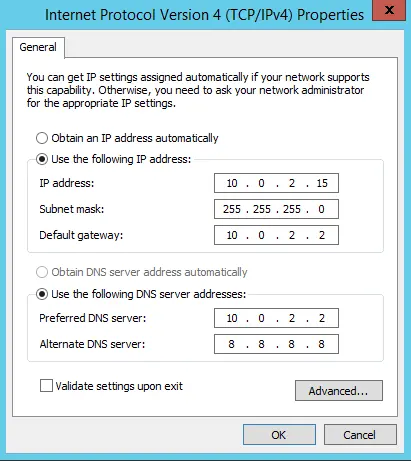
Apply the settings and check your internet connection. If everything works, your settings are correct.
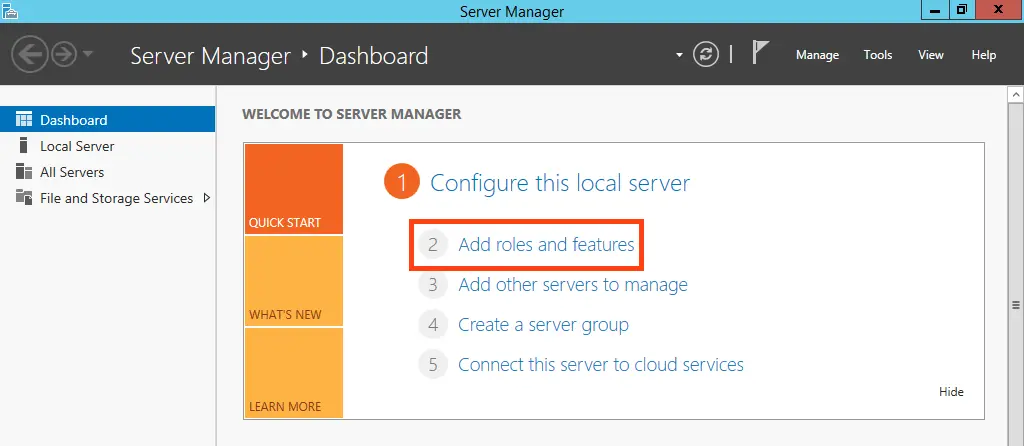
3) With IP address configuration complete, let’s move on to adding roles and features. Go to Server Manager. In the “Dashboard” menu => Add Roles and Features.
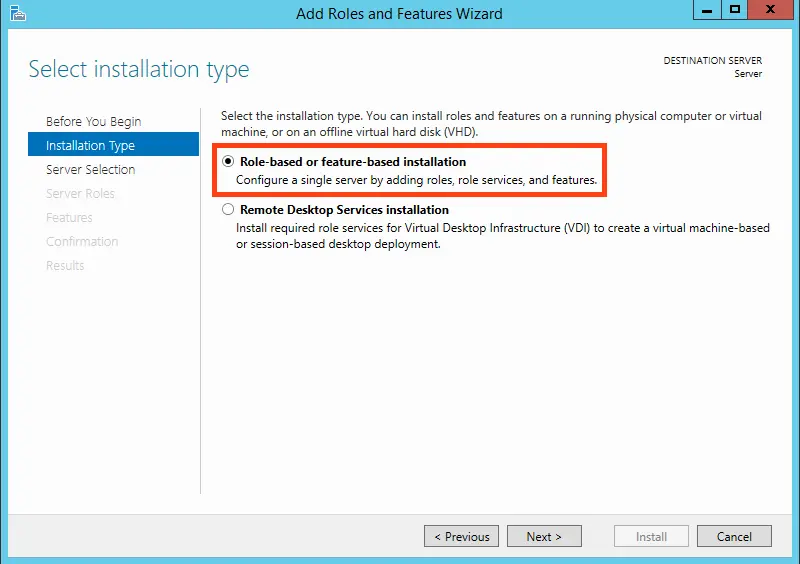
Proceed to the “Installation Type” section and select “Role-based or feature-based installation.”
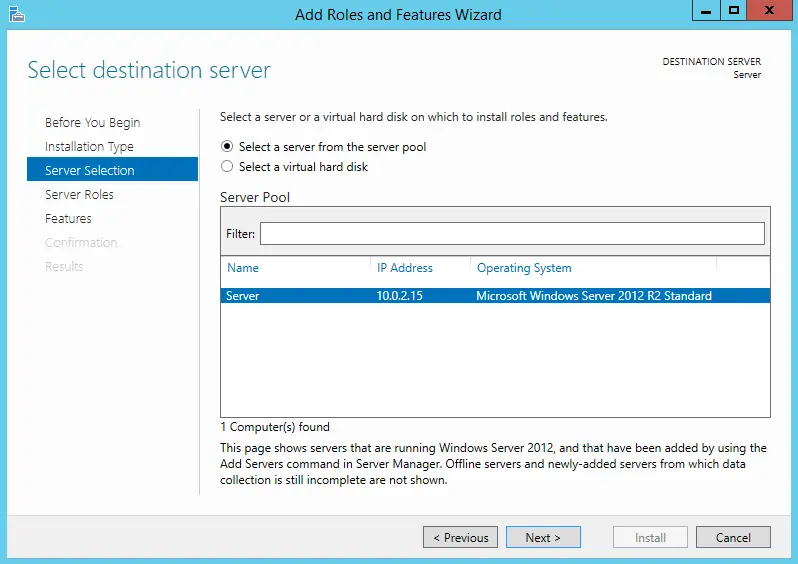
Select your server in the server selection menu.
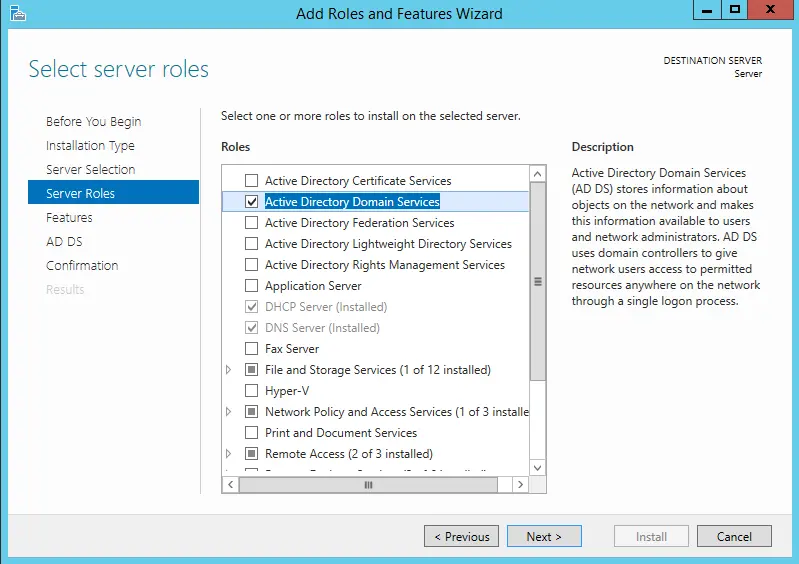
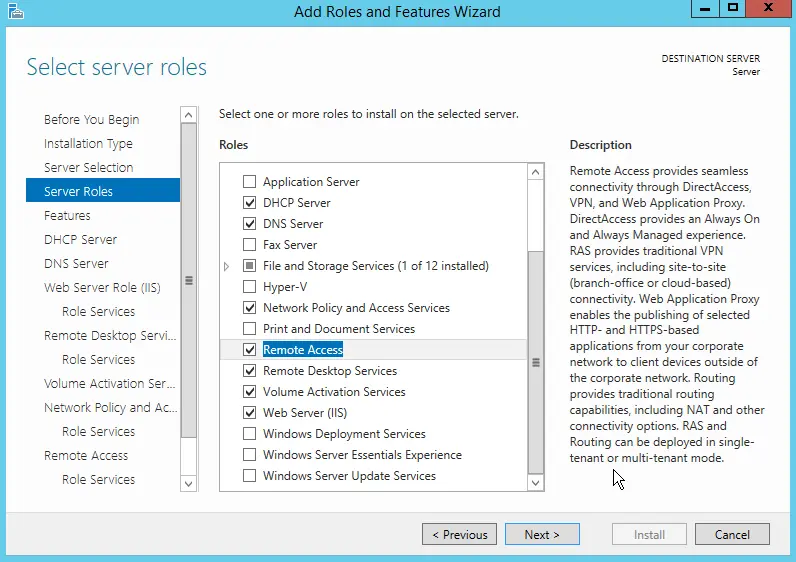
In the server roles, we will select the most standard roles typically used for most tasks. You can do the same.
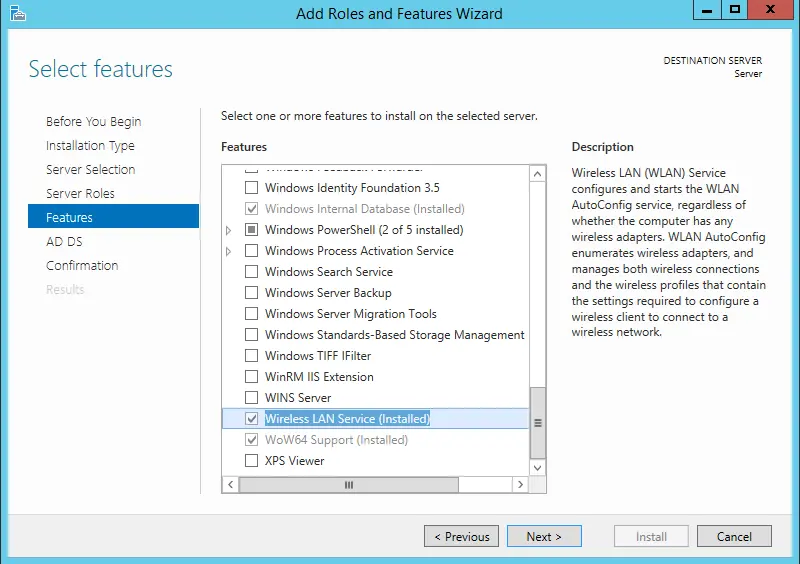
Leave the features at their default settings. However, if your server will operate over Wi-Fi (i.e., it has a Wi-Fi adapter), the “Wireless LAN Service” feature is required for wireless connectivity. Check this box if you need such functionality.
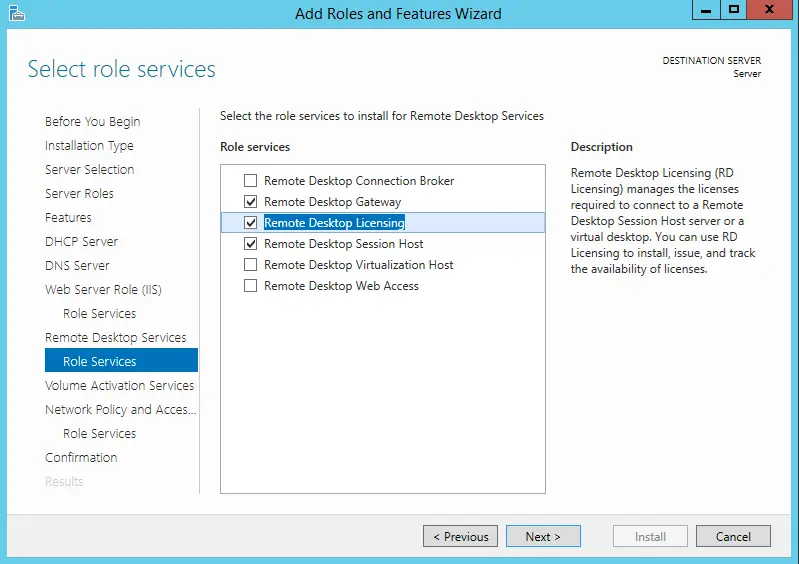
Next, proceed to the “Role Services” section for Remote Desktop Services. Check the options required for RDP functionality.
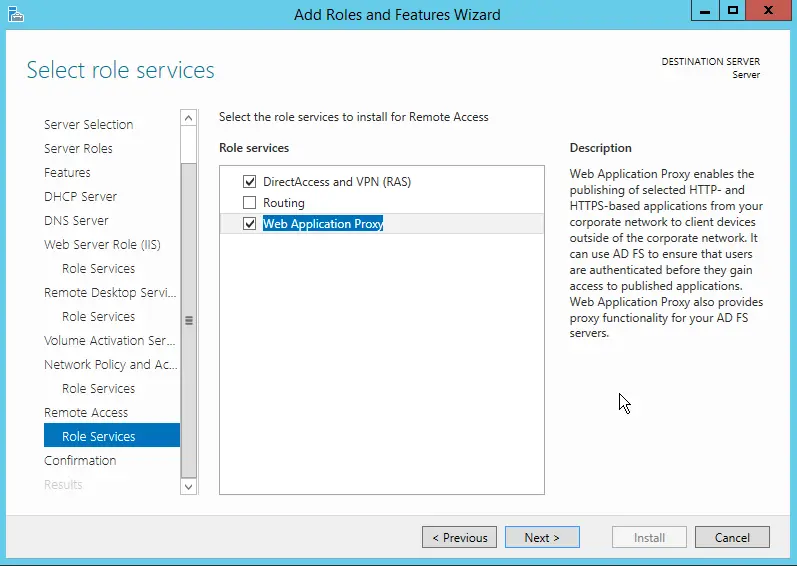
In the “Remote Access” services, you can optionally select the option for IP address switching and proxy server functionality, though this is generally unnecessary for most users. It’s up to you.
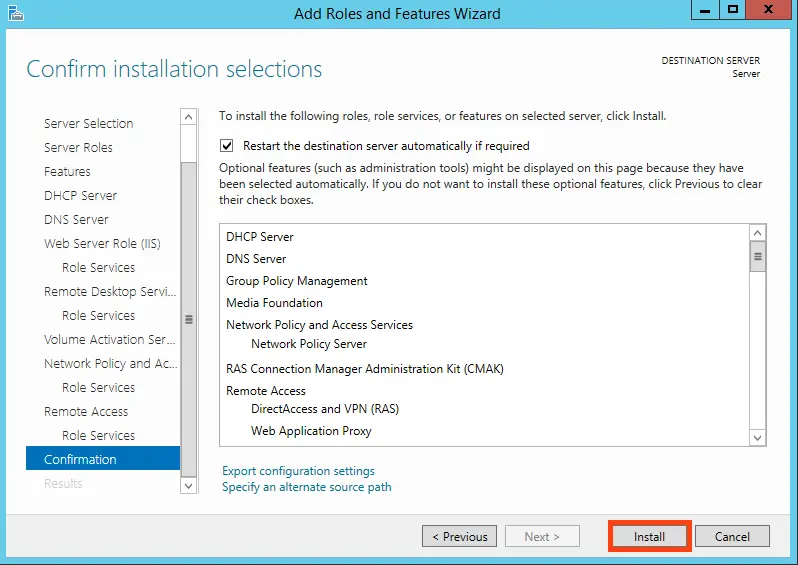
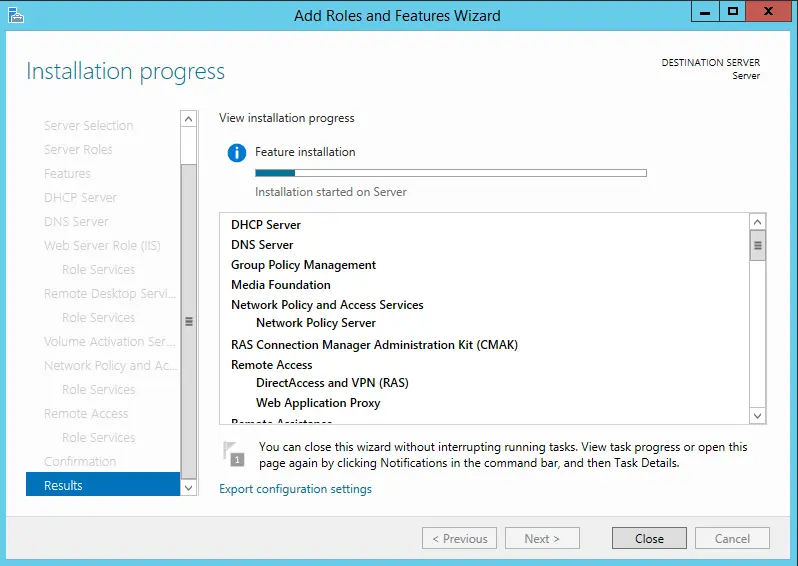
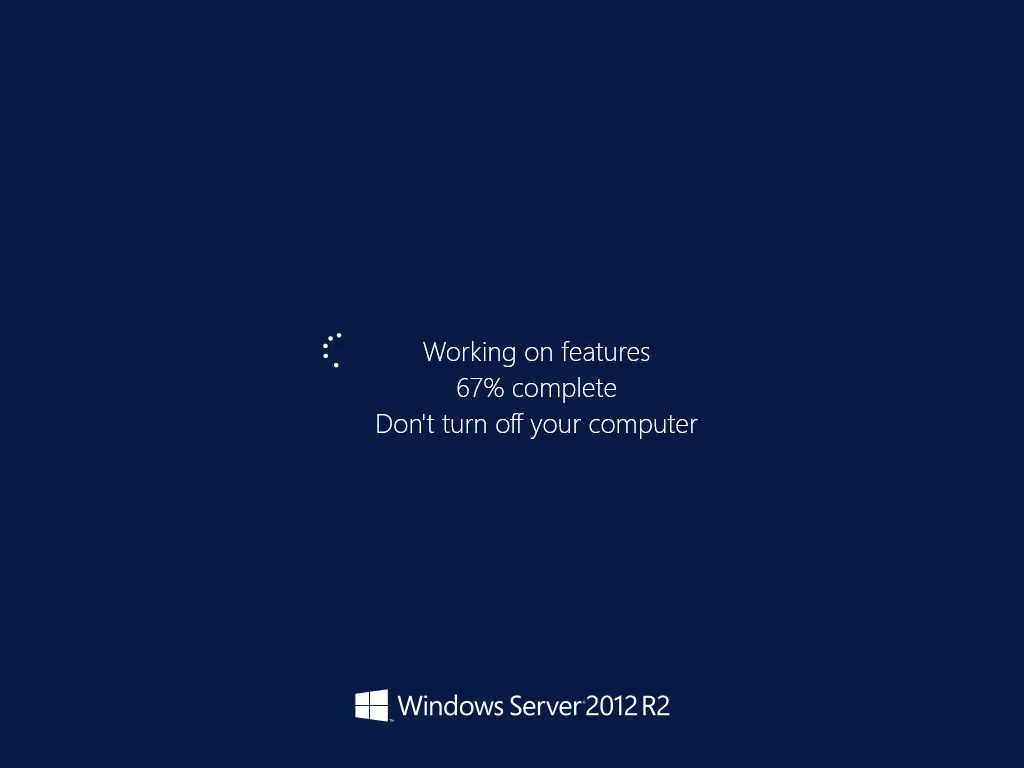
Proceed to the “Confirmation” section, check the box for automatic restart after installation, and click “Install.” Wait for the installation to complete.
4) Now, let’s configure what we just installed. Specifically, DNS settings. Go back to “Server Manager” => Click on the flag => Select “Promote this server to a domain controller.”

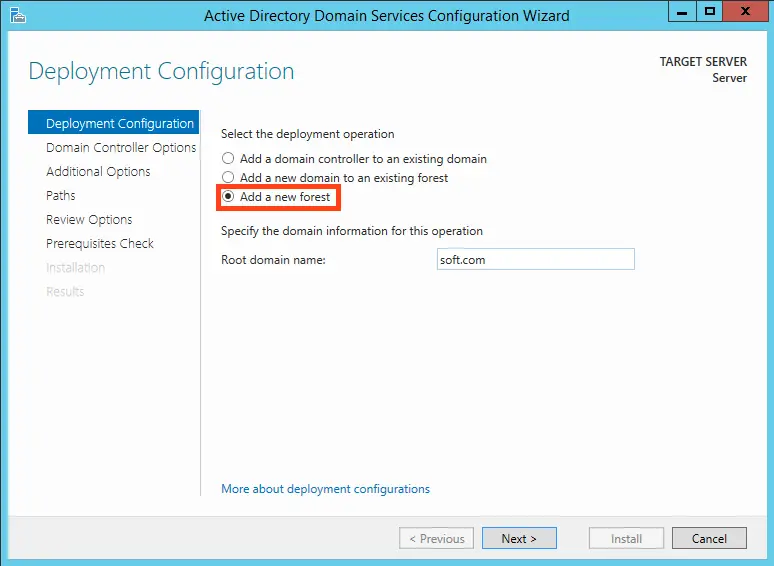
In the deployment configuration, select “Add a new forest” and create a name for the root domain. You can choose any name you like; for this example, we’ll use “soft.com.”
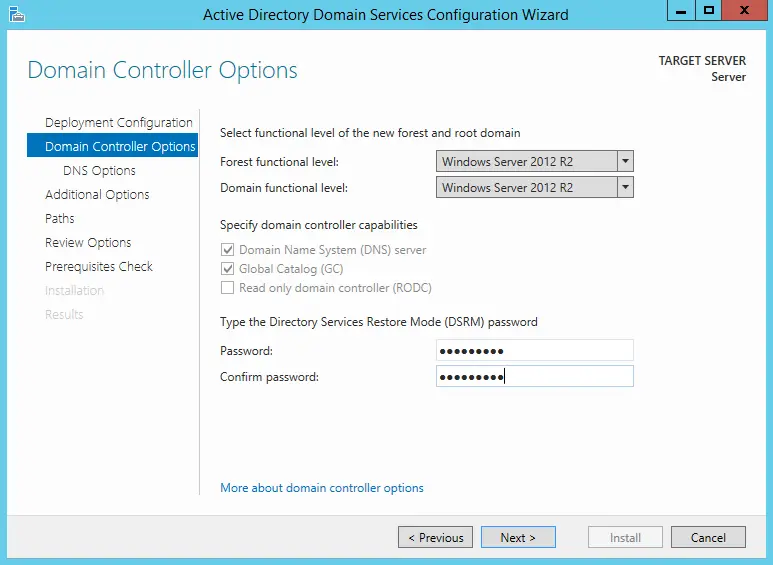
In the domain controller options, create a password for your domain and click “Next.”
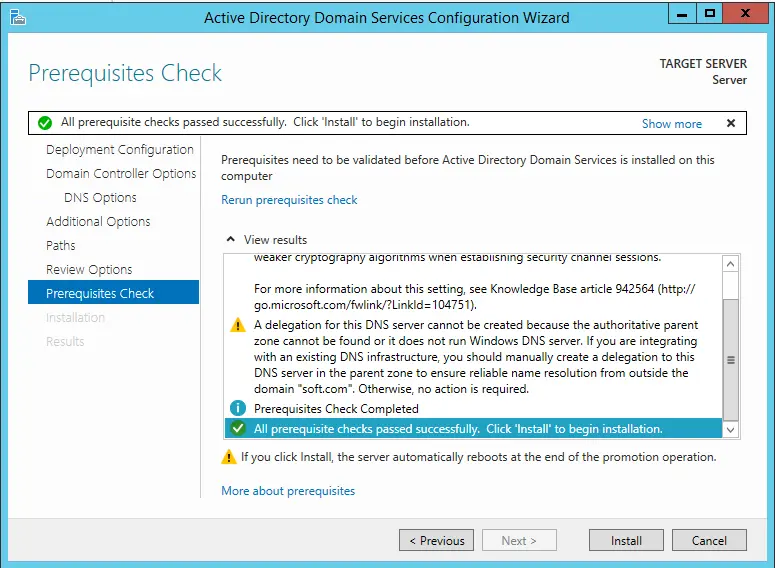
Now, proceed to the pre-installation check. Everything should be correct if the window states, “All prerequisite checks passed successfully ….” Click “Install.” After installation, restart the server.

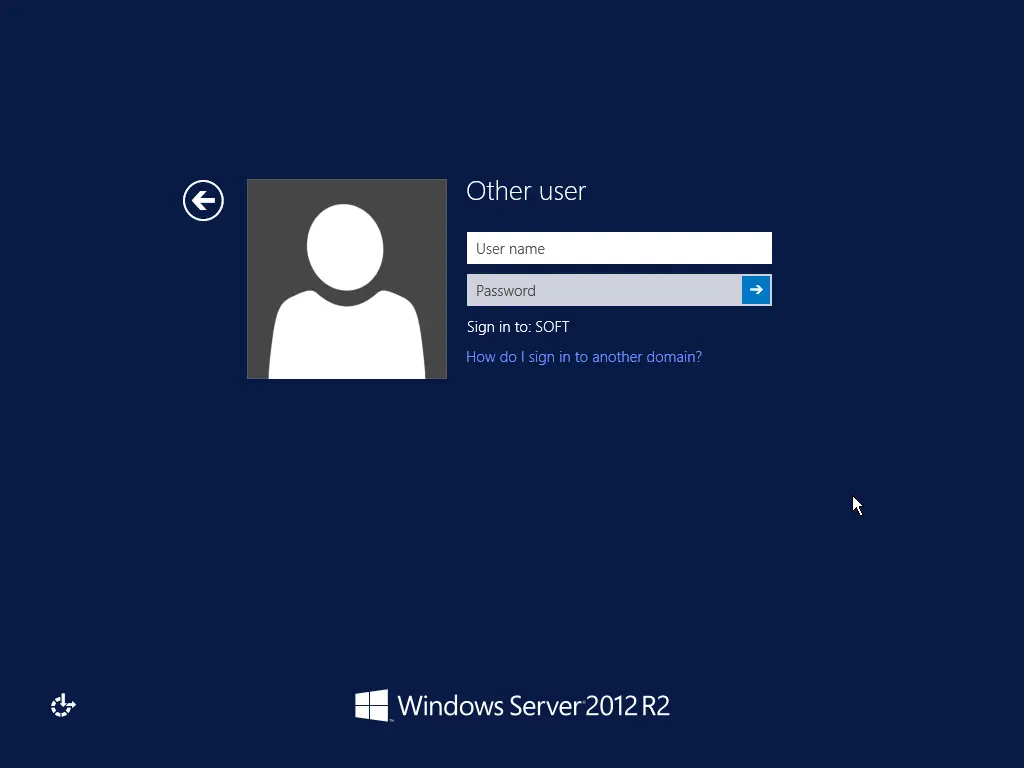
After the restart, when entering the administrator password, you may notice that your server is already added to the domain.
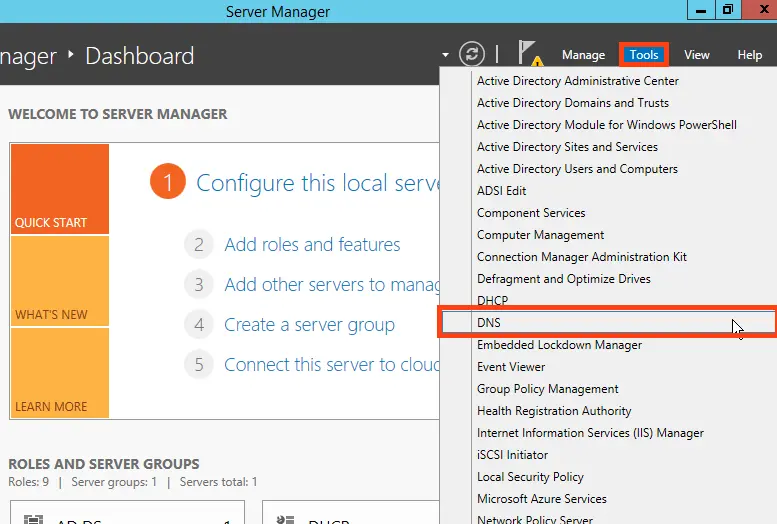
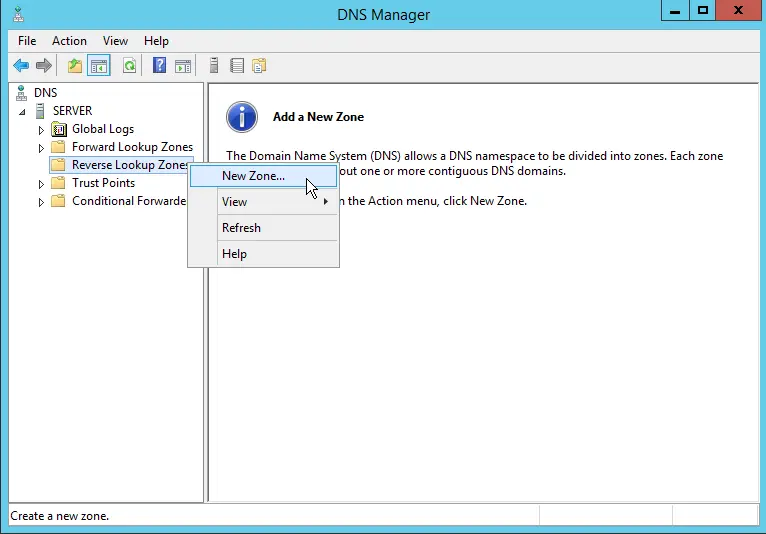
But that’s not all; we need to complete the setup. Go back to “Server Manager” => “Tools” menu => DNS.
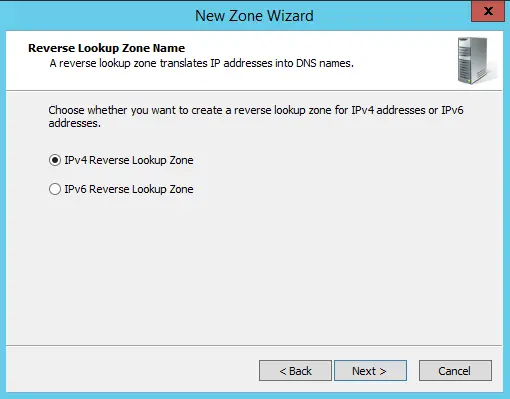
We are now in the “DNS Manager.” Expand the DNS tree => SERVER (Your server name) => Reverse Lookup Zones => Right-click and select “New Zone.”
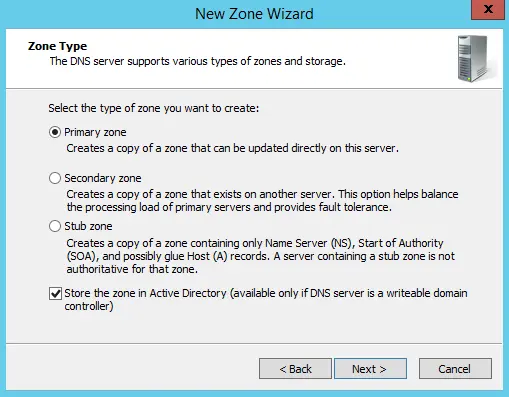
Select “Primary Zone” and check the box for “Store the zone in Active Directory ….”
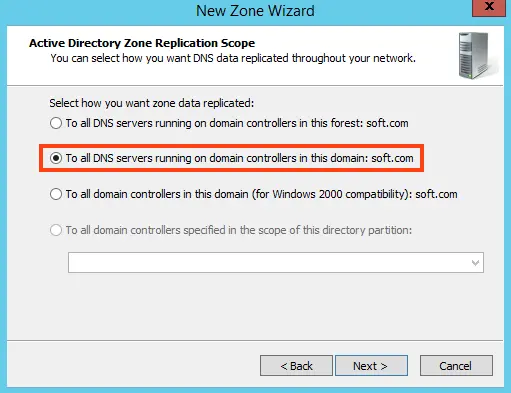
In the next window, select “To all DNS servers running on domain controllers in this domain: ‘your domain’.”
Next, select the IPv4 option.
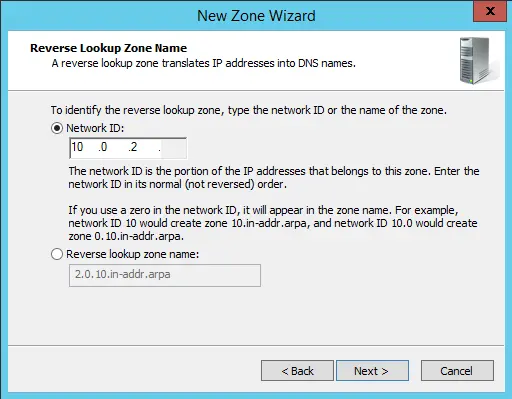
For the network identifier for this DNS, select your IP range or zone name. For this example, we’ll choose DNS by IP range.
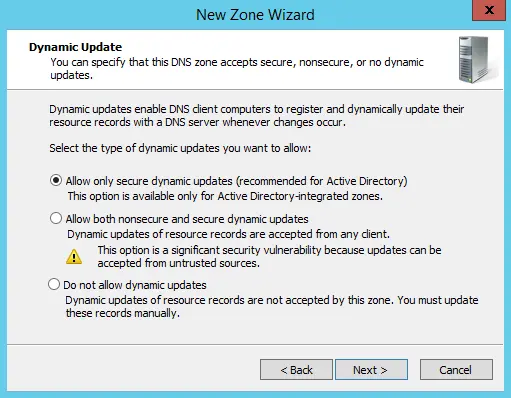
Enable dynamic updates, as this is the recommended setting for AD configurations.
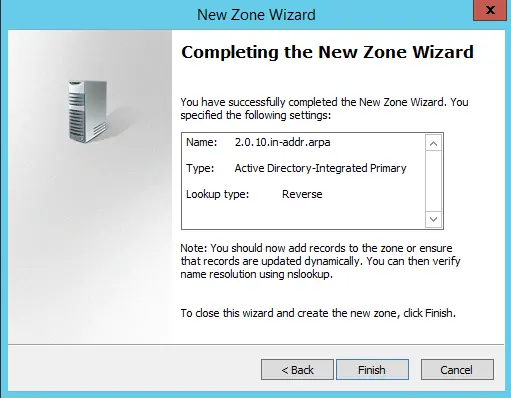
That’s it, click “Finish.”
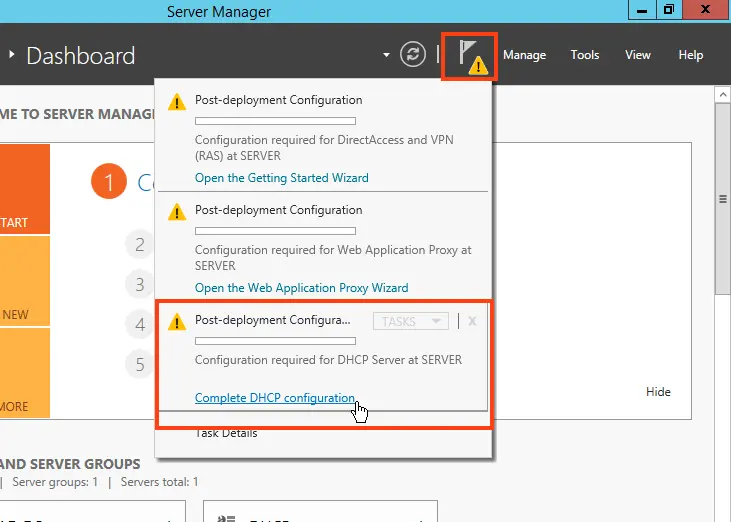
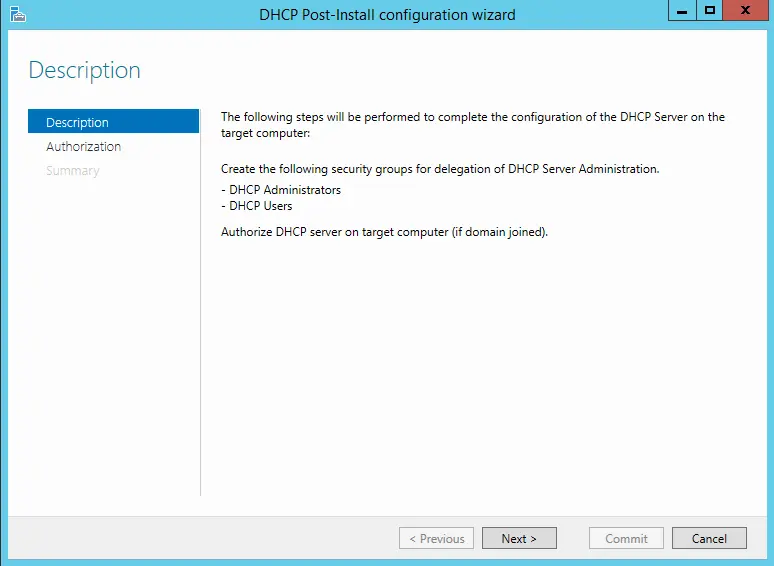
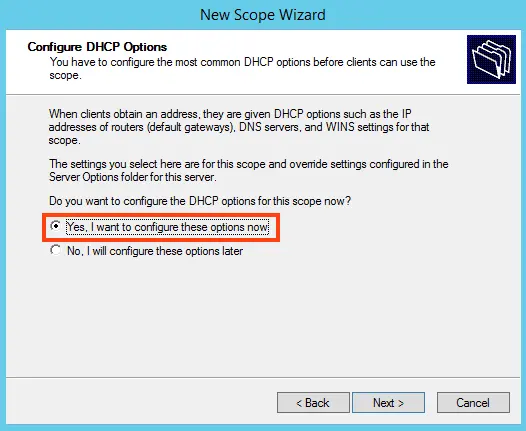
5) Now, let’s configure DHCP (so your server can distribute its own IP address range). Go to “Server Manager” and select “Complete DHCP Configuration.”
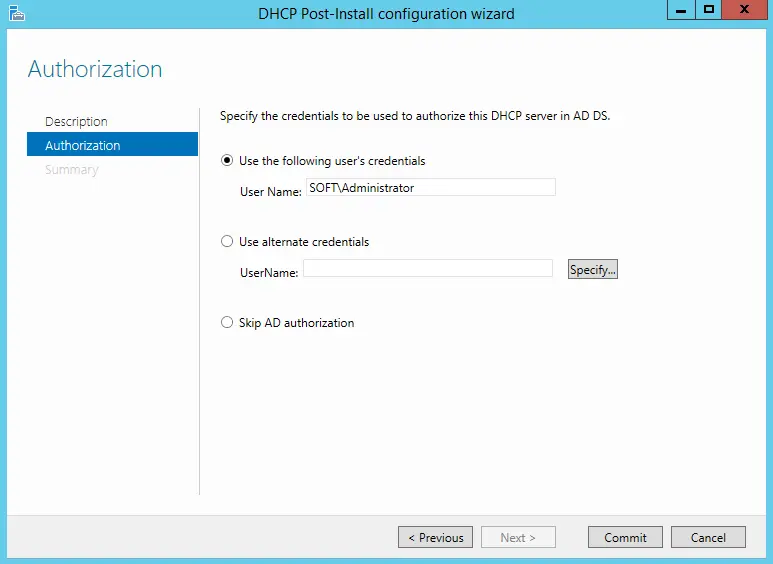
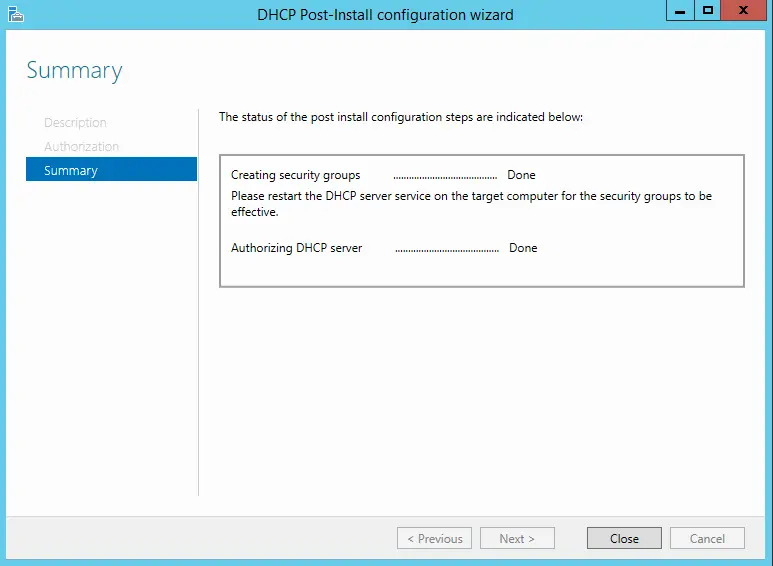
In the “Authorization” menu, for convenience, select “Use the following user’s credentials.” Then, click “Commit.”
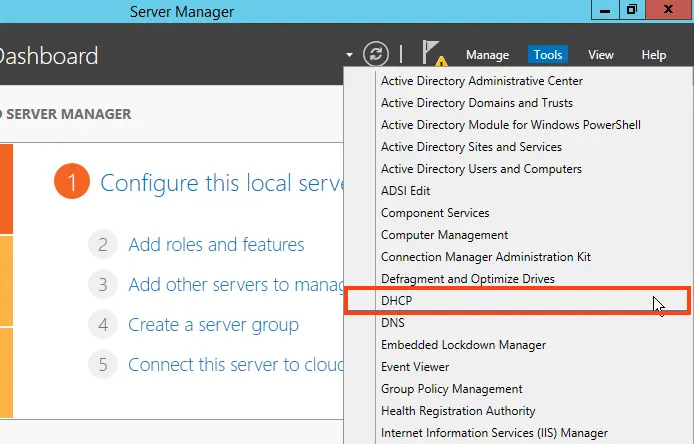
Now, go to the “Tools” menu => DHCP.
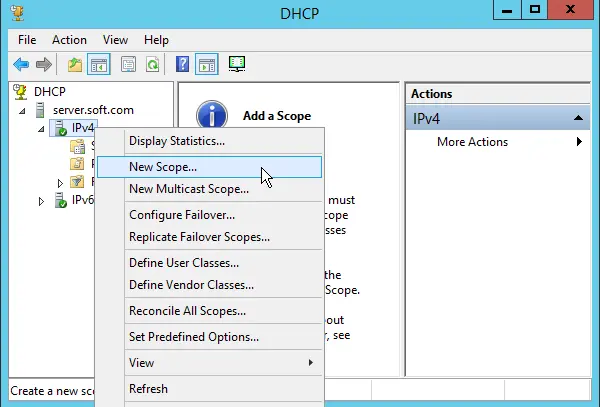
Expand the DHCP tree => “Your domain name” => Right-click on IPv4 => New Scope.
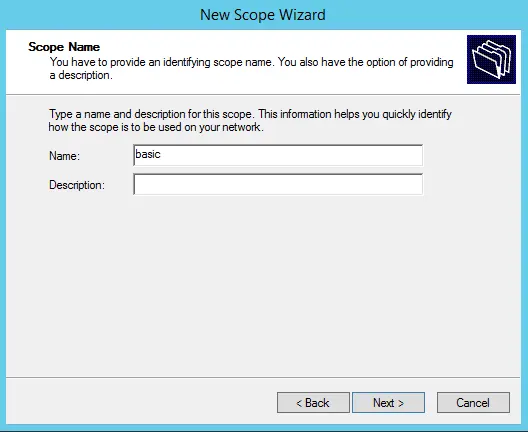
Assign a name to the scope, such as “Basic.” You can choose any name.
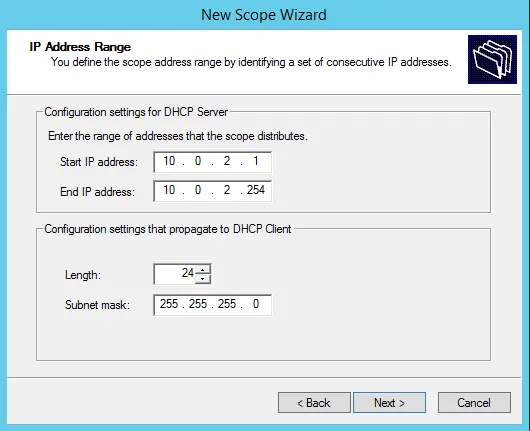
Now, specify the IP address range that your server will distribute via DHCP. For example, 192.168.1.1/245. The range is up to you.
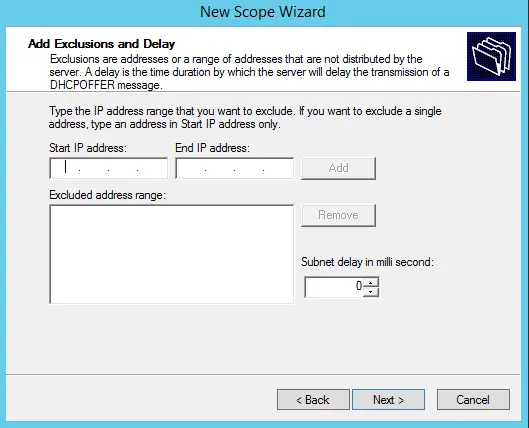
In the next window, you can exclude a specific range, such as certain IP addresses. For this example, we’ll skip this step.
Set the lease duration for the IP address assigned to a device, after which it will dynamically change. You can set any duration based on your needs; we’ll set it to 30 days as an example.

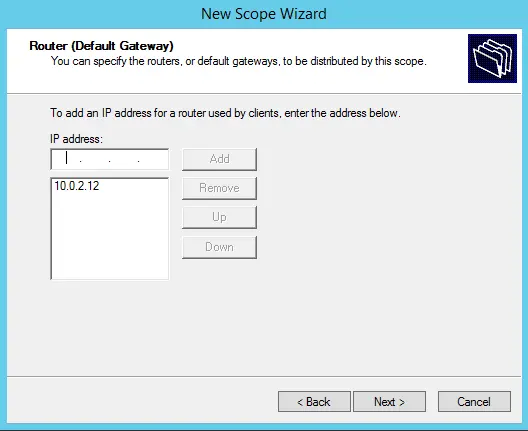
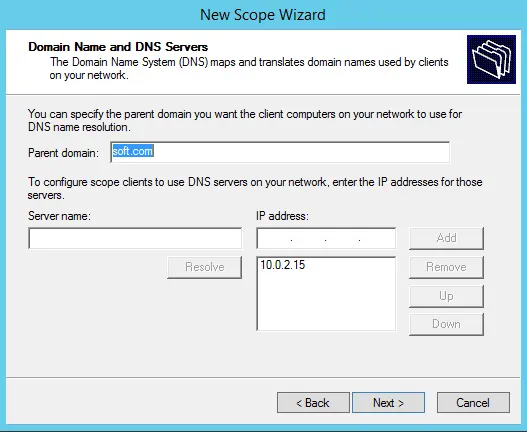
You can add your router to this scope or skip this step.
Specify your domain name as the parent.
6) Now, you can configure remote desktops for users. To do this, you need to license the Remote Desktop Server. For instructions on configuring RDP on the server, refer to our previous article on the following page. You can purchase a product key for licensing Windows Server User/Device CAL in our catalog. Fast delivery of the key to your email within a few hours.
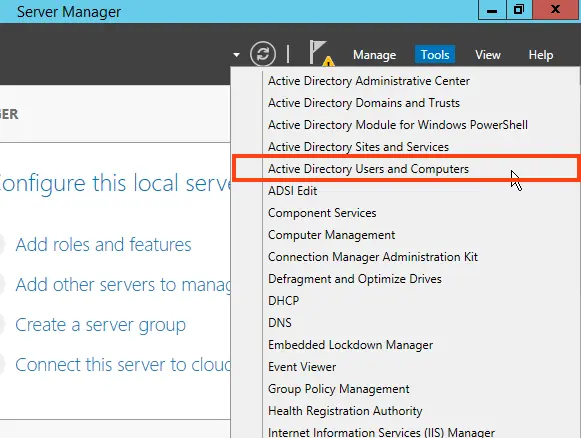
7) Now that you have successfully licensed the Remote Desktop Server, you can add the first user for RDP connections. Go to “Server Manager” => Tools => Active Directory Users and Computers.
Expand the “Users and Computers” tree => Right-click on your domain name or server name => New => Organizational Unit.
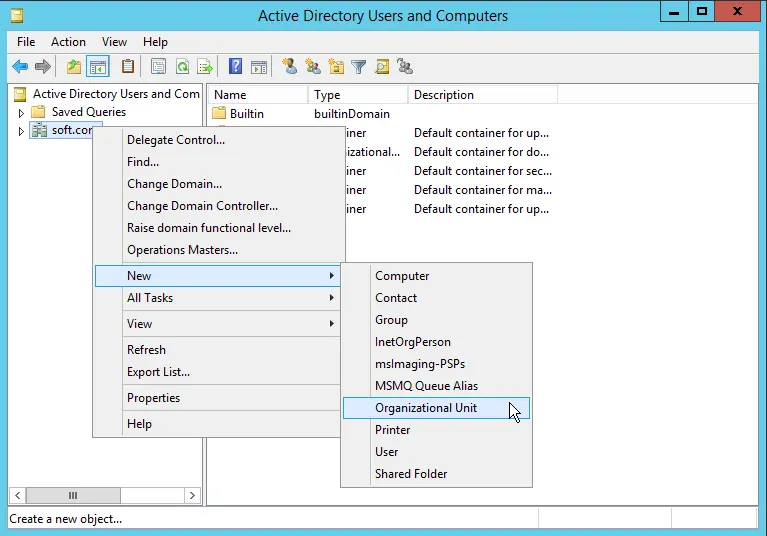
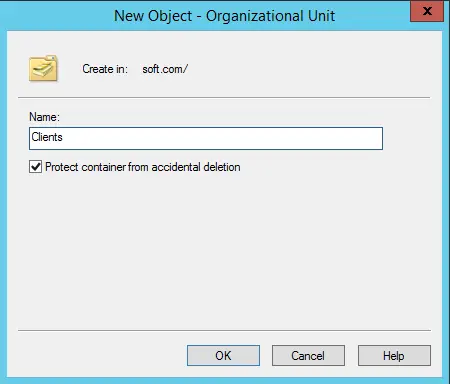
To make it clear, name the organizational unit “Users” or “Clients.”
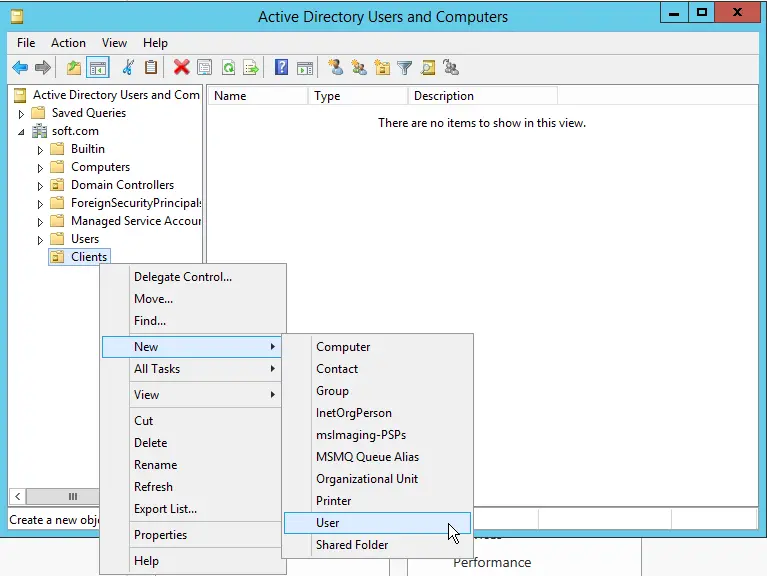
Next, in the new “Users” section (depending on what you named your organizational unit), right-click => New => User.
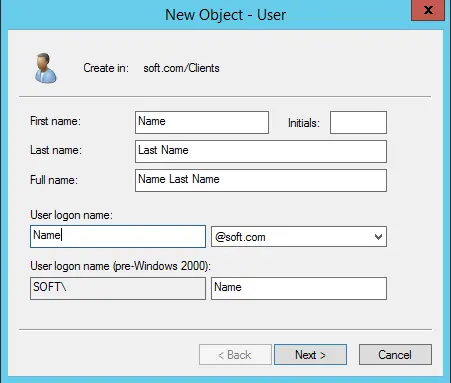
Now, in the user profile, set the user’s parameters, such as their first name, last name, and login name in Latin characters.
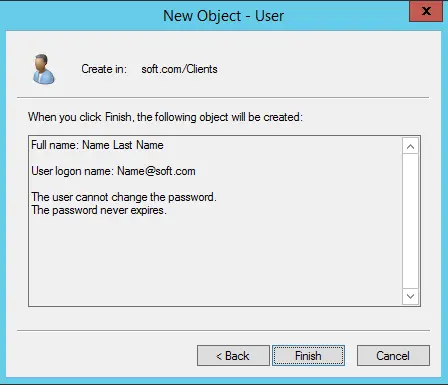
Set a password for the user to log in to the server. Optionally, you can prevent users from changing their password (recommended) and set the password to never expire to avoid resetting it later.

User creation is complete. Now, the user can connect to the server via RDP using their credentials.
That’s it! We’ve completed the most basic setup.