This article explains how to change the user interface language in Windows 7. Requirements:
Installed SP1 update. You can install the update following the instructions.
Language change is supported only in Windows 7 Ultimate and Windows 7 Enterprise versions. If you have any other version of Windows 7, language change is not possible.
Since the official support for Windows 7 has ended, changing the language through “Windows Update Center” may be challenging. In this case, the easiest way is to manually download the language pack and install it. You can download it from the Microsoft server using the links in our previous article.
Download the language pack for your system’s architecture (x32/x64).
Double-click on the language pack installer to start the installation and wait for it to finish.
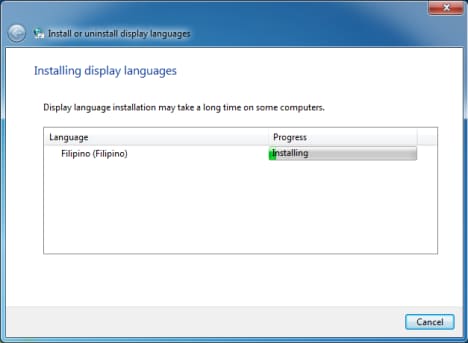
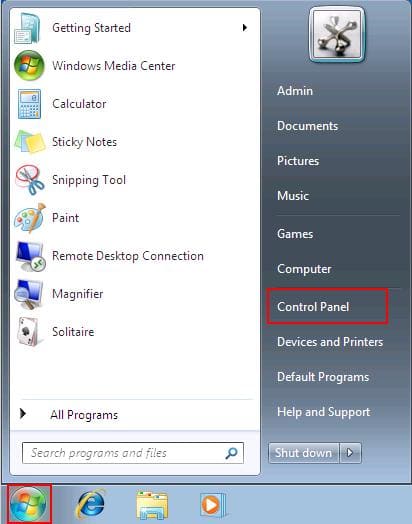
After the language pack installation is complete, go to the “Start” menu => Control Panel.
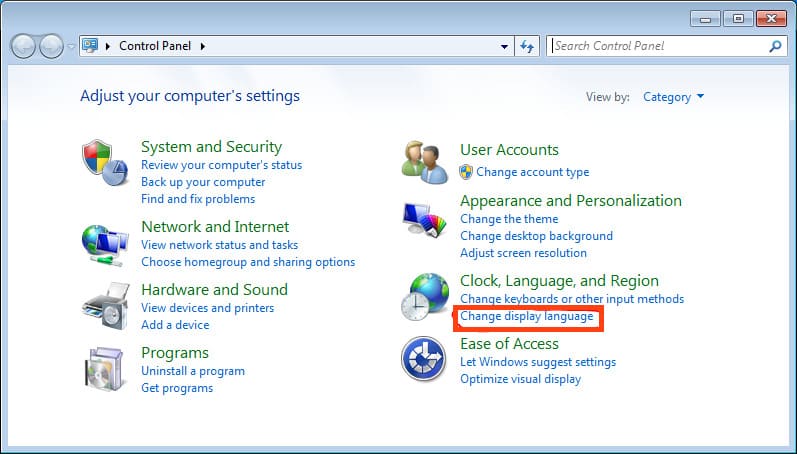
In the “Control Panel” menu, sort the view by “Category” => Click on “Change display language.”
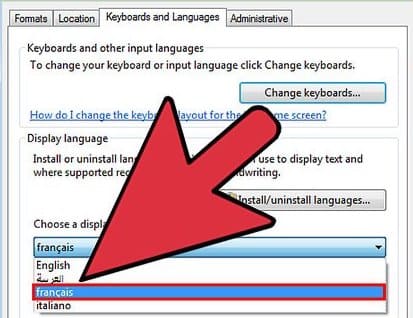
In the “Region and Language” menu, go to the “Keyboards and Languages” tab => In the language selection drop-down menu, choose the language you previously installed => Apply.
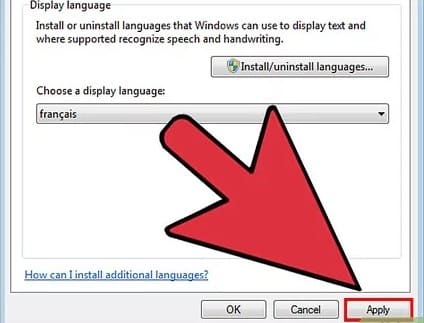
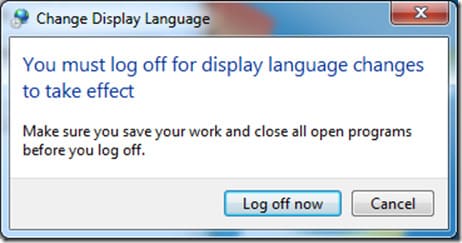
The system will prompt for a restart; click “Log off now,” then log back in.
Now the Windows 7 interface language has been successfully changed!


