We recommend using only original Windows installers. You can download official installers from our catalog, and you can also purchase genuine Windows 7 product keys from our store starting from 7.50 €.
However, since the last updates to the official installers were released back in 2011, there may be issues with USB 3.0 support and the corresponding drivers. In this article, we will look at how to integrate USB 3.0 drivers into the official Windows 7 installer.
Why Integrate USB 3.0 Drivers?
Modern computers and laptops often come equipped only with USB 3.0 ports. The original Windows 7 installer does not include drivers for USB 3.0, which can lead to the inability to use a keyboard, mouse, or boot from a USB drive during system installation.
1. Downloading and Preparing the Windows 7 ISO Image
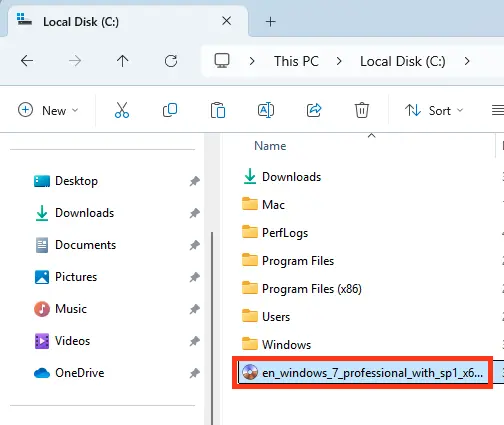
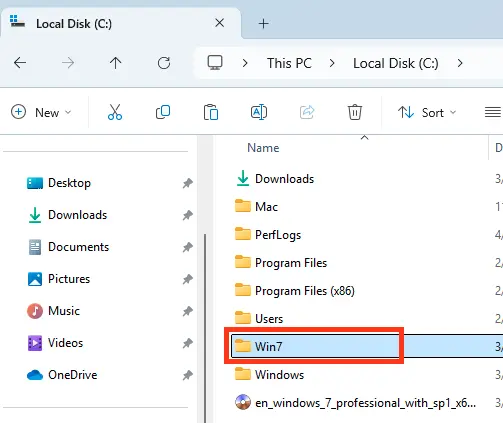
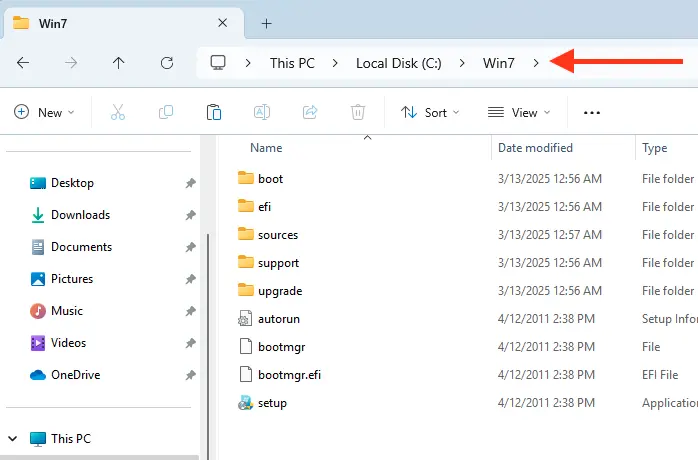
Download the Windows 7 ISO image from our catalog, mount it to a virtual drive, and copy all files to a folder named Win7 (in my case, it is located on drive C:).
2. Downloading USB 3.0 Drivers
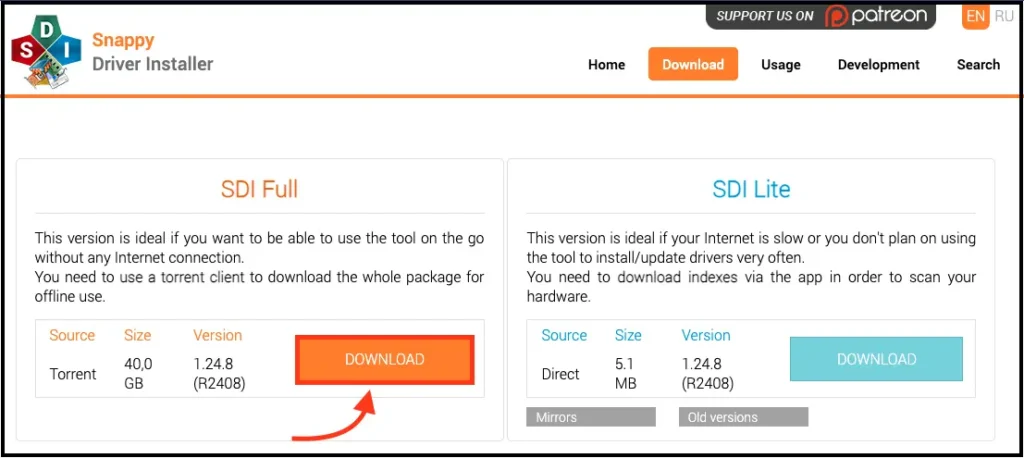
Download the driver pack «Snappy Driver Installer». The full package (SDI Full) is 40 GB, but you can use a torrent to download only the USB drivers, which will reduce the size to a few hundred MB instead of 40 GB. Select the full package and click “Download.”
You can also download this drivers from our server – DP_xUSB_25000.7z
3. Preparing the Drivers
After downloading, a folder named SDI_Update will appear on drive C:.

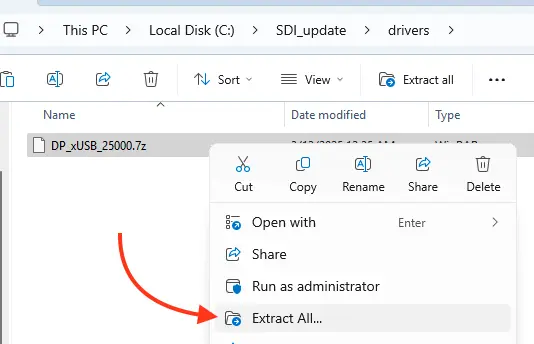
Inside it, there is a folder named drivers, where we find the archive with USB controller drivers (DP_xUSB_25000.7z). Right-click the archive and select “Extract all.”
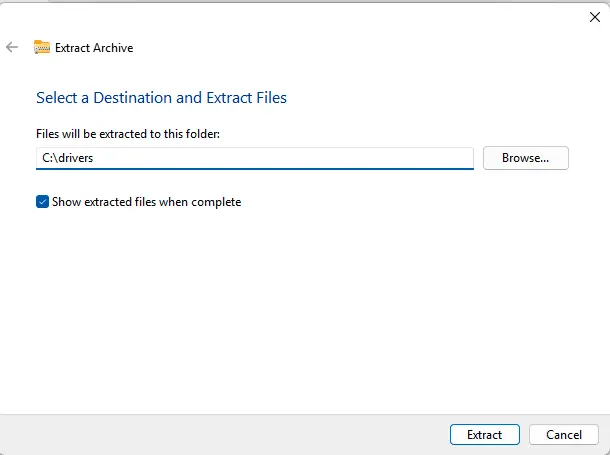
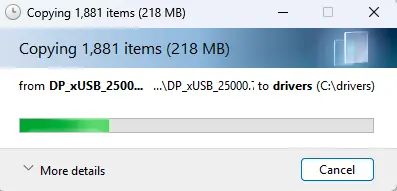
Write a folder name drivers on drive C: and extract the drivers into it.
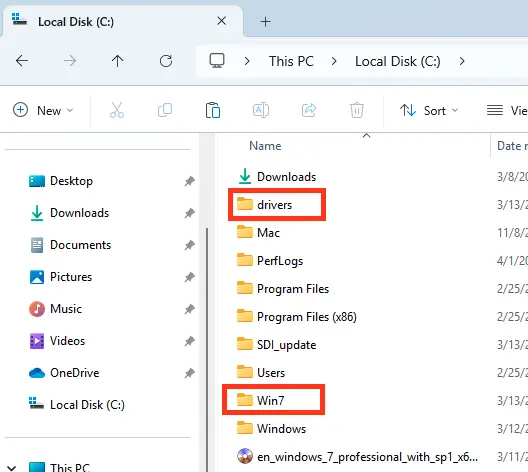
As a result, we have the following folders on drive C::
Win7 – containing Windows 7 files.
drivers – containing USB controller drivers.
4. Information About the install.wim File
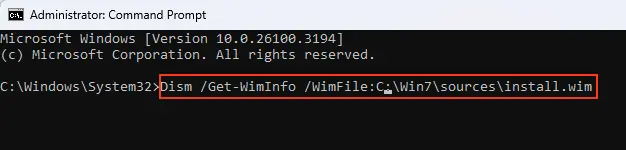
Open Command Prompt as Administrator and enter the command:
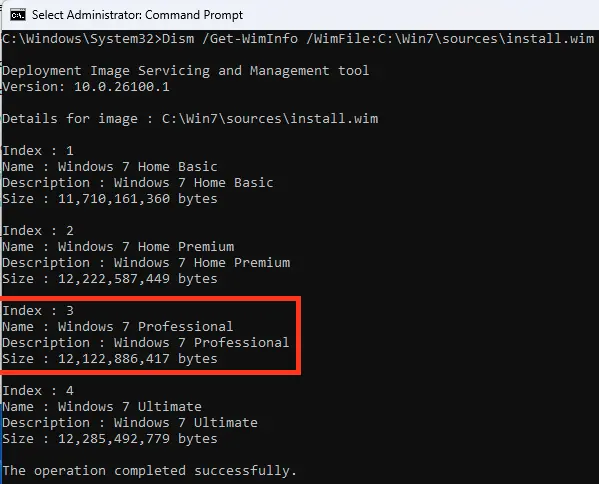
Dism /Get-WimInfo /WimFile:C:\Win7\sources\install.wim
We see that the Windows 7 Professional image is under index 3.
5. Mounting the install.wim File
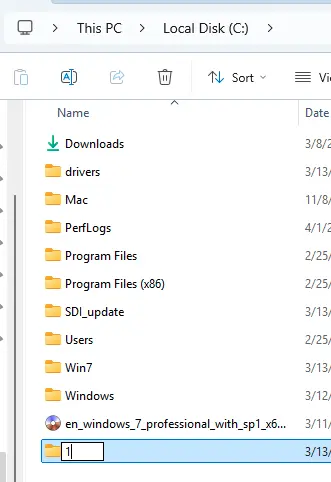
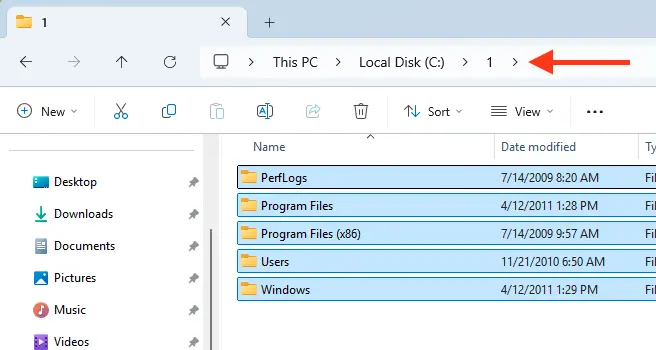
Create a folder named “1” on drive C:.
Next, use the Dism command to mount the contents of the install.wim image to this folder:
Dism /Mount-Wim /index:3 /WimFile:C:\Win7\sources\install.wim /MountDir:C:\1
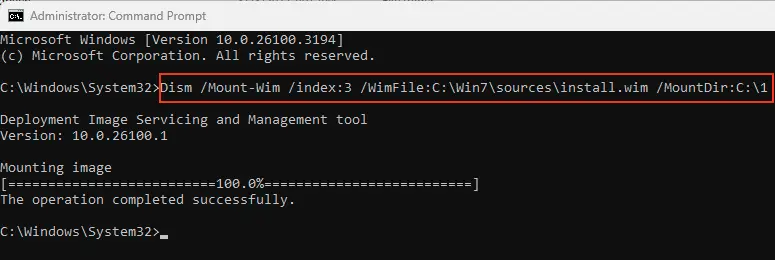
The Windows 7 Professional image is now mounted to the “1” folder on drive C:.
6. Integrating Drivers into install.wim
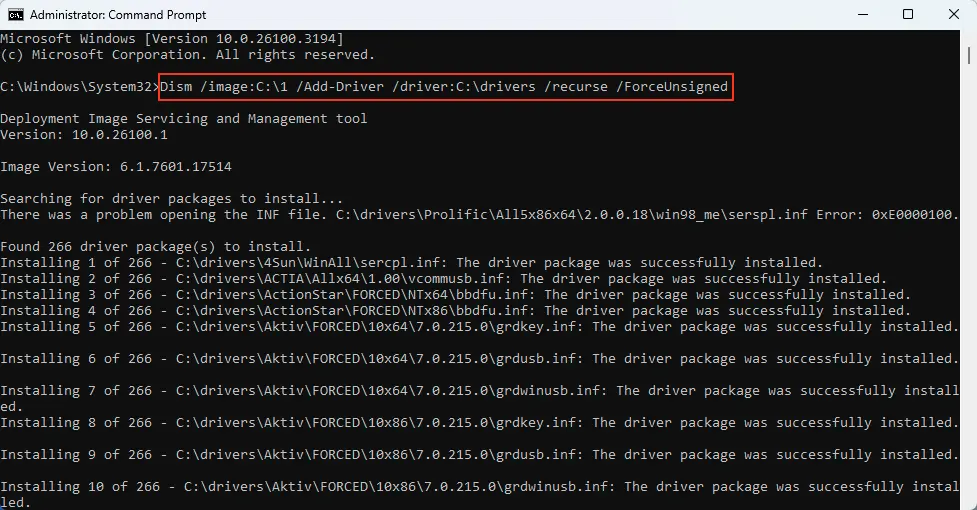
Enter the command to add the drivers:
Dism /image:C:\1 /Add-Driver /driver:C:\drivers /recurse /ForceUnsigned
The USB 3.0 drivers are integrated into the install.wim image.
7. Unmounting the install.wim Image
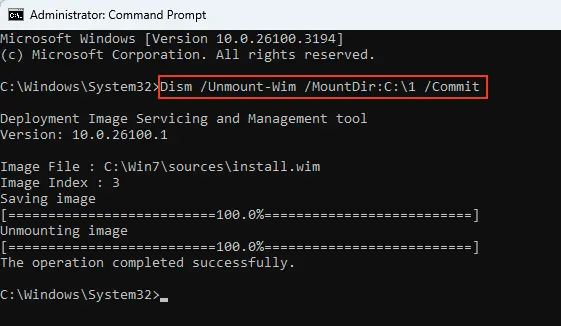
After completing the integration, enter the command:
Dism /Unmount-Wim /MountDir:C:\1 /Commit
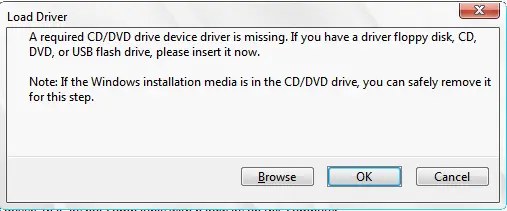
8. Integrating Drivers into boot.wim
Similarly, integrate the drivers into the boot.wim file to prevent the error “A required CD/DVD drive device drive is missing..”
The boot.wim file contains two folders: 1 and 2. Folder 1 contains files for installing Windows 7 directly in a running OS. Folder 2 contains the main boot files for the Windows preinstallation environment, which is what we need.
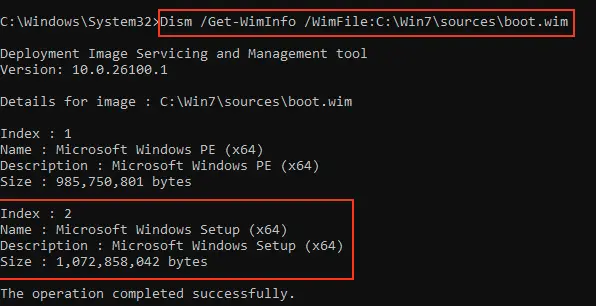
To do this, enter the command to get the boot.wim indices:
Dism /Get-WimInfo /WimFile:C:\Win7\sources\boot.wim
We observe that in the boot.wim file located in the C:\Win7\sources\ folder, the Windows 7 installer has index 2.
Now mount the boot.wim file:
Dism /Mount-Wim /index:2 /WimFile:C:\Win7\sources\boot.wim /MountDir:C:\1
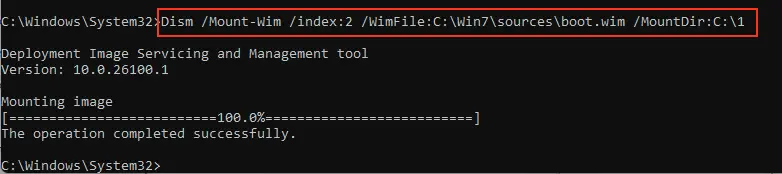
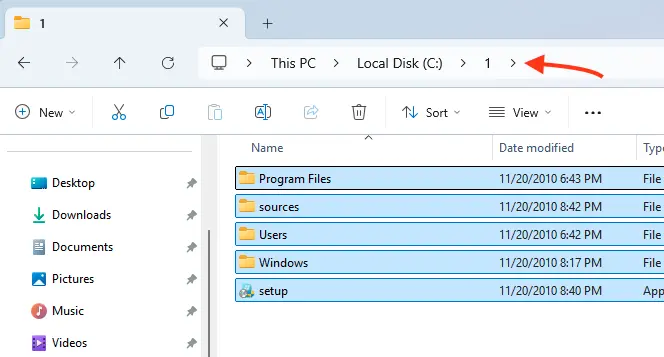
The boot.wim image is now mounted to the “1” folder on drive C:.
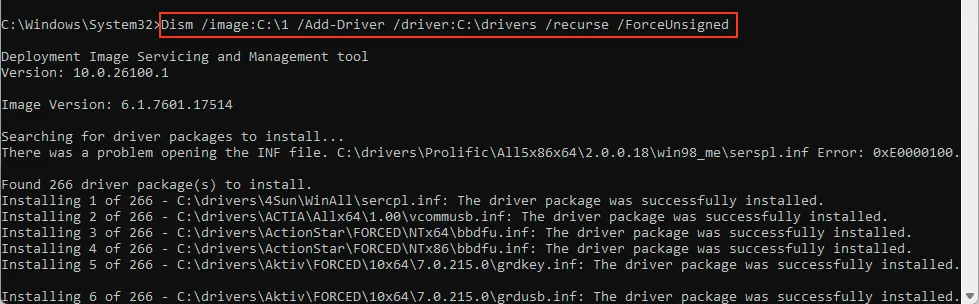
Add the drivers:
Dism /image:C:\1 /Add-Driver /driver:C:\drivers /recurse /ForceUnsigned
Close the “1” folder if it is open.
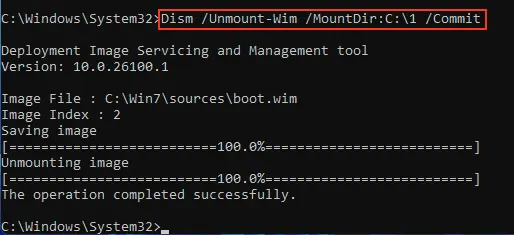
Then unmount the image:
Dism /Unmount-Wim /MountDir:C:\1 /Commit
Now, all that remains is to create the ISO image of Windows 7, which now includes the USB 3.0 drivers!
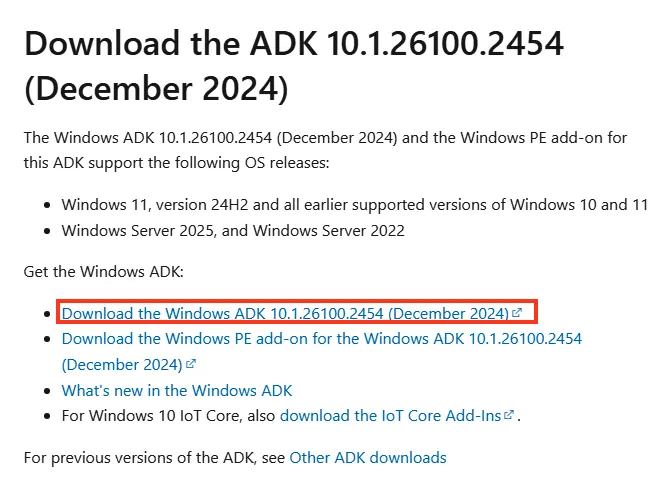
Download and install the Windows ADK (Assessment and Deployment Kit).
9. Creating the ISO Image
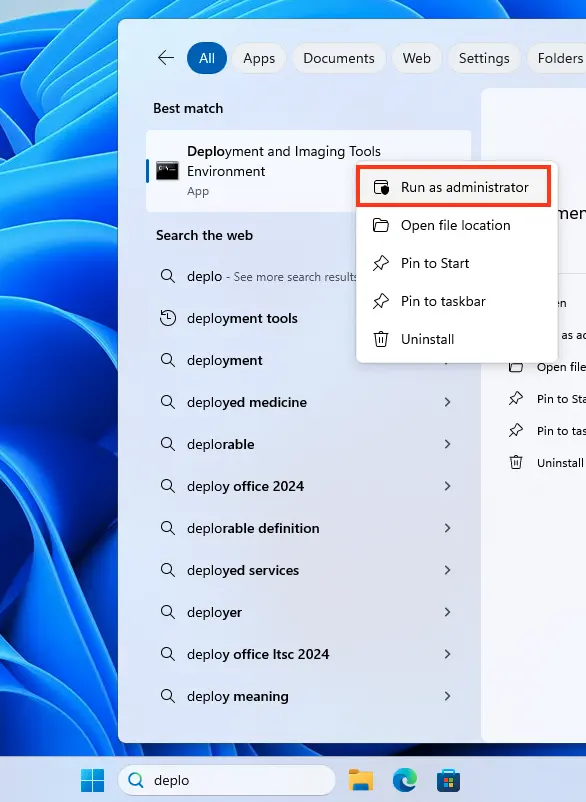
After this, open the Deployment and Imaging Tools Environment as administrator.
To create the ISO image of Windows 7 with integrated drivers, use the command:
Oscdimg /u2 /m /bC:\Win7\boot\Etfsboot.com C:\Win7 C:\Win7.iso
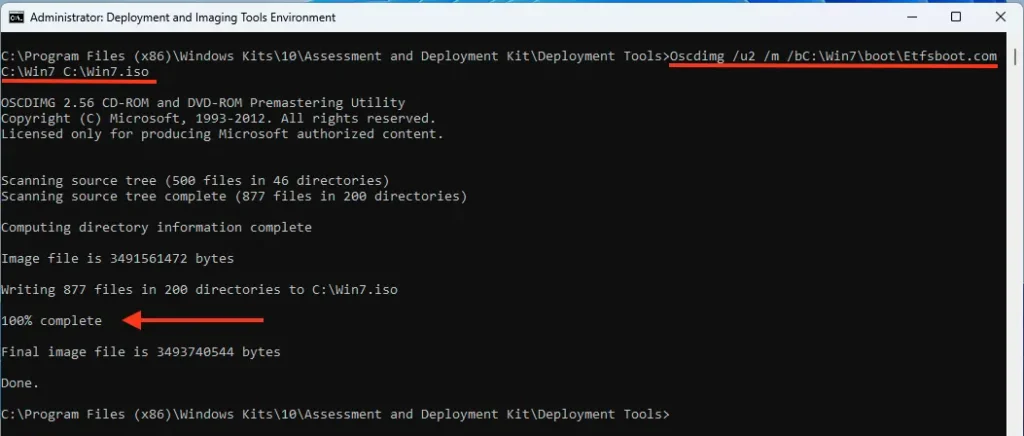
As a result, the Win7.iso file is created on drive C:.

10. Creating a Bootable USB Drive and Installing Windows 7
Now, all that’s left is to create a bootable USB drive and install Windows 7 using our guide.