While working with Word documents, you may have encountered the unpleasant situation of losing important data due to an unexpected crash. Fortunately, the AutoSave feature in Microsoft Word significantly reduces the risk of data loss by automatically saving your document throughout the editing process. In this article, we will explore how to enable and configure AutoSave in Word, as well as how to use it to recover unsaved documents.
Purchase genuine Microsoft Office product keys in our catalog, starting from 7.00 €, with instant delivery to your email.
Part 1. What is AutoSave in Microsoft Word?
AutoSave in Word is a built-in feature that automatically saves your documents at regular intervals, preventing data loss. This feature was first introduced in Microsoft Office 365 and is also available in other Office applications, such as PowerPoint and Excel.
AutoSave is enabled by default and saves changes to the document every few seconds. To get the most out of this feature, it is recommended to save documents to cloud services like OneDrive or SharePoint Online. If you prefer to store files locally, the AutoRecover feature is also available and works without an internet connection, creating backups every 10 minutes.
Part 2. How to Enable or Disable AutoSave in Word?
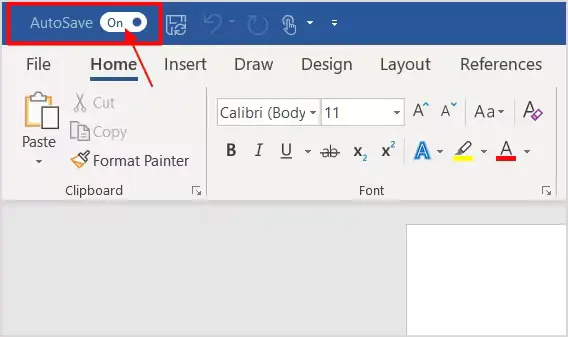
AutoSave can be enabled or disabled using a simple toggle located on the top bar of Word, next to the “File” tab. This allows you to flexibly manage AutoSave for each document.
To change AutoSave settings or enable it only for specific documents:
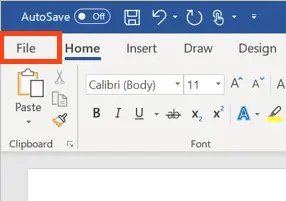
1. Open Word and go to File > Options.
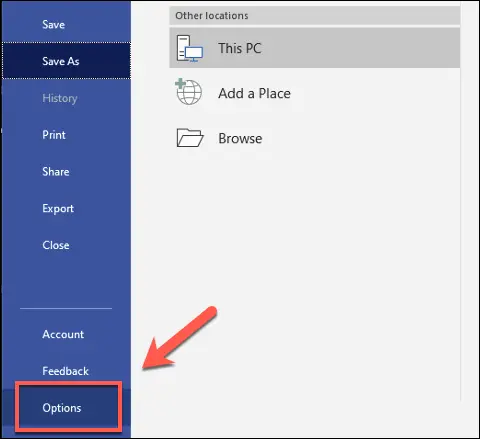
2. In the Save section, find the “AutoSave” option and check or uncheck the box to enable or disable the feature for the current document.

Part 3. Where Are AutoSave Temporary Files Stored, and How to Change Their Location?
By default, temporary AutoSave files are stored in the following folders:
– For Windows: C:\Users\
– For Mac: /Users/
You can find AutoSave files with names like ~wrfxxxx.tmp or ~wraxxxx.tmp.
How to Change the Location of Temporary Files on Windows:
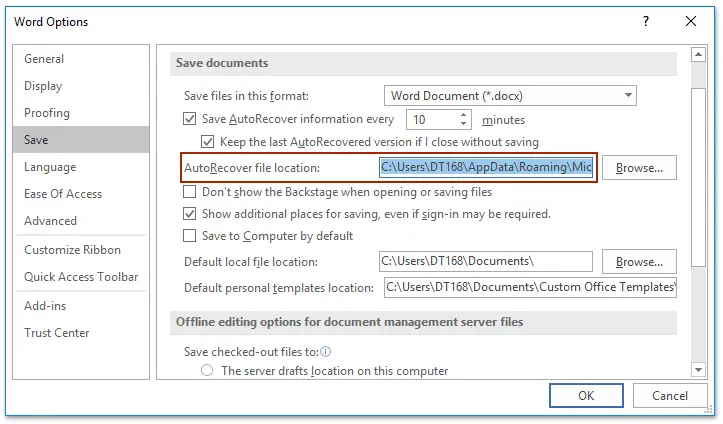
1. Open Word and go to File > Options.
2. In the Save section, in the “AutoRecover file location” field, enter a new path for temporary files.
How to Change the Location of Temporary Files on Mac:
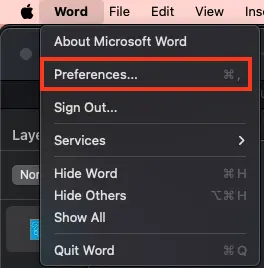
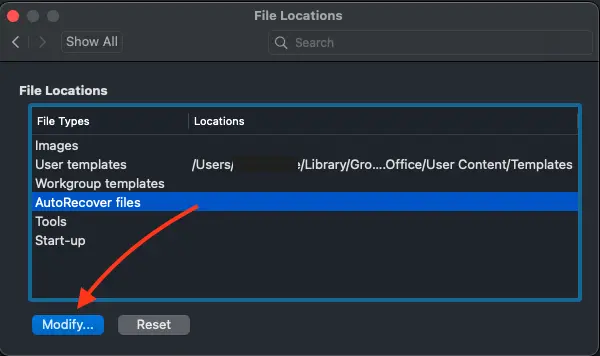
1. Launch Word and go to Preferences > File Locations.

2. In the “AutoRecover” section, click “Modify” and select the folder where temporary files will be saved.
Part 4. How to Recover Unsaved Documents Using AutoSave?
If a document was not saved manually, you can still recover it using AutoSave. To do this, follow these steps:
1. Go to File > Info.
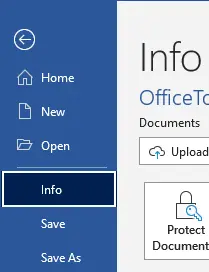
2. Manage Document > Recover Unsaved Documents. In the window that opens, select the desired draft and save it to a location of your choice.

AutoSave and AutoRecover are indispensable features for anyone looking to avoid unexpected data loss while working on documents. With these tools, you can rest assured that your efforts won’t go to waste, even in unforeseen situations.