In this article, we’ll dive into a detailed guide on how to configure and optimize Windows 11 at a basic level to boost your computer or laptop’s performance. By following these recommendations, you can minimize system load and ensure fast operation.
You can always purchase a genuine product key for Windows 11 from our store, starting at 11.20 €.
1. Switching from HDD to SSD
One of the most critical steps to enhance performance is upgrading to a solid-state drive (SSD). Traditional HDDs are outdated for use as system drives due to their significantly slower speeds compared to SSDs. If your computer or laptop still uses an HDD, we strongly recommend replacing it with an SSD.
To check your drive type, open “File Explorer.”

Right-click any partition and select “Properties.”
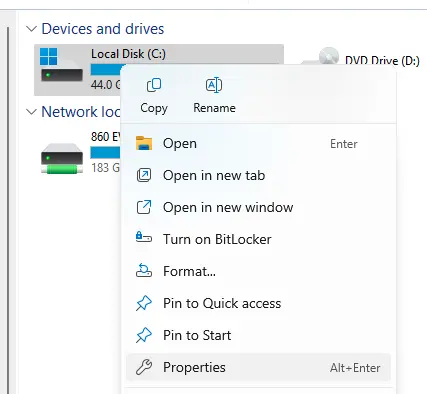
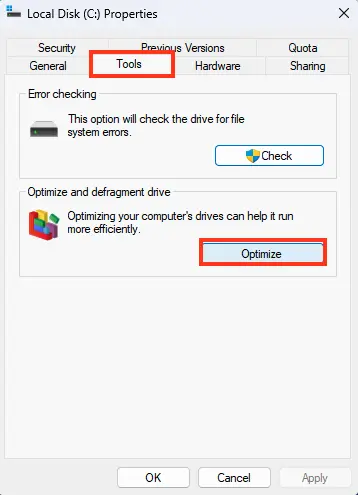
Go to the “Tools” tab and click “Optimize.”
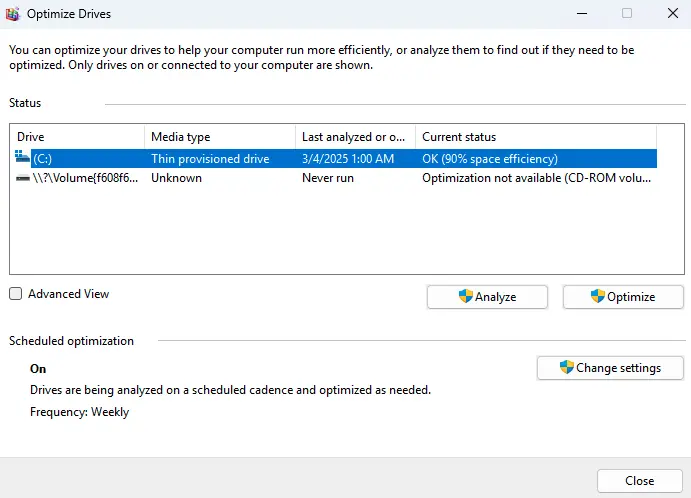
If your drive is an SSD, it will be labeled as such. An HDD will be listed as a “hard disk.” Replacing an HDD with an SSD will immediately result in a noticeable system speed boost.
2. Checking Updates and Creating a Restore Point
Before optimizing Windows 11, ensure all the latest updates are installed.
Go to “Settings.”

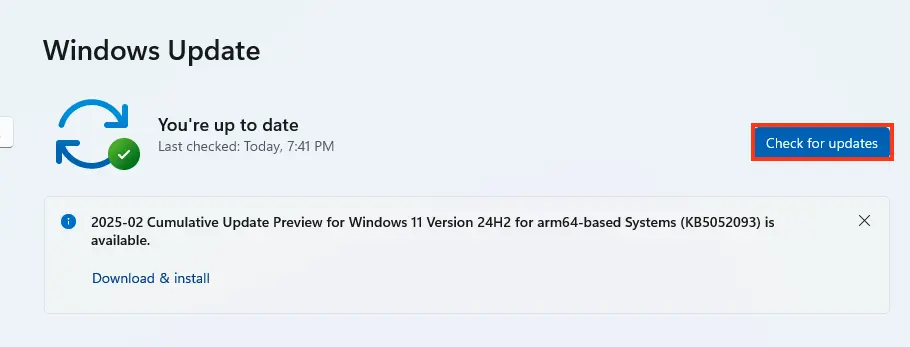
Then navigate to “Windows Update.”
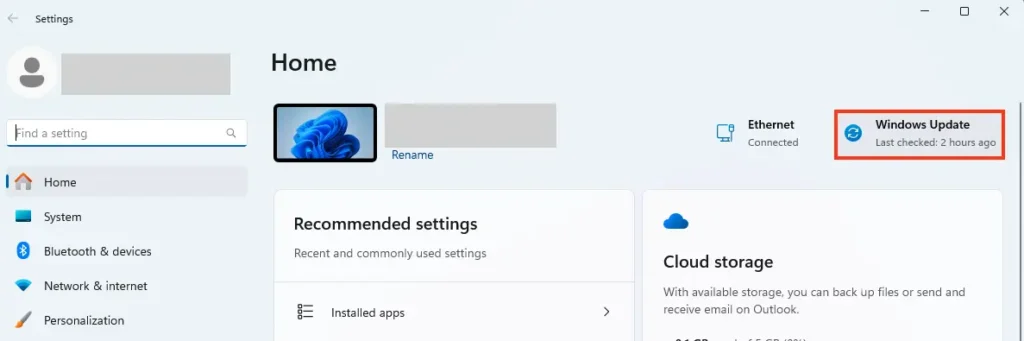
Click “Check for updates.” Installing the latest updates keeps your system current and fixes known issues.
Additionally, it’s wise to create a system restore point. This allows you to revert to a previous state if something goes wrong.
To create a restore point, open the “Start” menu and type “Create a restore point.”

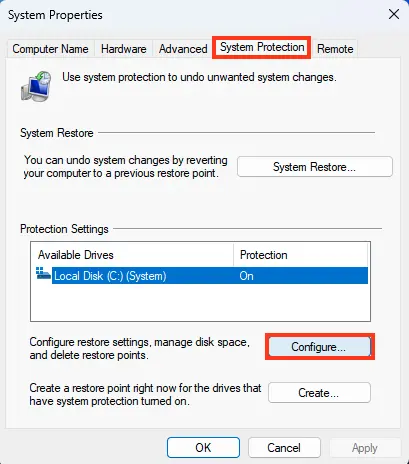
In the “System Protection” menu, select your system drive (C:) and click “Configure.”
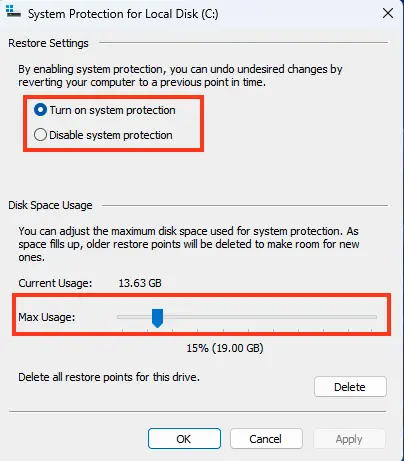
Enable protection for the C: drive and allocate space for restore points. Then click “Apply” and “OK.”
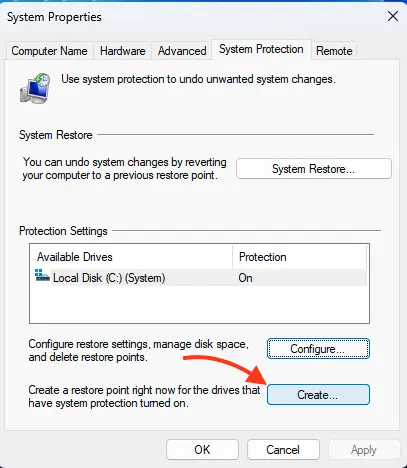
Click “Create,” name your restore point, and confirm its creation.

3. Personalization and Taskbar Configuration
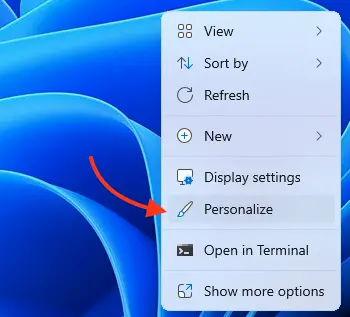
Windows 11 offers extensive personalization options. Let’s start with the taskbar. By default, taskbar buttons are centered. To align them to the left, right-click the desktop and go to “Personalization.”
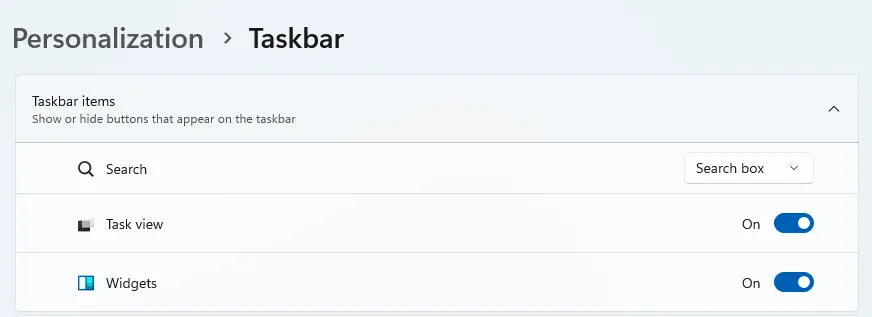
Select “Taskbar.”

Under “Taskbar behaviors,” change the alignment to “Left.”
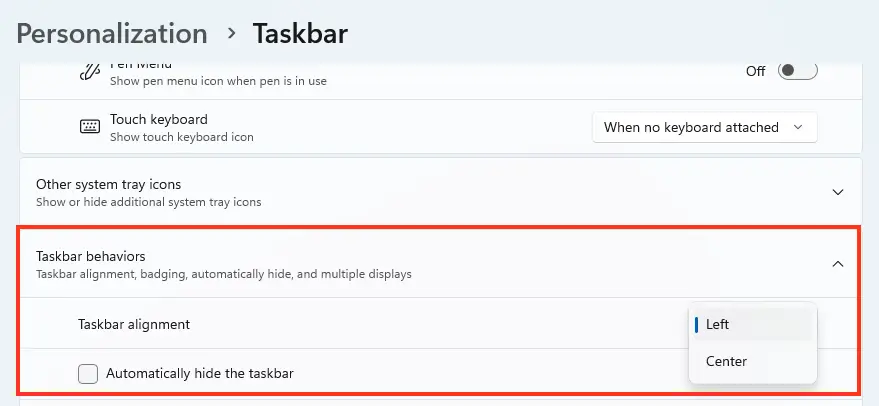

You can also enable auto-hiding for the taskbar when not in use, which is handy on smaller screens. Additionally, toggle app badges (e.g., unread message counts in email or messaging apps) on or off.
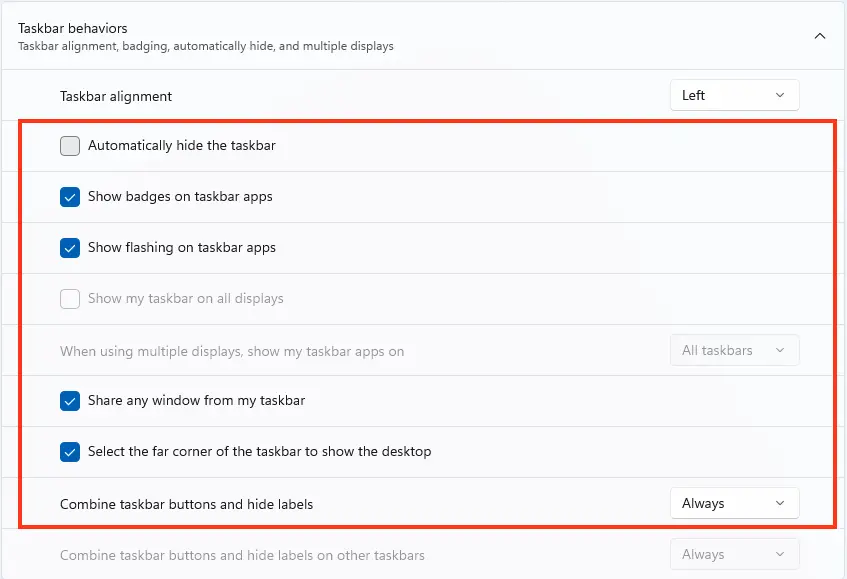
Enable or disable taskbar badges.
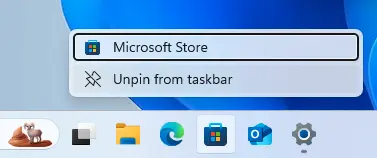
To unpin Microsoft Store, right-click its icon and select “Unpin from taskbar.”
In “Taskbar corner overflow,” you can enable or disable icons in the corner menu.

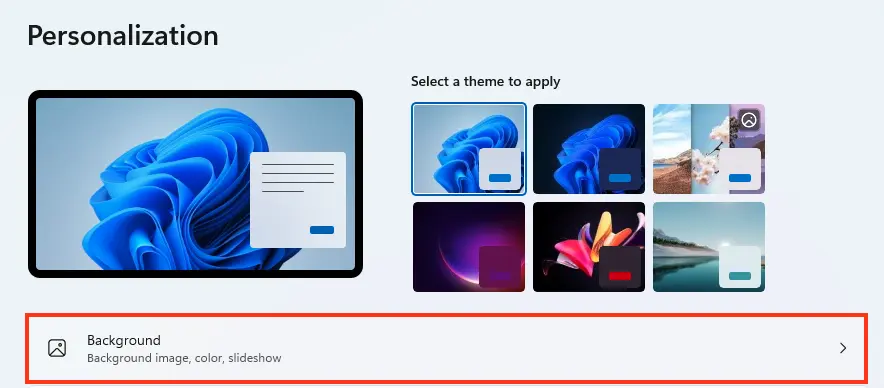
4. Background and Theme Settings
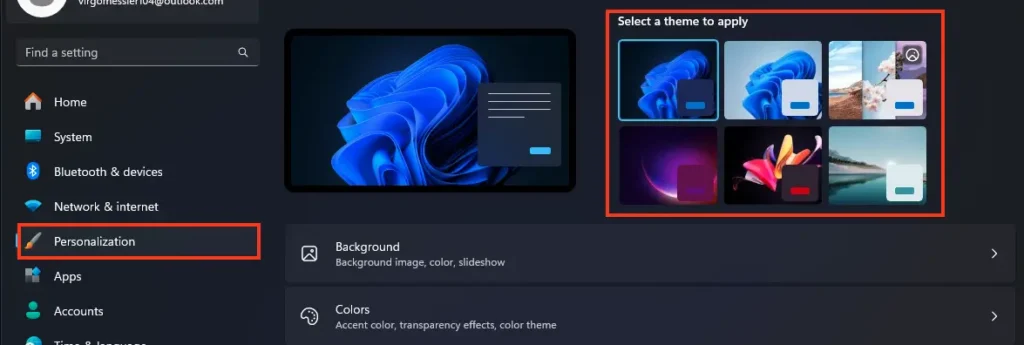
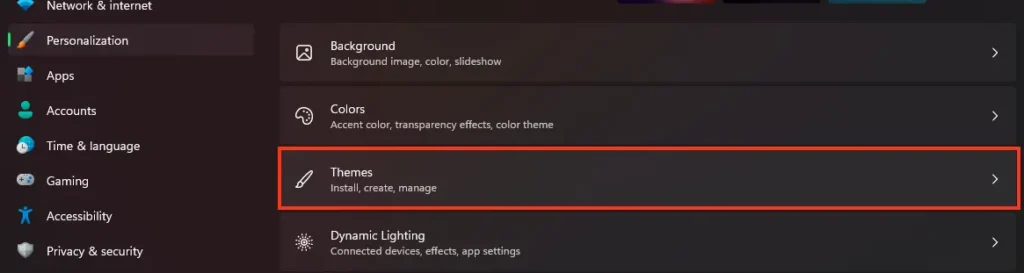
In the “Personalization” section, you can change your desktop background and select a theme. Themes include background images, color schemes, sound effects, and cursors. To switch themes, choose one from the options or create your own under “Themes” in “Personalization.”
Under “Background,” change the desktop image to one of the provided options or upload your own by clicking “Browse photos.”
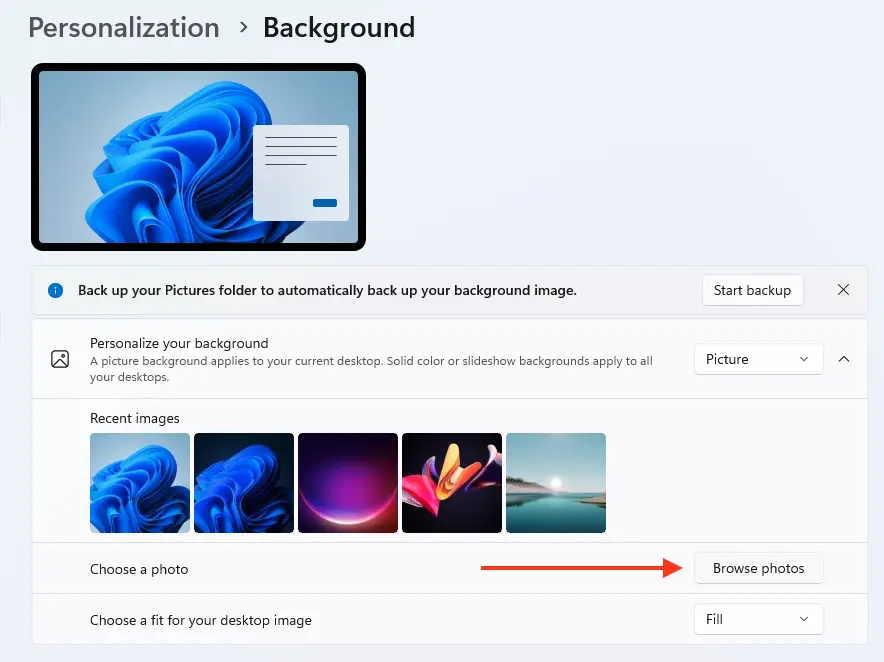
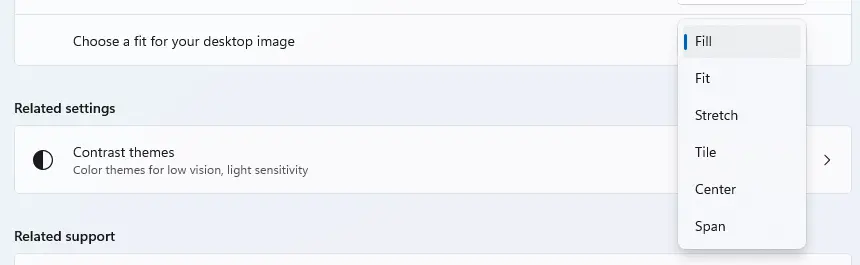
You can also adjust the image fit algorithm.
For better performance, opt for “Solid color,” filling the desktop with a single color instead of an image.

Another option is “Slideshow”—select a folder with multiple images, and they’ll rotate every few minutes based on your preference.
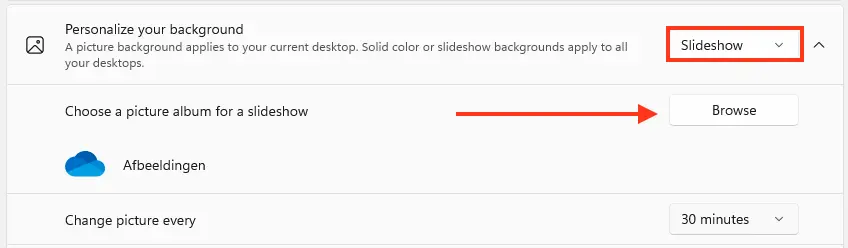
You can also enable image shuffling for your slideshow.

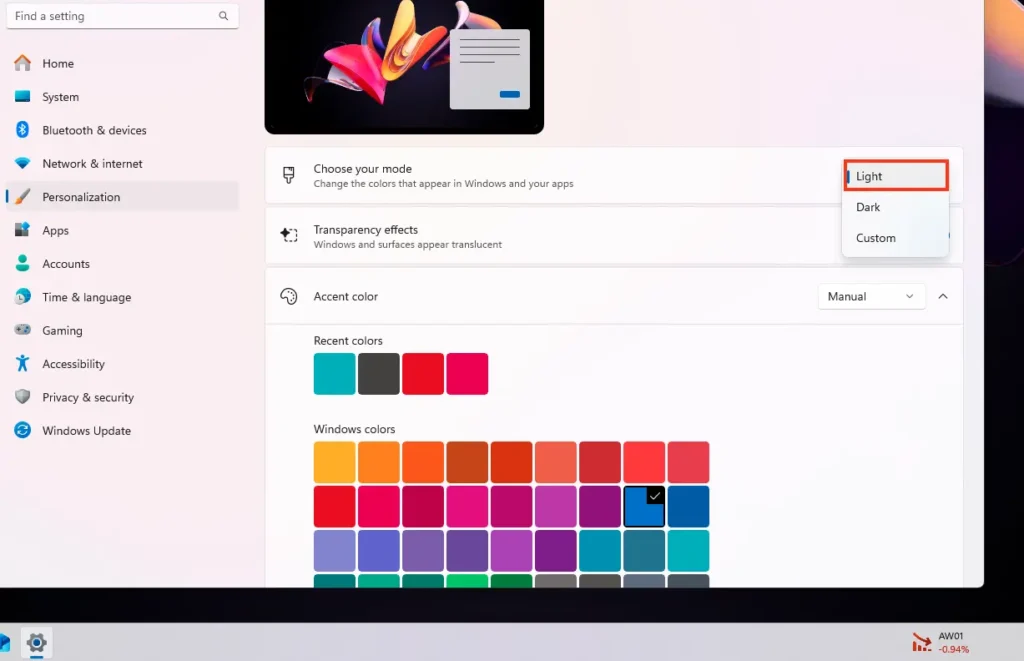
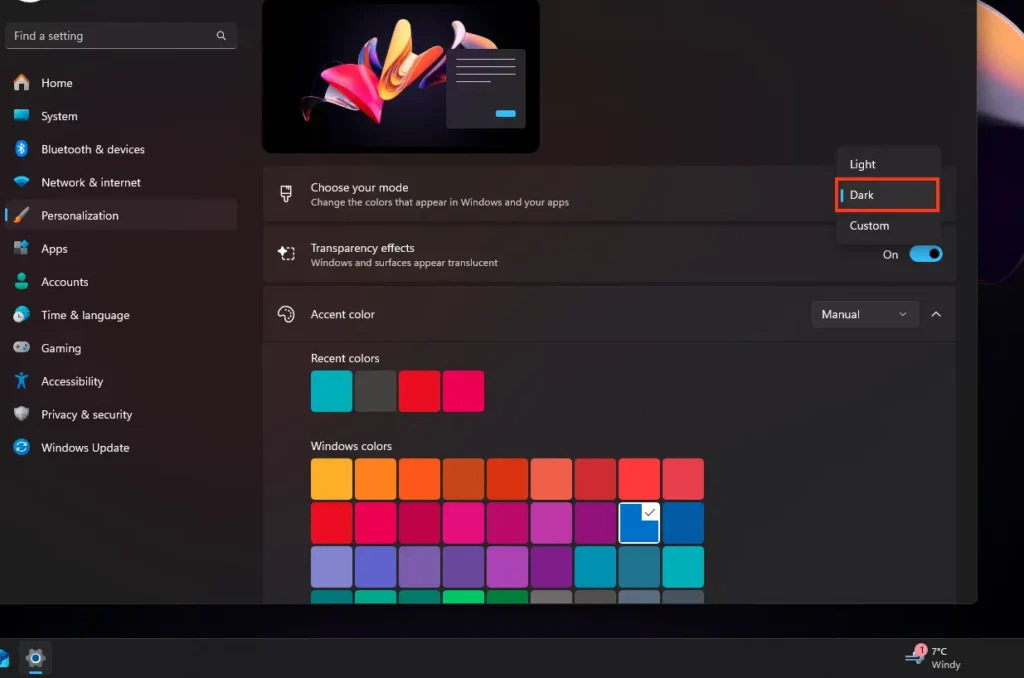
Next, go to “Colors.”

Here, you can choose the color mode for your apps. Light or Dark.
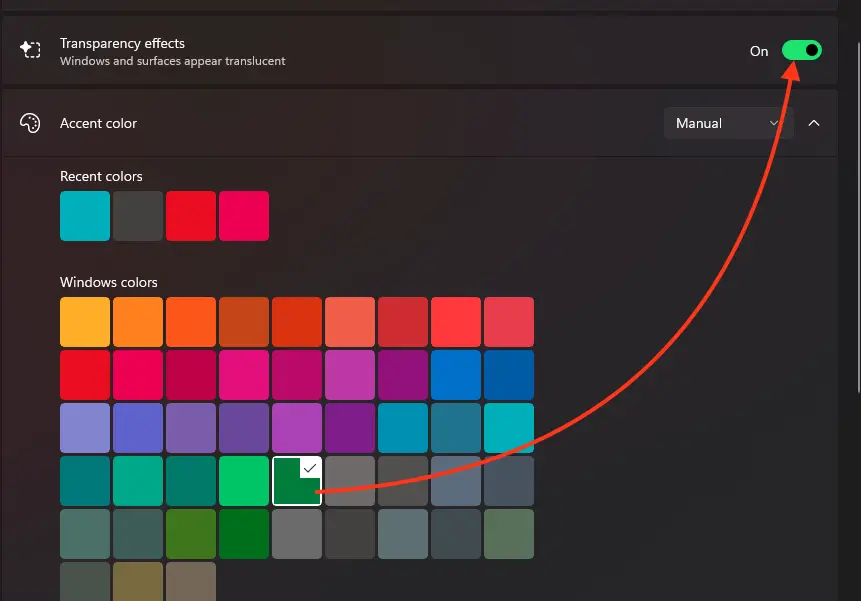
For improved performance, disable “Transparency effects.”

Below, you can change the window border color and other.
Return to “Themes.”
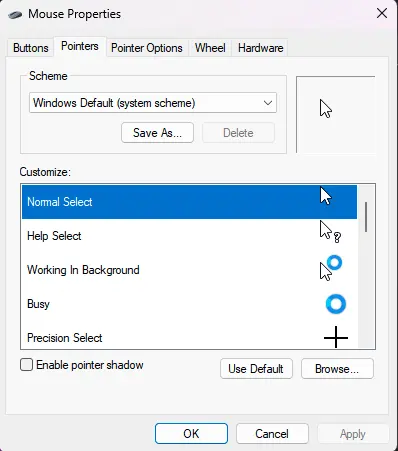
Open “Mouse Cursor” to customize the visual appearance of your mouse pointer.
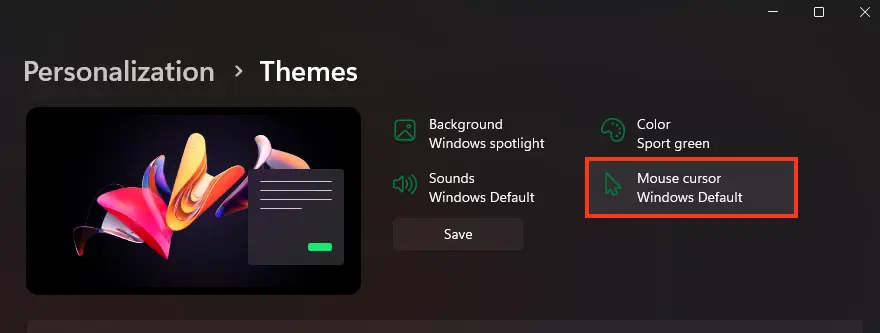
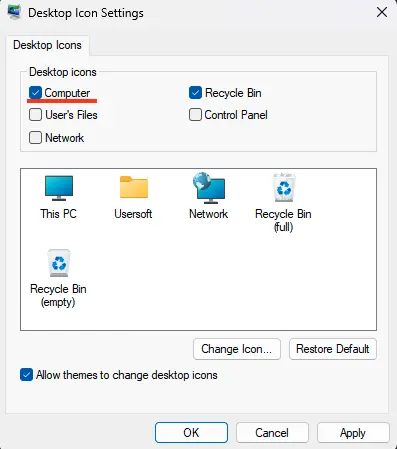
Back in “Themes,” scroll down and open “Desktop Icon Settings” to add “This PC” to your desktop for quicker access.

Return to “Personalization” and open “Lock Screen.”

For faster PC boot times, set “Lock screen status” to “Picture” instead of “Slideshow.”

Disable “Show fun facts, tips, and more on the lock screen.”
Set “Lock screen status” to “None.”

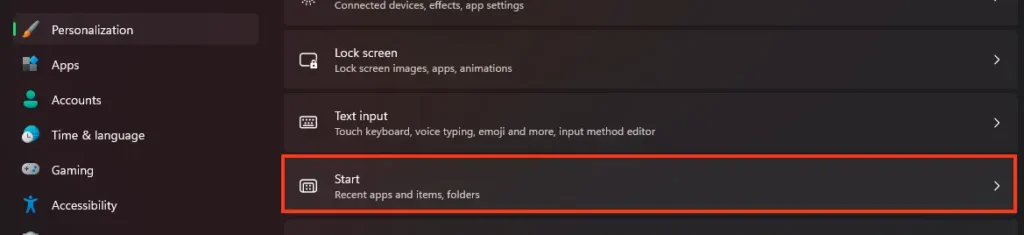
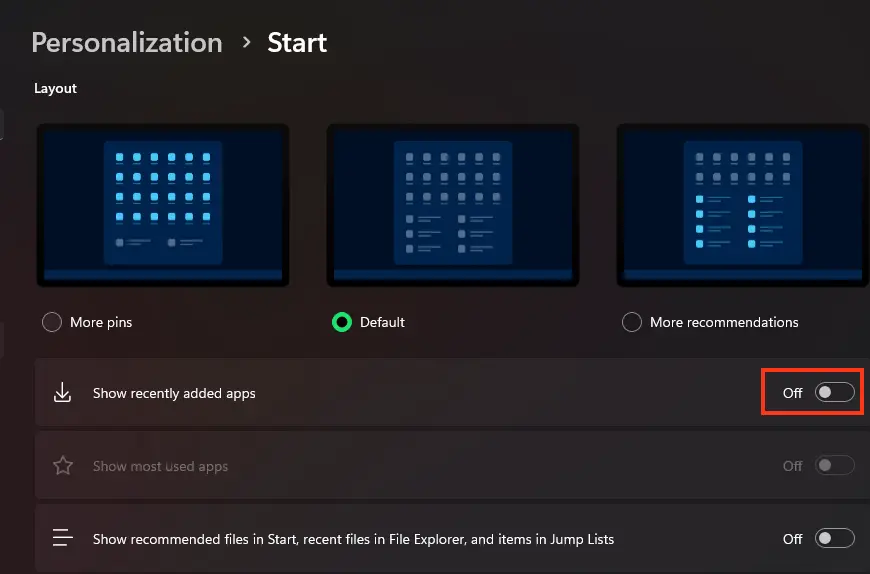
In “Personalization” => “Start,” disable “Show recently added apps.”
You can also disable “Show recently opened items in Start menu.”

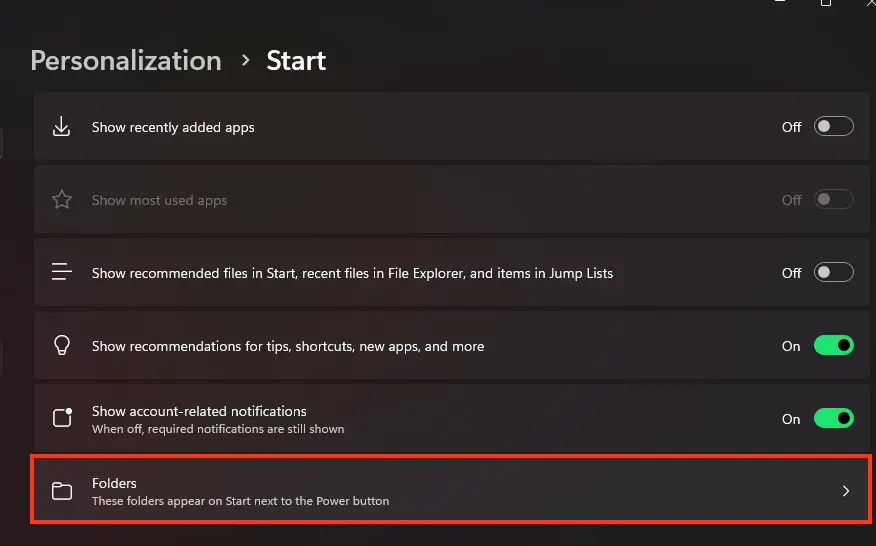
Go to “Folders”—these sliders control what appears in the Start menu.
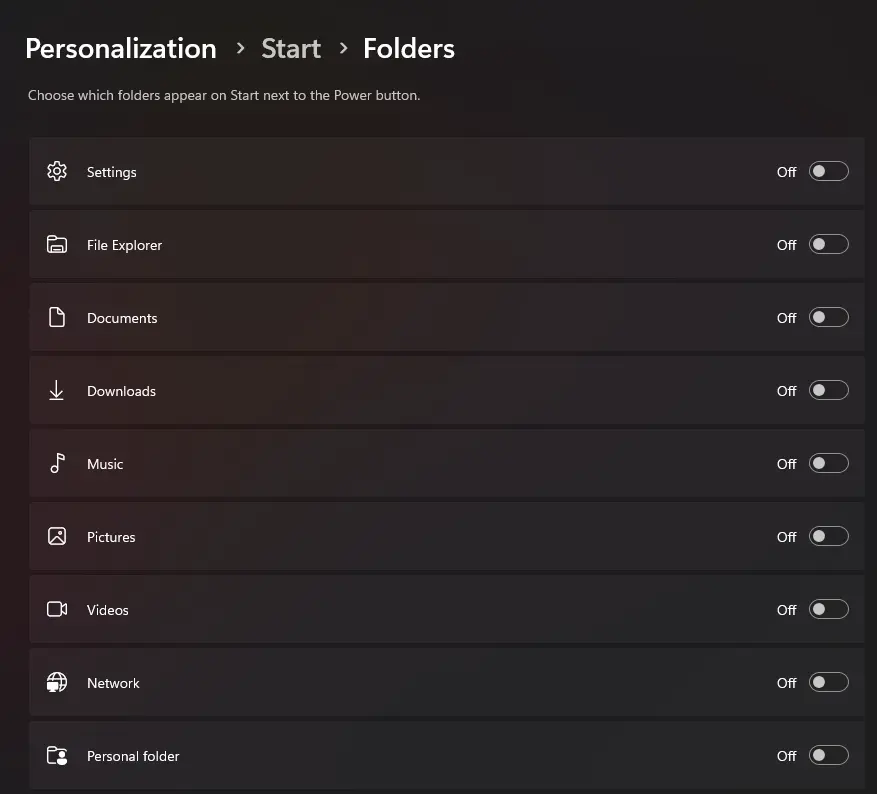
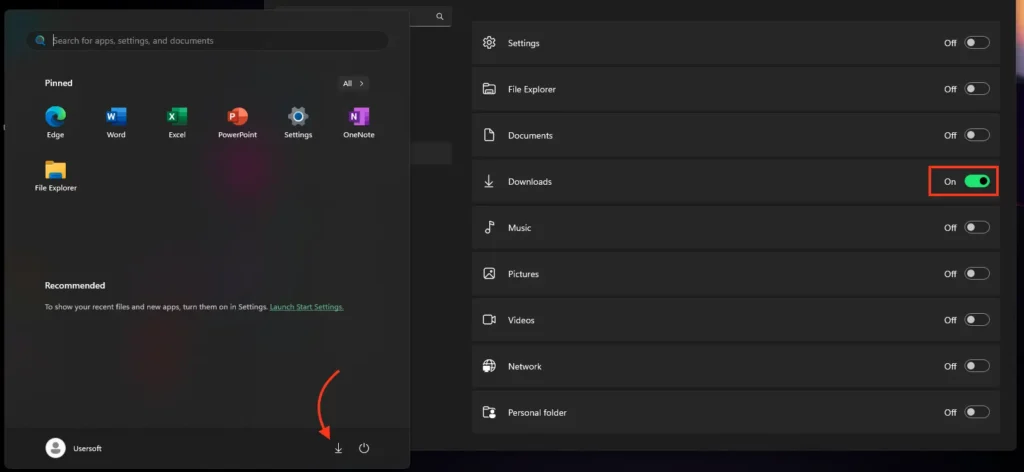
For example, enabling “Settings” and “Downloads” will add them to the Start menu.
Ensure that in “Apps & Features” => “Choose where to get apps,” “Anywhere” is selected.
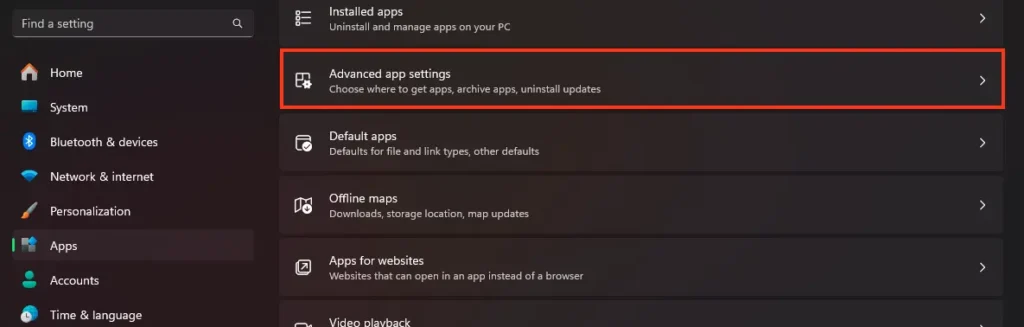
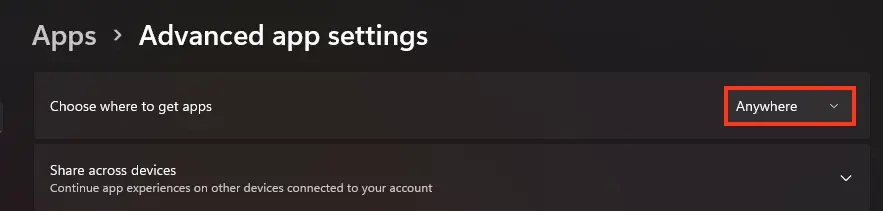
Other settings, like “Microsoft Store only,” may cause errors when installing third-party apps.
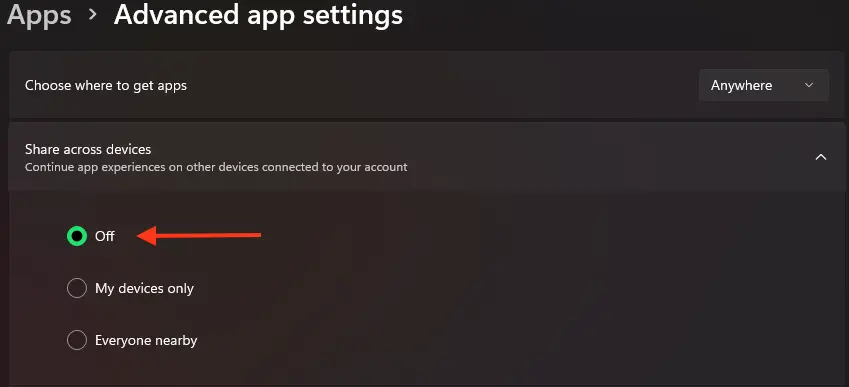
You can also disable “Share across devices” if you don’t use apps across devices with your PC.
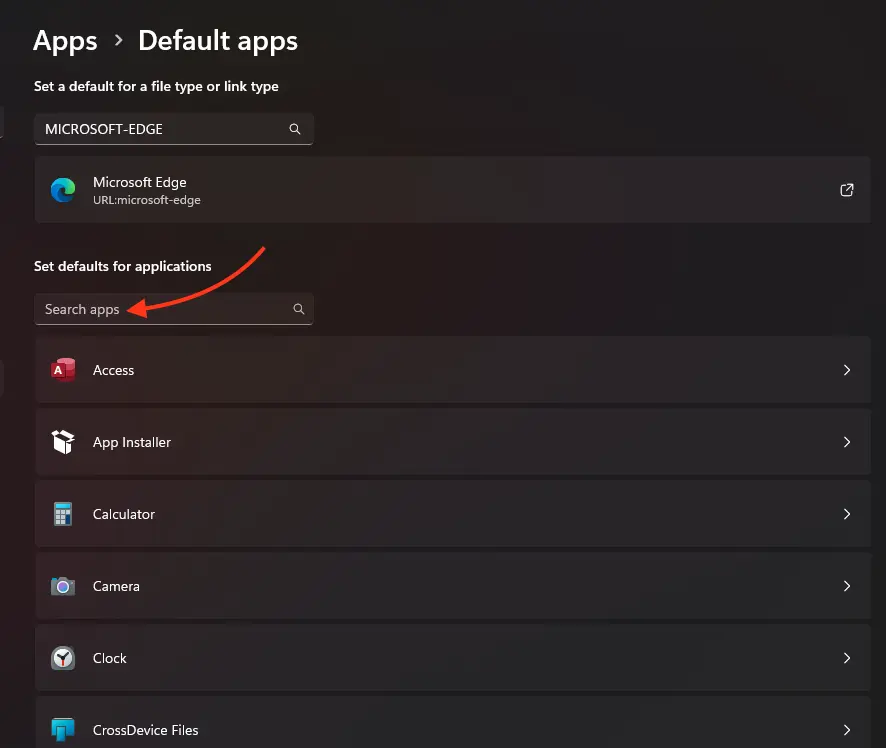
5. Default App Settings
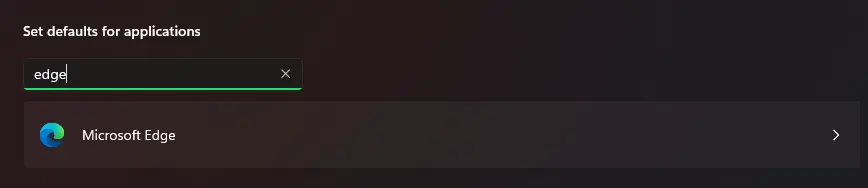
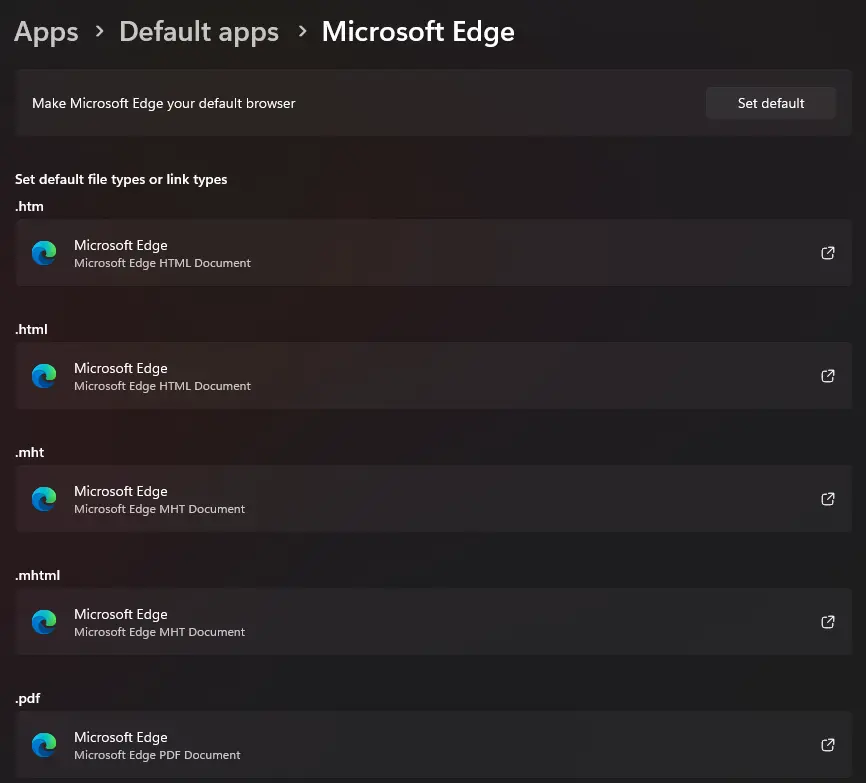
In the “Apps” section, go to “Default Apps” to choose which programs open specific file types.
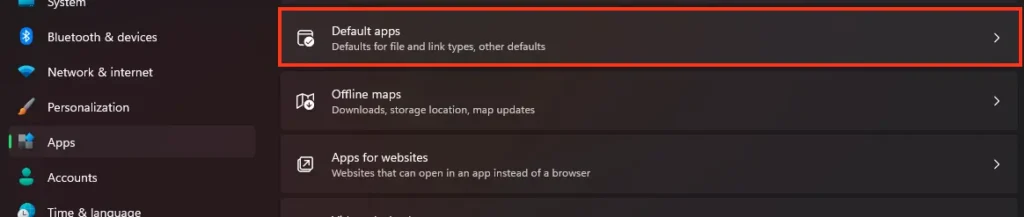
For example, to change the default browser, select your preferred one instead of Microsoft Edge. Ensure all key file types are linked to the right apps.
6. Disabling Unnecessary Features and Services
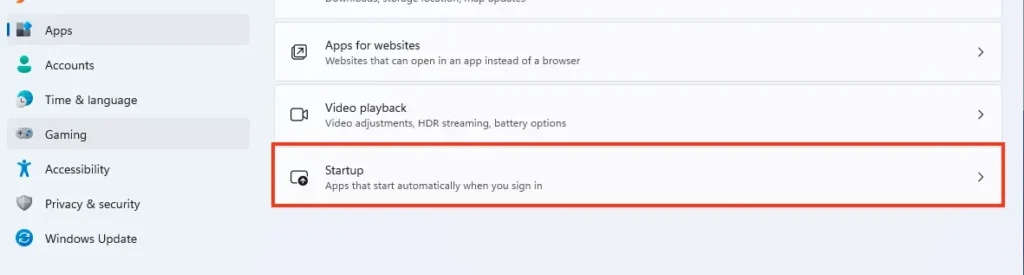
To free up system resources, disable unneeded features and services. Open “Apps & Features” to remove unused utilities.
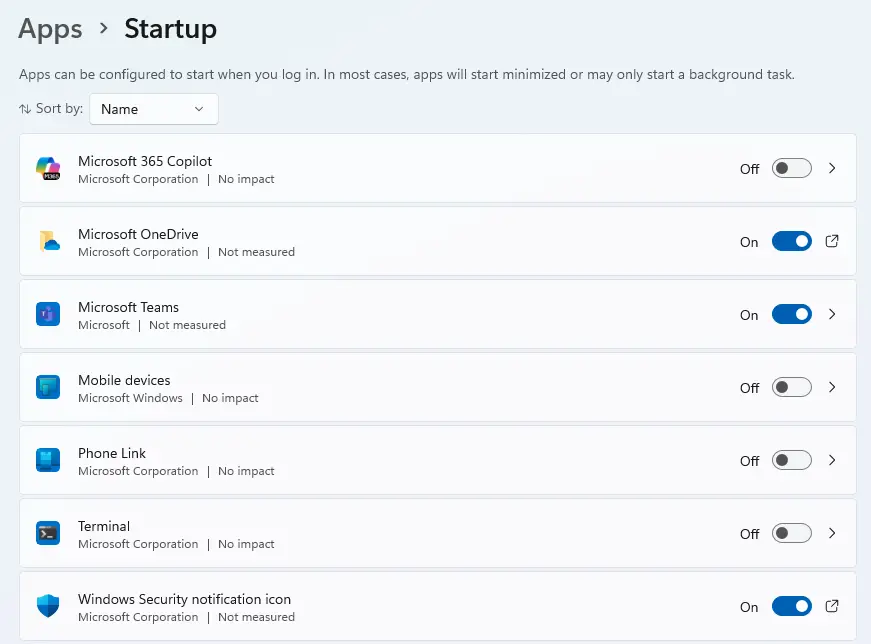
Also, go to “Startup” and disable apps that launch at system boot but aren’t needed constantly.
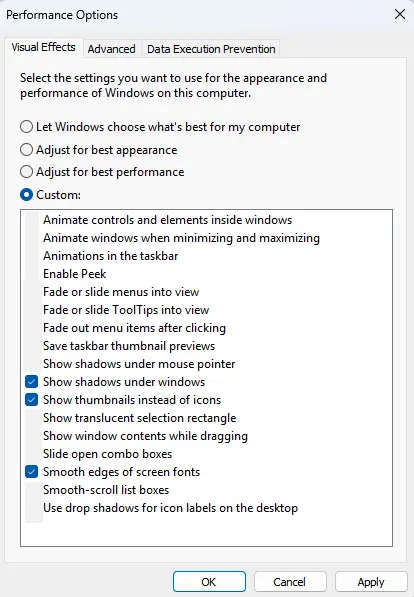
7. Optimizing Visual Effects
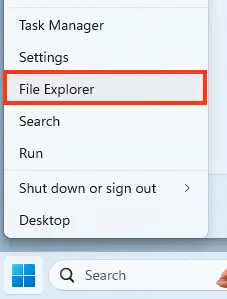
Visual effects can slow performance, especially on older or less powerful PCs. To adjust them, open “File Explorer.”
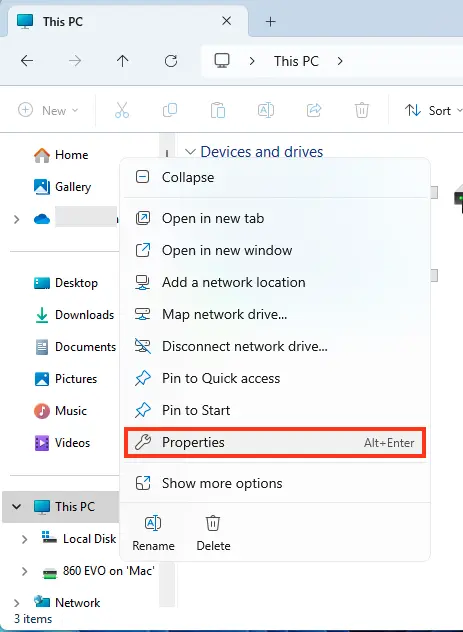
Open “This PC” and select “Properties.”
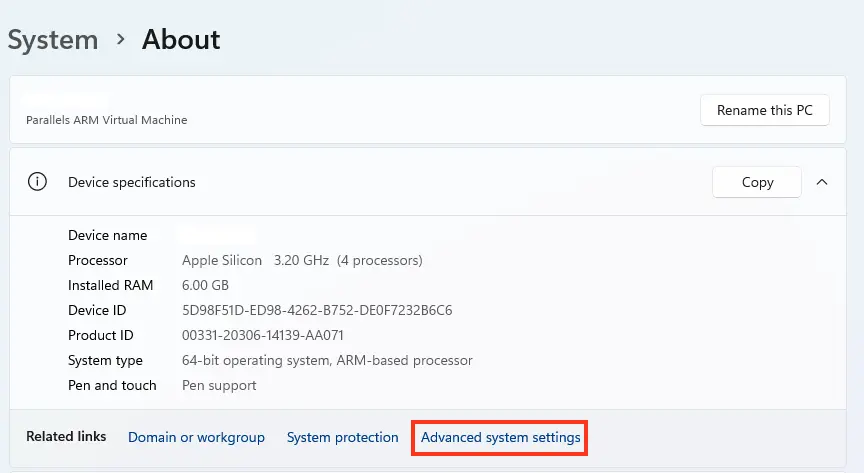
Choose “Advanced system settings.”
In the “Advanced” tab, under “Performance,” click “Settings.”

Select “Adjust for best performance” to disable all visual effects, or manually tweak them, keeping only essentials as shown below.
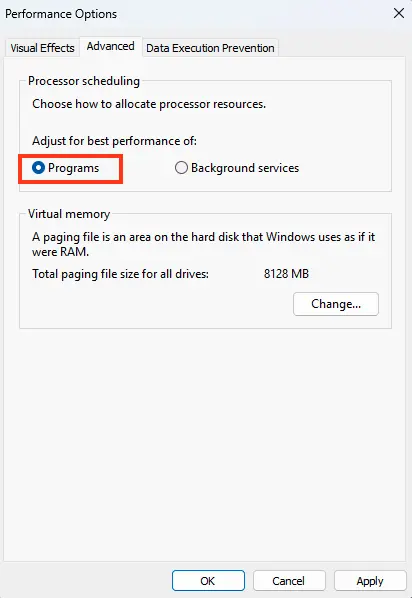
8. Virtual Memory Settings
In the “Advanced” tab, under “Performance,” choose “Programs.”
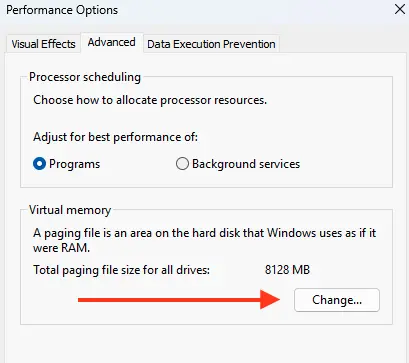
In “Performance Options,” adjust virtual memory by clicking “Change.”
Ensure the page file is on the fastest drive available, ideally an SSD. If possible, split it across multiple physical drives.
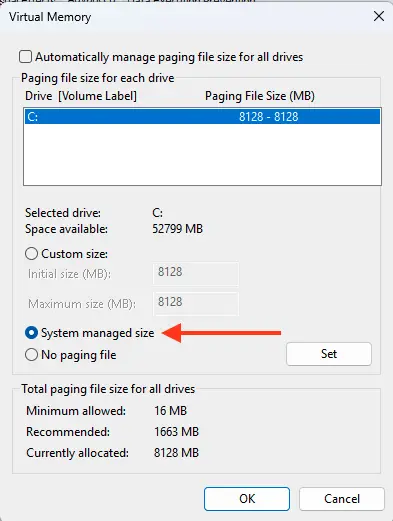
Select the drive, choose “System managed,” and click “Set.”

Restart your PC to apply changes.
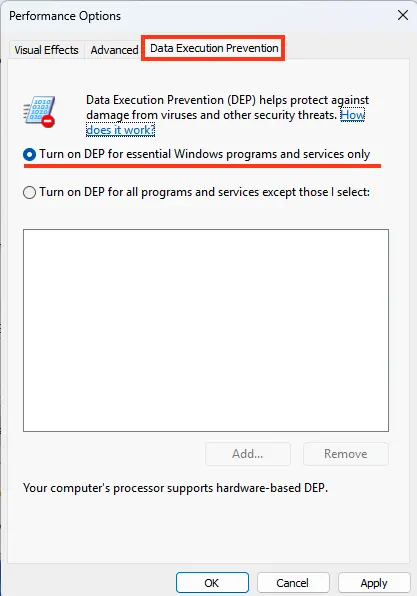
In “Data Execution Prevention,” select “Turn on DEP for essential Windows programs and services only.”
9. Disabling Remote Access
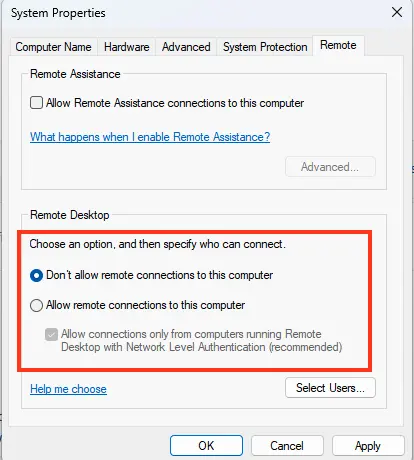
For security, disable remote access to your PC. Return to File Explorer => right-click “This PC,” select “Properties” => “Advanced system settings.”


In the “Remote” tab, check “Don’t allow remote connections to this computer.”
10. Accessibility Settings
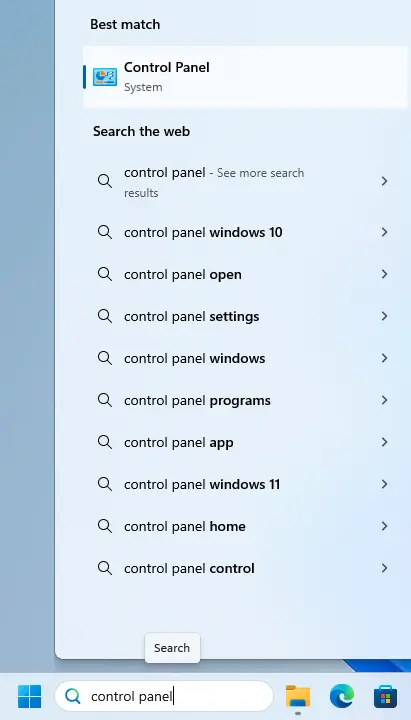
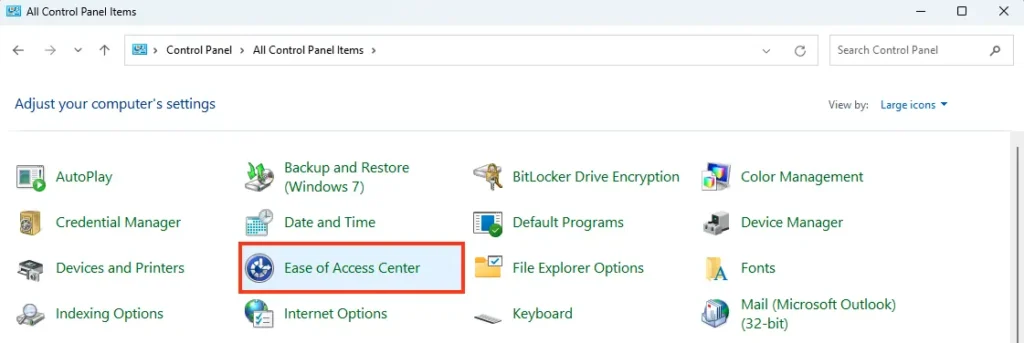
If you don’t use accessibility features like high contrast or keyboard pointer control, disable them. Open “Control Panel.”
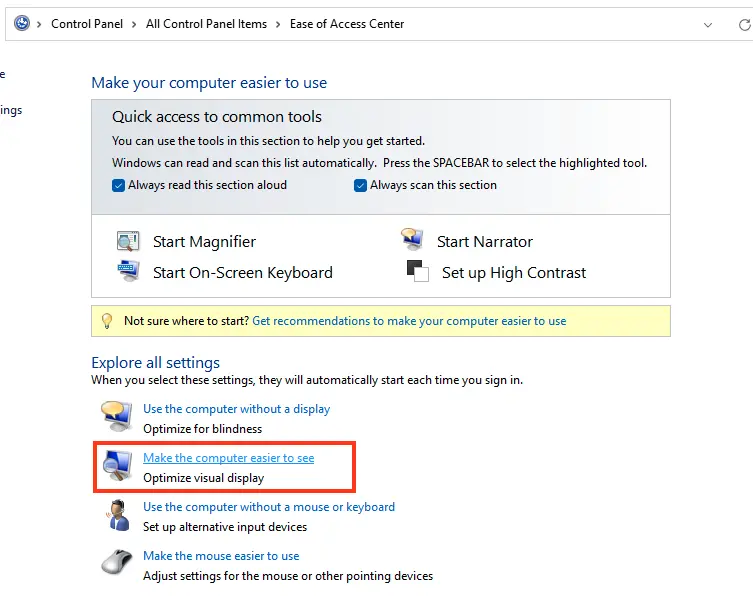
Go to “Ease of Access Center.”
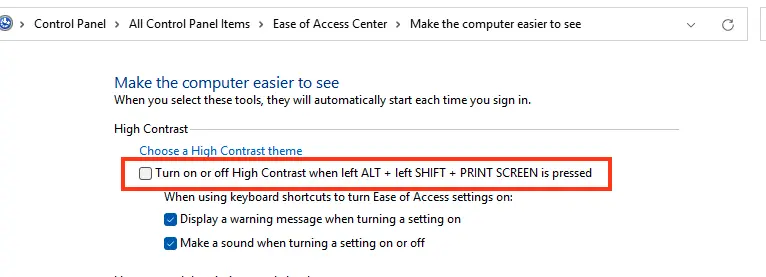
Select “Make the computer easier to see”
Uncheck “Turn on or off High Contrast when pressing keys.”
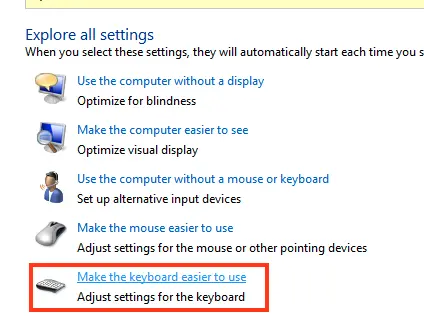
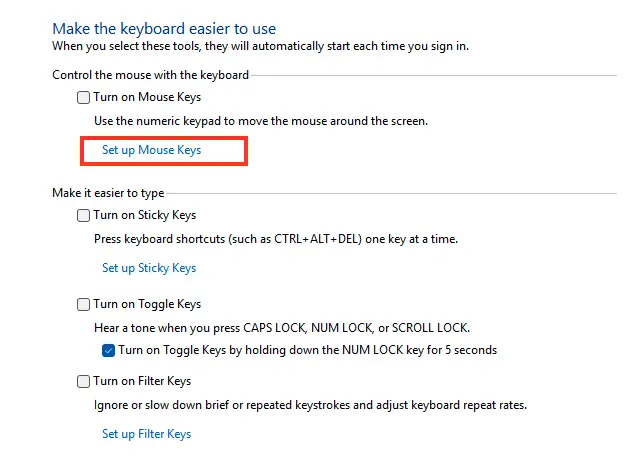
Return to “Ease of Access Center” and select “Make the keyboard easier to use.”
Click “Set up Mouse Keys.”
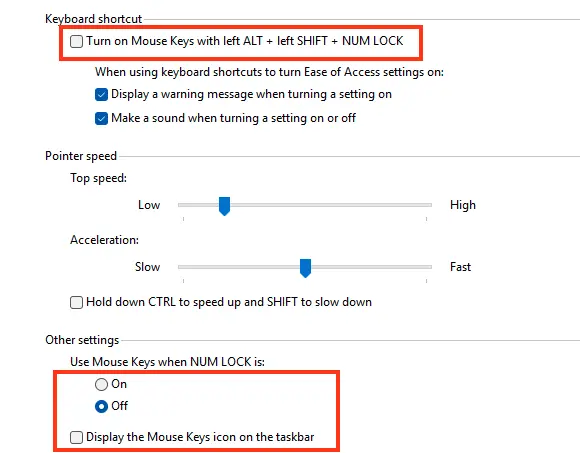
Uncheck “Turn on Mouse Keys” and “Display the Mouse Keys icon on the taskbar,” and set “Use Mouse Keys when NumLock is” to “Off.”
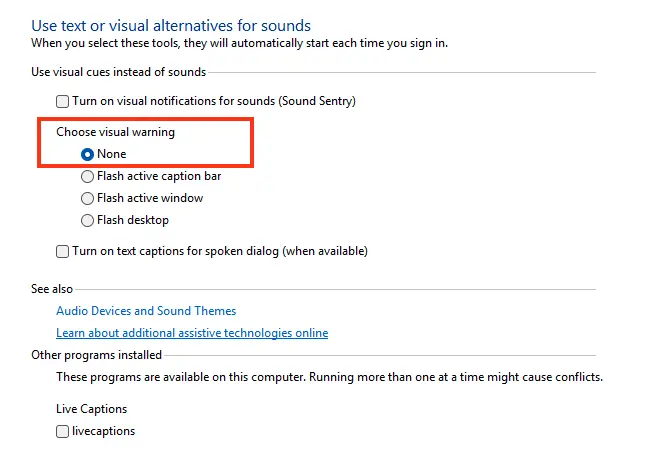
Go back and select “Use text or visual alternatives for sounds.”

Under “Choose visual warning,” select “None.”
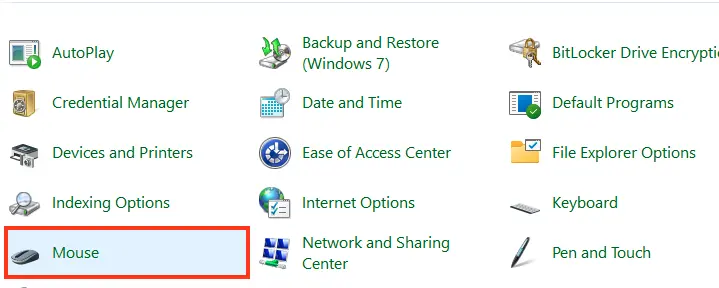
Click “All Control Panel Items.”
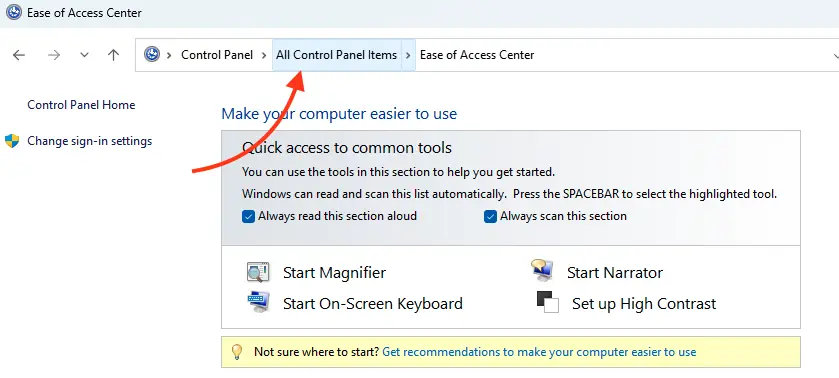
Select “Mouse.”
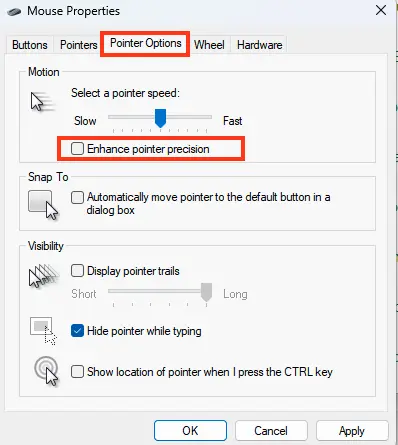
Go to “Pointer Options” and uncheck “Enhance pointer precision.”
By following these steps, you’ll maximize the optimization of your Windows 11 system, improving both performance and usability.