This article explains how to uninstall add-ins in Microsoft Excel. Add-ins are additional tools and features that extend Excel’s functionality. Sometimes you may need to remove an add-in if it’s no longer needed or causes issues with Office or other applications.
1. Close Excel before removing the add-in. This ensures changes are applied correctly.
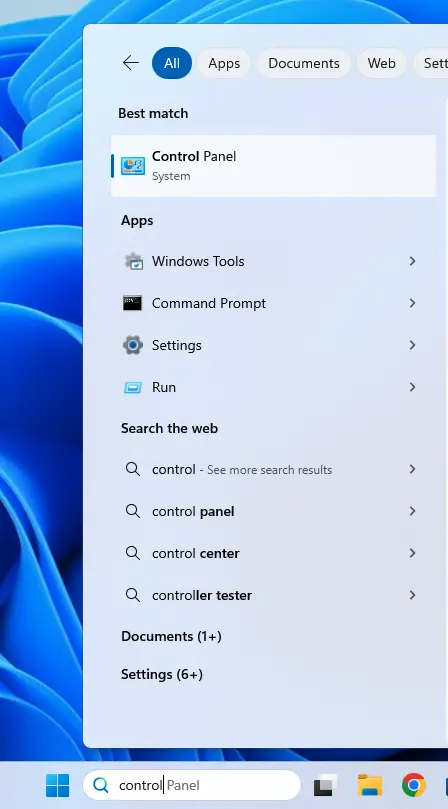
2. Open Control Panel:
– For Windows 10/11: Click Start, type “Control Panel” in the search bar, and select it.
– For Windows 7/Vista: Click Start, then select Control Panel.

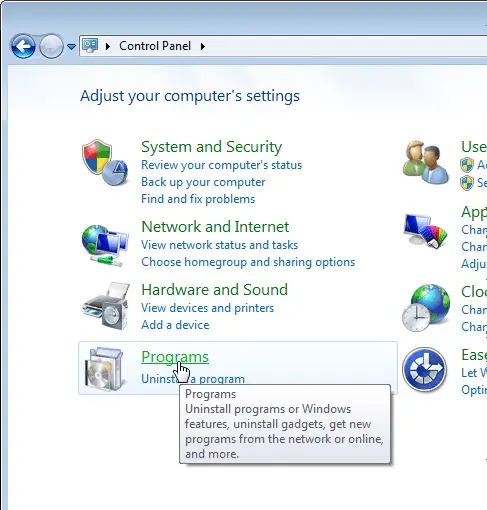
3. Navigate to Programs:
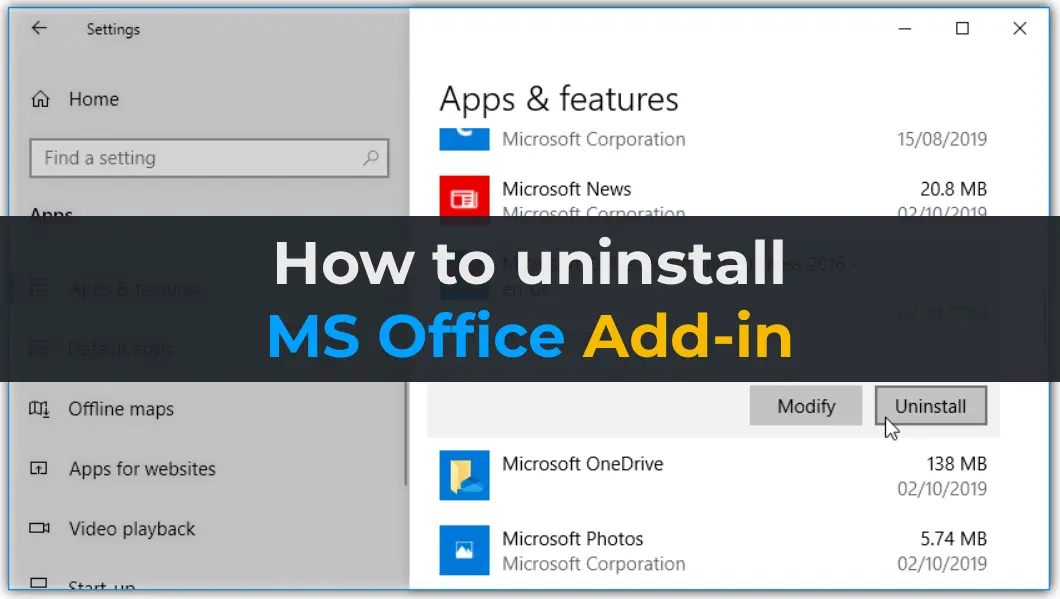
– In Control Panel, go to Programs > Programs and Features (Windows 7/8/10/11) or Add/Remove Programs (Windows XP).
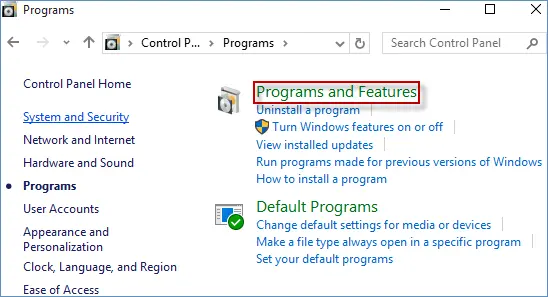
4. Locate the Add-in:
– If Excel is part of Microsoft Office, select Microsoft Office and click Change. Follow prompts to remove the add-in.
– If Excel is standalone, select Microsoft Excel and click Change.
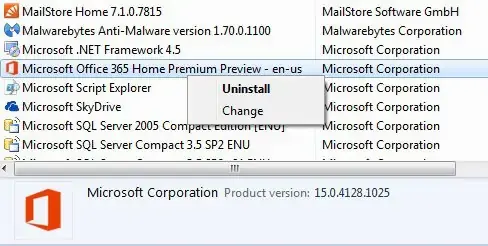
– For standalone add-ins (e.g., from Microsoft Download Center), select the add-in and click Uninstall.

5. Follow the uninstall wizard to complete the process.
Note: If the add-in was installed from a network server/shared folder, removal may require server access. If installed from a disk, reinstallation may be needed if the drive letter changes.

