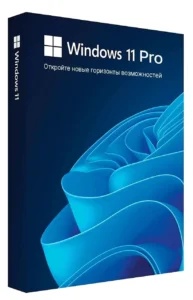
In this article, you will learn how to install VMware Fusion on your Mac, create a virtual machine, and install Windows 11 on M1, M2, M3, or M4 processors. We will go through the process of setting up a virtual machine, installing Windows 11, and activating the system using a product key that you can purchase from us.
Installing VMware Fusion
– To begin, you need to install VMware Fusion on your Mac.
– You will also need a special Windows 11 ARM installer, which you can download from our catalog in English, Russian or Spanish.
– After installing Windows 11, you will need to activate it. You can always purchase a genuine product key from our store.
Follow these steps:
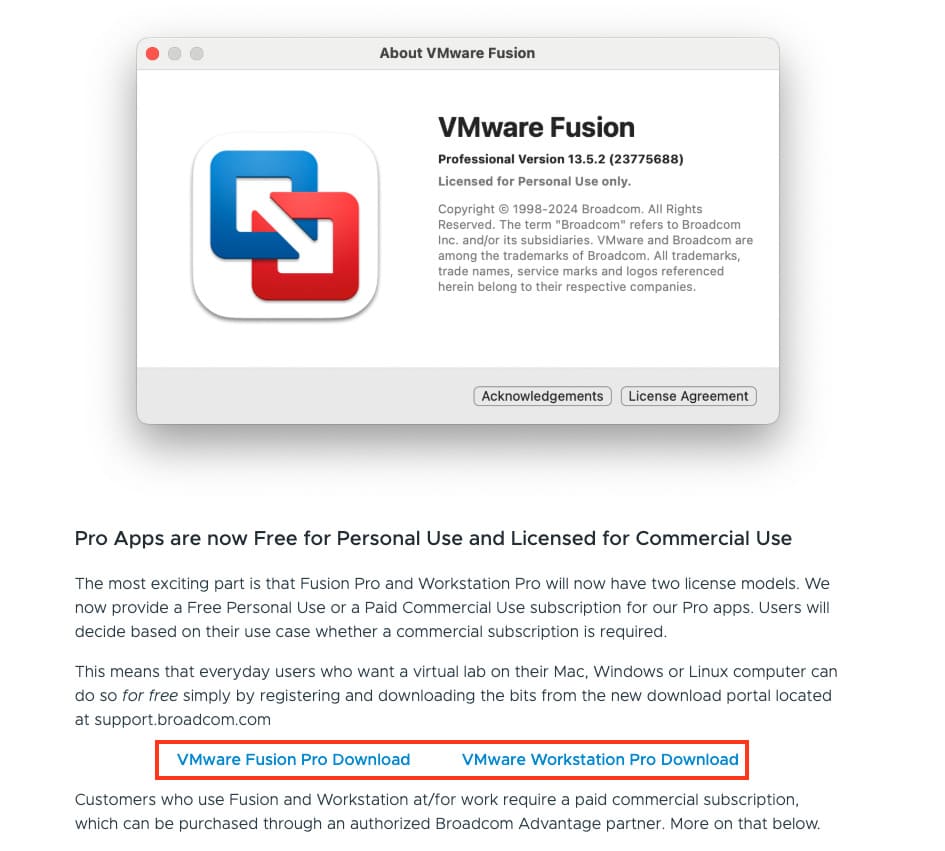
1) Download VMware Fusion from the official website.
– Go to the VMware site and select the VMware Fusion download section.
– Download the installer for macOS (you will need to register on the site).
– Or download VMware Fusion directly from our server.
2) Install VMware Fusion.
– Double-click the downloaded .dmg file.
– In the opened window, double-click the VMware Fusion icon to start the installation process.
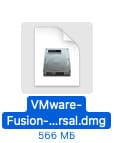
– Follow all installation prompts for VMware Fusion.
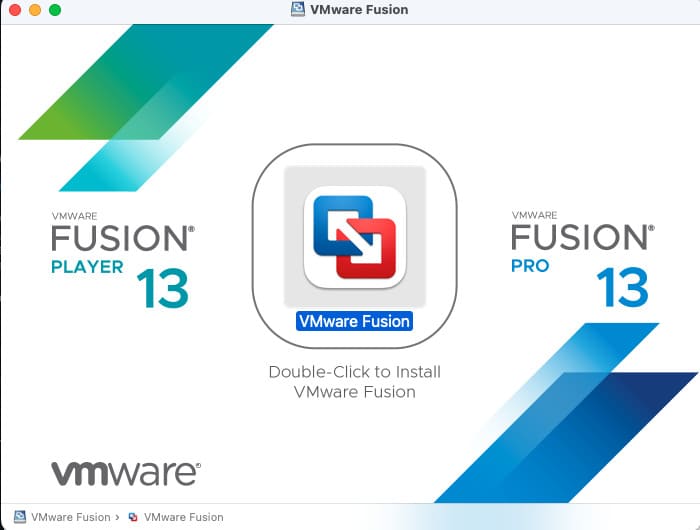

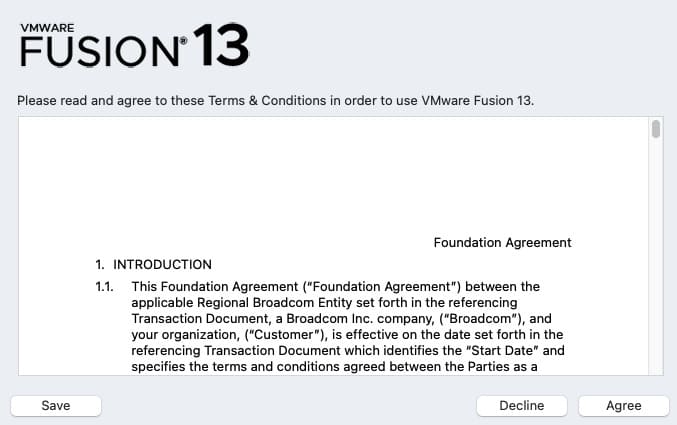
– Follow all the steps of the VMware Fusion installation.
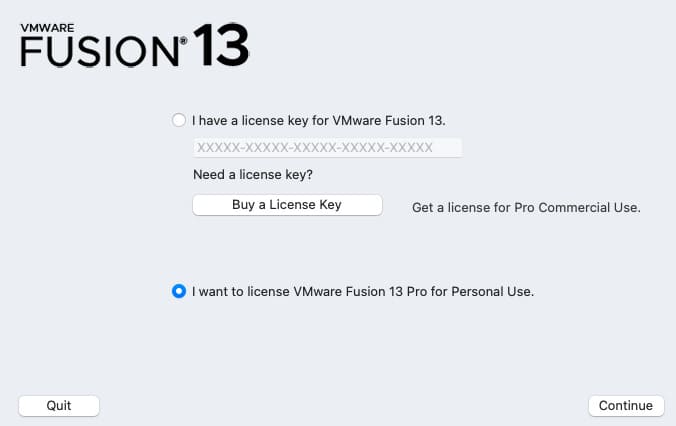
– In the license key entry window, choose the second option “I want to license for personal use”.
3) Launch VMware Fusion.
– Go to the “Applications” folder and open VMware Fusion.
– On first launch, confirm macOS prompts for necessary permissions.
– If you are using the free version of Fusion, select the option to run in personal use mode.
After completing the installation of VMware Fusion, you can proceed to create a virtual machine.
Steps to Install Windows 11 via VMware Fusion
1) Creating a New Virtual Machine
– Open VMware Fusion and click the “+” icon to create a new virtual machine.
– Select “Create a Custom Virtual Machine”.

– Specify the OS type: Microsoft Windows and version Windows 11 64-bit ARM.
– Click “Continue”.

– Choose UEFI.

– Create an encryption password for your future virtual Windows.

– Here select “Create a new virtual disk”.

– Click Finish and proceed to configure the virtual machine.


2) Configuring Virtual Machine Settings
– Go to settings via the wrench icon.

In the global menu, first select CD/DVD (SATA)

Then add the Windows 11 ARM image (ISO file) that you downloaded earlier.


If you cannot select the ISO file and the tab does not work, then shut down the virtual machine using shutdown, and then try again.

Go to the “Network adapter” settings:

– Select Wi-Fi or Ethernet for internet connection.

Now go to the “Processor & Memory” settings:

– Specify the amount of RAM (at least 4 GB recommended).
– Set 2 or more processors.

In the “Hardware Disk” (NVMe) settings:

– Specify the size of the new virtual disk (at least 64 GB).

Steps to Install Windows 11
1) Starting the Installation
– Start the virtual machine and press Enter to boot from the ISO file.


– Follow the Windows installer instructions:
– Choose language, keyboard layout, and region.


– Select “Install Windows 11”, check the box next to “I Agree everything…”, and click Next.

2) Entering the Product Key
– Skip this step and enter the key later through settings. Just select “I don’t have a product key”

3) Installation Setup
– Choose Windows 11 Pro or Home edition

– Accept license terms

– Specify the disk for installation (the virtual disk created earlier).

– Click “Install” and wait for the installation to complete.


Configuring Windows 11 After Installation
After the installation is complete, Windows 11 setup will begin. Follow these steps:
1) Choosing Your Region
– Select the region corresponding to your location (e.g., USA or United Kingdom).
– Click “Next”.

2) Setting Up the Keyboard
– Specify the keyboard layout (e.g., US or English).
– Add additional layouts if necessary.

3) If you see that a driver needs to be installed and Windows 11 cannot connect to the Internet because of this.

– Go to the Virtual Machine menu and click Install VMware Tools.

– Now click Install Driver. After that, a window to choose the folder with drivers will open.

– Select the VMware Tools driver connected to the DVD.

– Click Install.


– After the installation, restart the system by clicking the Reboot now button.

4) Naming Your Device
– Create a unique name to easily identify the device when connecting from other devices.

– Choose “Set up for personal use”.

– Next need some wait if Microsoft need updates

4) Signing into a Microsoft Account
– Enter your Microsoft account credentials or create a new account.

5) Privacy Settings
– Choose privacy options or disable them: tracking, location, data usage, and other options.

6) Completing the Setup
– Then skip sections or click “Next” as needed, and by the end of the Windows 11 setup, your system will be ready for use.


Additional Actions
1) Installing VMware Tools
– For proper functioning of the virtual machine (e.g., full-screen deployment), install VMware Tools via the Fusion menu if you haven’t done so before.
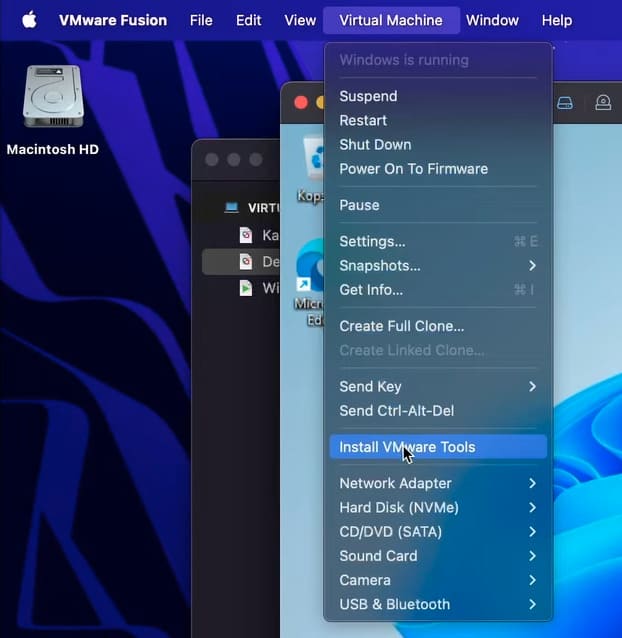
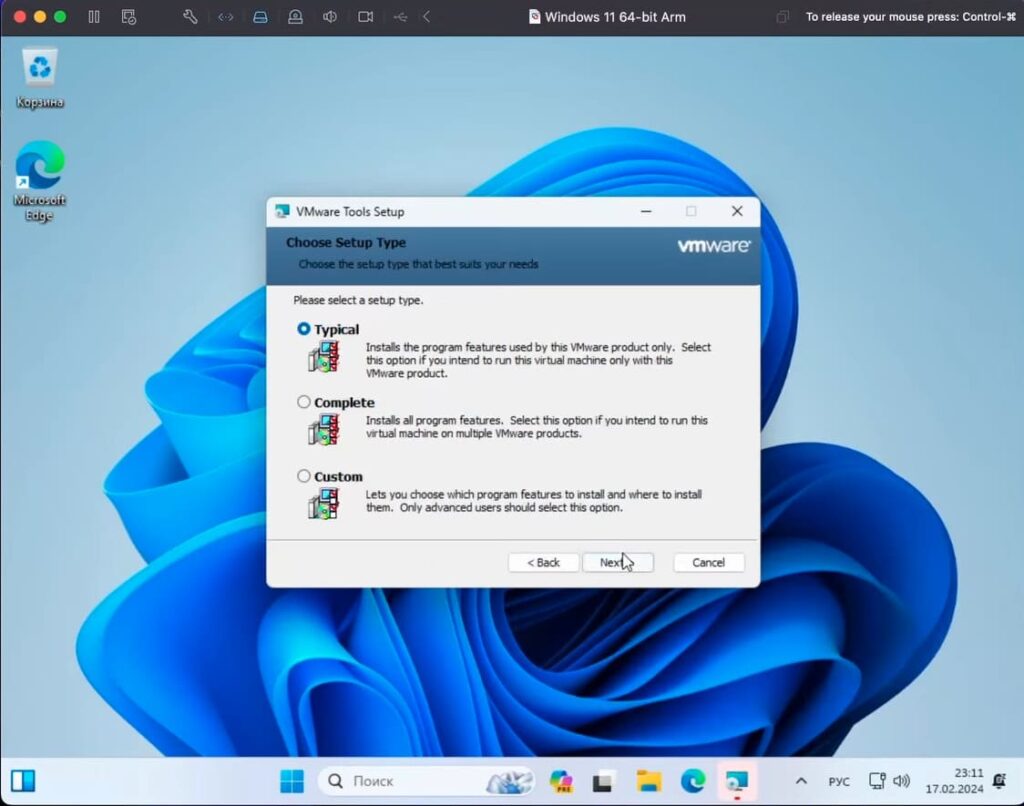
– The installer will appear inside Windows 11; click on it.
– After the standard installation, restart the virtual machine.
2) Activating Windows
– Go to “Settings” → “System” → “Activation”.

– Enter the product key you purchased in advance and activate Windows.

Now you have a fully functional Windows 11 on your Mac via VMware Fusion. This solution is excellent for work, learning, or testing. If you have any questions, leave a comment — we are always ready to help!
