In this article, we will explain how to restore files and folders from the Windows.old folder, as well as how to rollback the system to a previous version.
Option 1: System Restoration from “Windows.old”
If you need to restore a specific file or folder, you can try locating it in the “Windows.old” directory and copying it to the appropriate directory. However, reverting to a previous state, such as rolling back Windows 8, 10, or 11 to an earlier installed version, is done through the update settings.
Method 1: Restoring Individual Files and Folders
The easiest way to restore individual files and folders, whether they are your own documents, applications, media content, or any pre-installed data.
1. Open the file manager “File Explorer” (shortcut on the desktop “This PC”), then in the root directory of the system drive (usually “Drive C”), find the “Windows.old” folder and enter it.
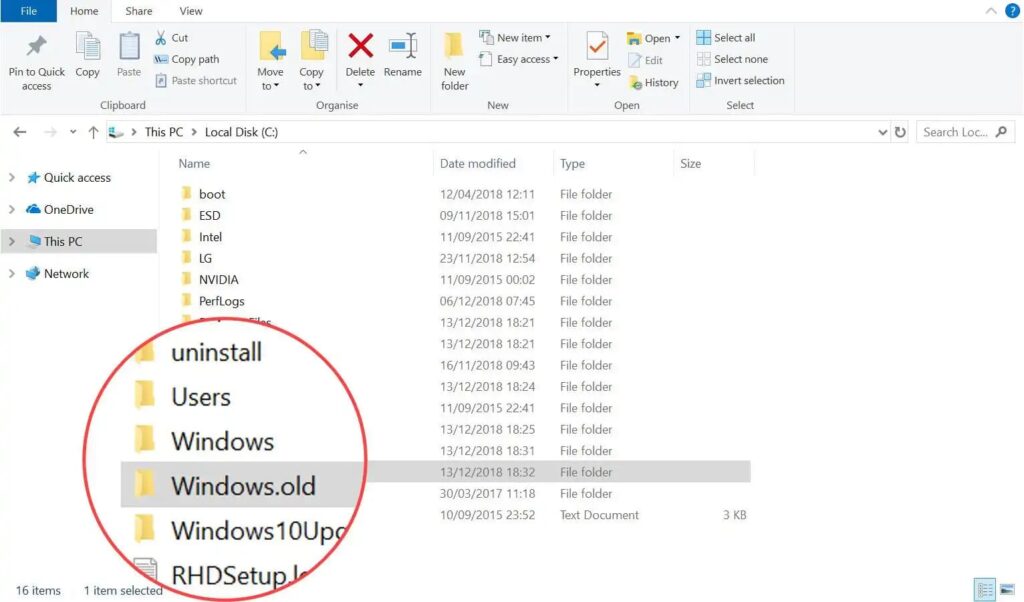
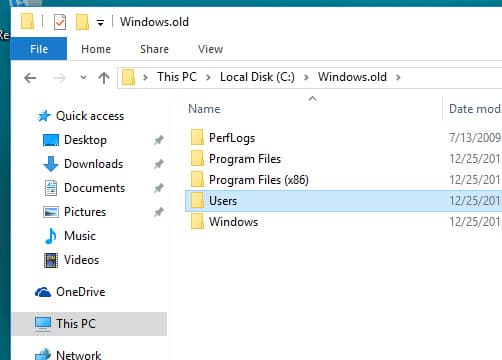
2. The location of your files and folders remains the same as it was in the old version of the system, only instead of the root directory of the drive, the path starts with “Windows.old”. Locate the necessary files, select them, and copy (right-click – “Copy” or Ctrl + C).
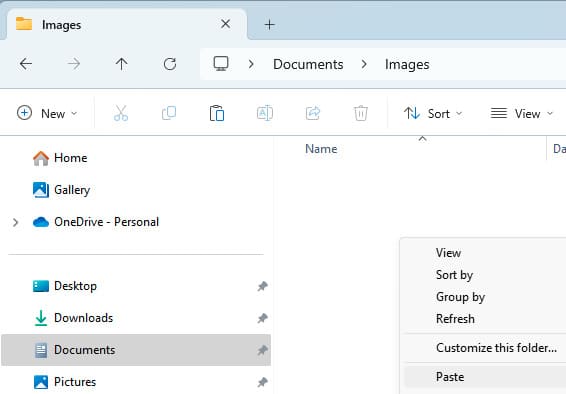
3. Choose a location on your computer where you want to copy the data and click “Paste” (or Ctrl + V).
This way, you can restore all files and folders to their original places, but you cannot restore the OS itself this way. For that, Windows provides a system rollback feature.
Method 2: Rolling Back to a Previous Version of Windows
To revert to the previous system, use the standard recovery tool:
1. Launch the “Start” menu and open the settings window by clicking on the gear icon.

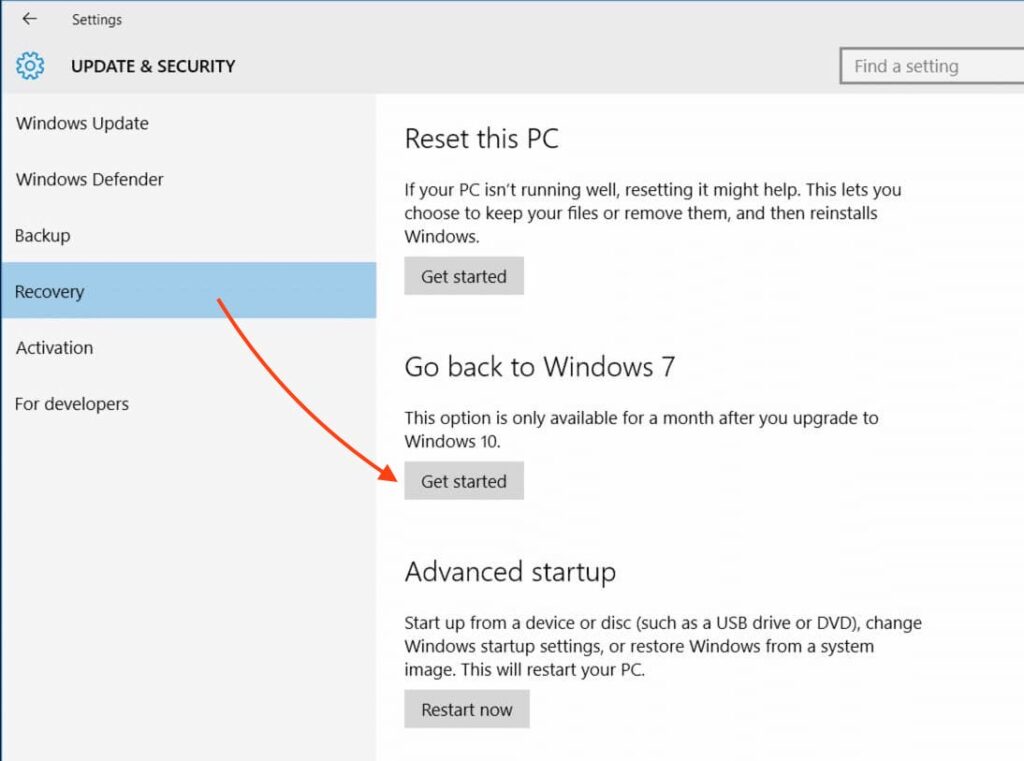
2. Select “Update & Security”.
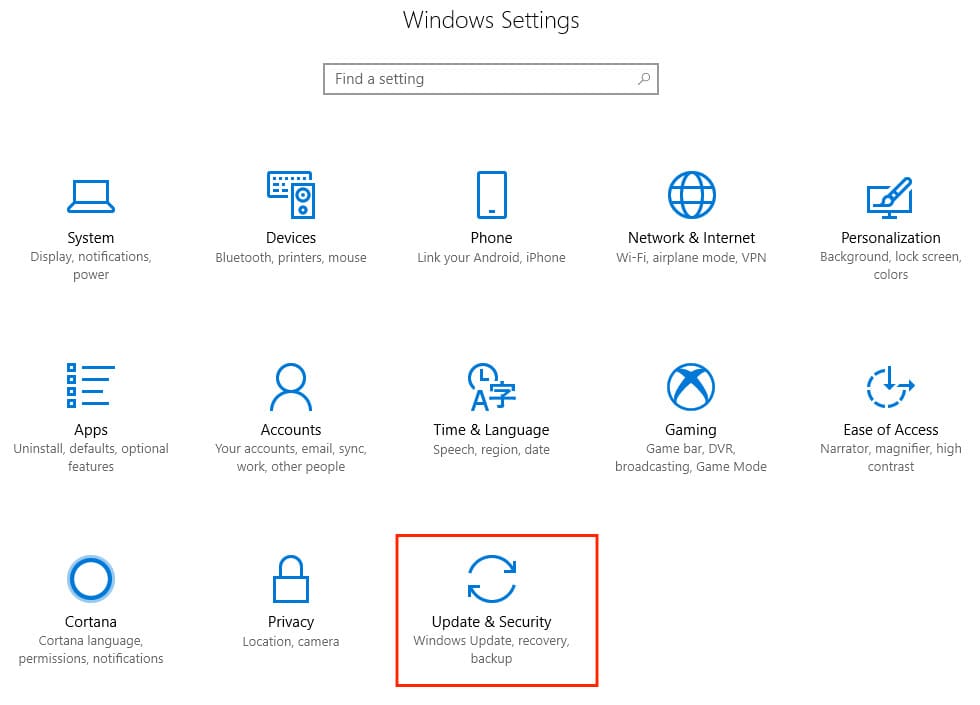
3. Go to the “Recovery” section and click the “Get started” button under the “Go back to Windows 7 / 8 / 8.1 / 10” subsection.
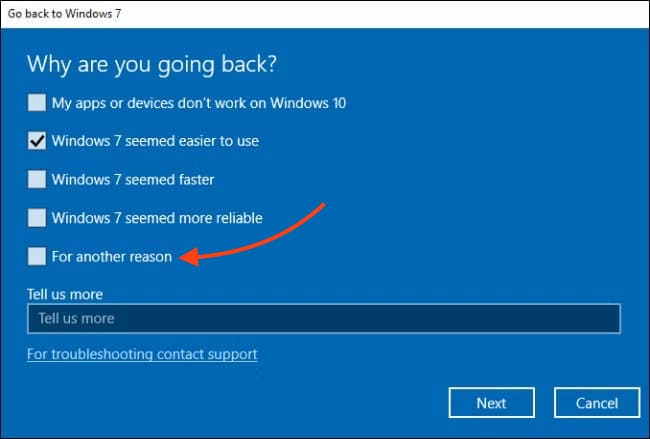
4. Now you need to specify the reason why you want to revert the system. If you do not want to specify anything, select the “For another reason” option and click “Next”.
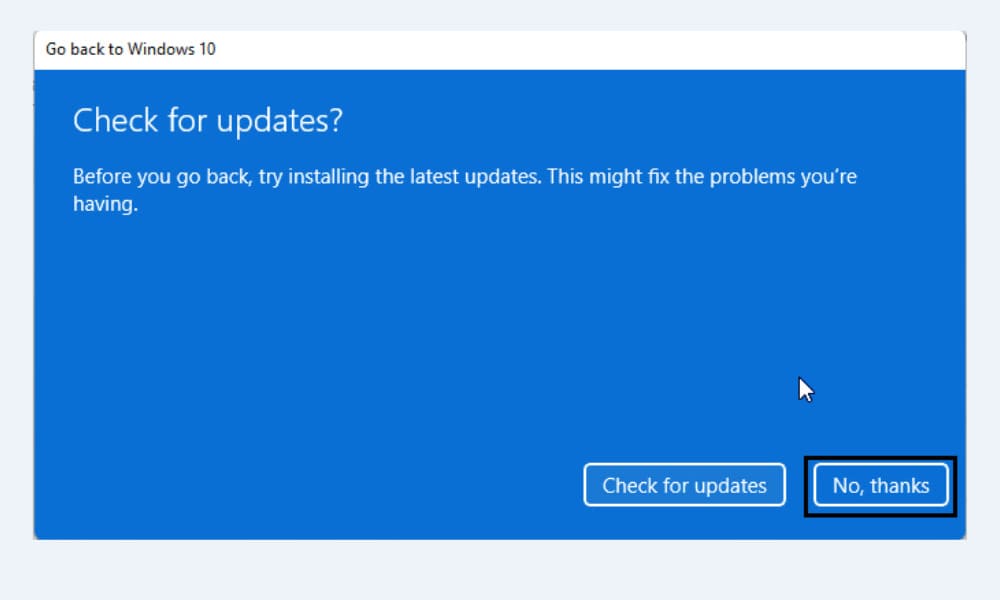
5. The system will prompt you to check for updates — click “No, thanks” to skip this prompt.
6. After that, several warnings will appear. Carefully read them and click “Next”, then confirm your desire to perform the system rollback by clicking “Go back to Windows 7 / 8 / 8.1 / 10”.
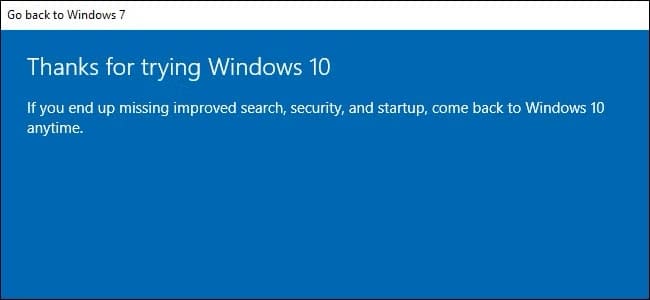
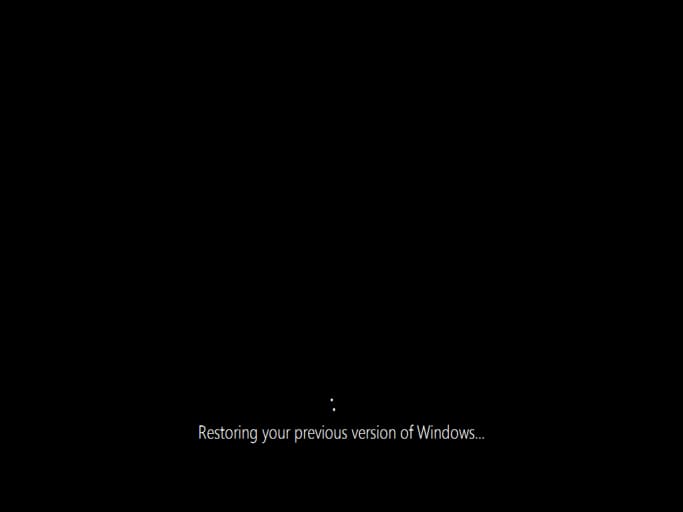
7. The computer will restart and begin the process of restoring the previous version of the system. This may take some time, so wait until Windows completes the rollback.
Option 2: Restoring the Lost “Windows.old”
Usually, restoring the deleted “Windows.old” folder is extremely difficult, but there are several methods that may help:
Method 1: “Recycle Bin”
1. If the folder was deleted in the standard way, open the “Recycle Bin” and find “Windows.old” there.
2. Right-click the folder and select “Restore”.
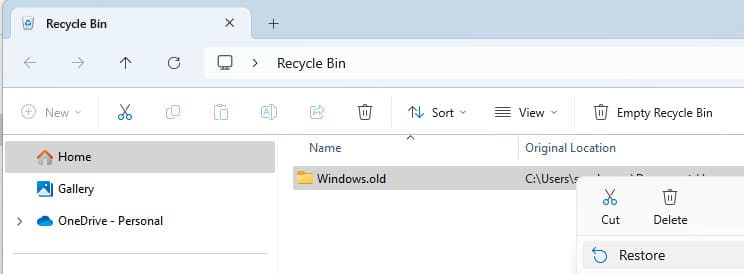
3. After that, wait for the folder restoration process to complete and proceed to the first method from Option 1.
Method 2: Backup
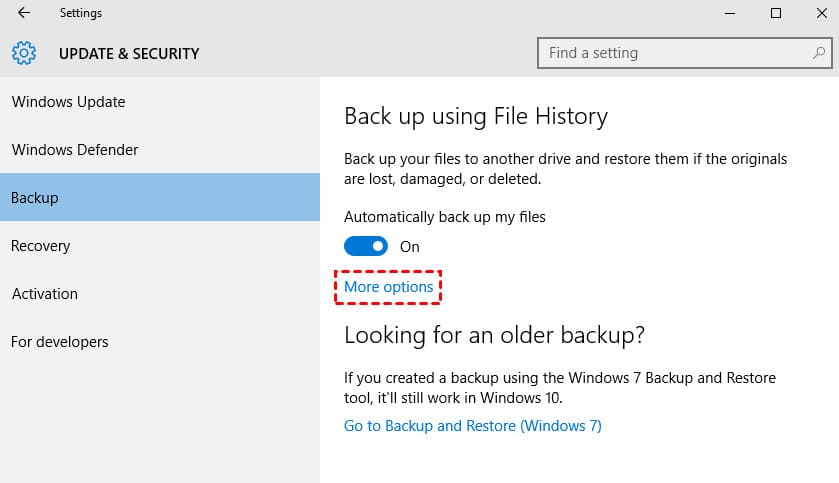
1. In the settings menu, go to “Update & Security” and select “Backup”. Check if the “Automatic Backup” option is active, after that click “more options”.
2. Click “Restore files from your current backup”.
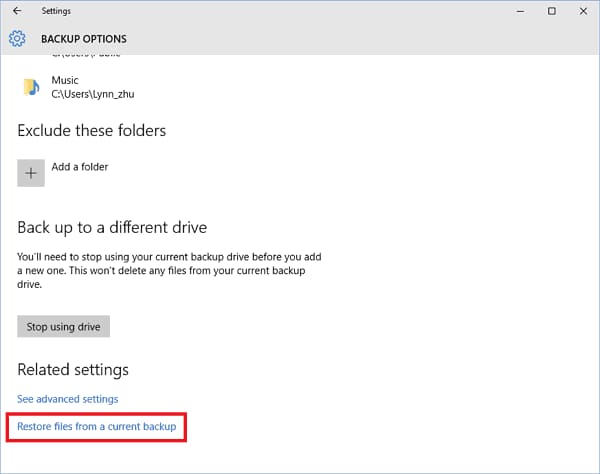
3. Select “Windows.old” and click the restore button.
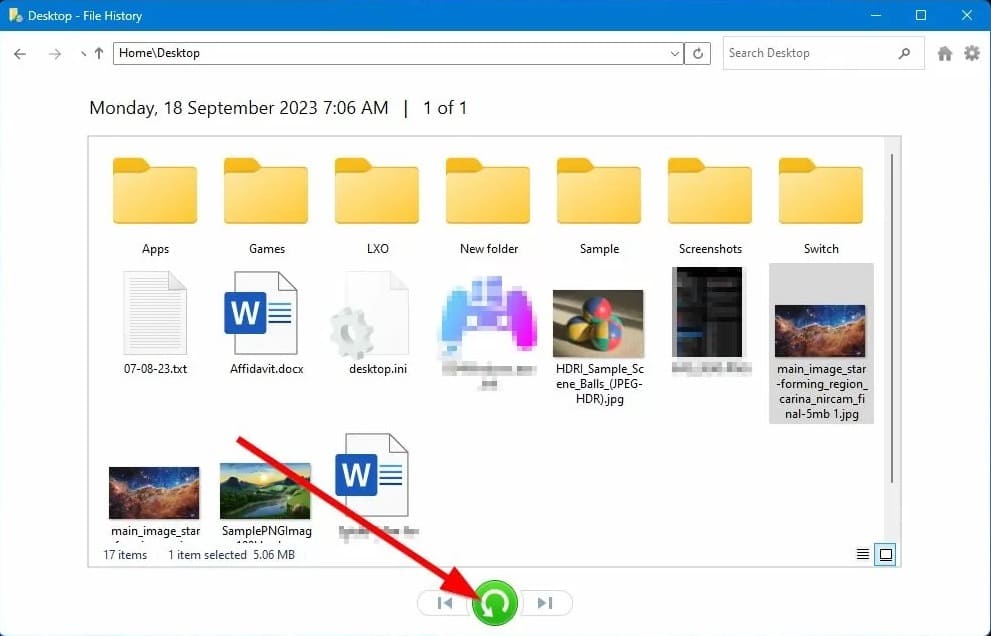
4. After that, wait for the restoration and move the necessary files and folders from this directory to the appropriate directories on your hard drive.
Method 3: Recovery Applications
To restore the “Windows.old” folder, you can use applications such as Recuva:
1. Download the portable version from the official website Recuva to a removable device. Or download it directly from our server.
2. Connect the device to your computer and run the application as an administrator.
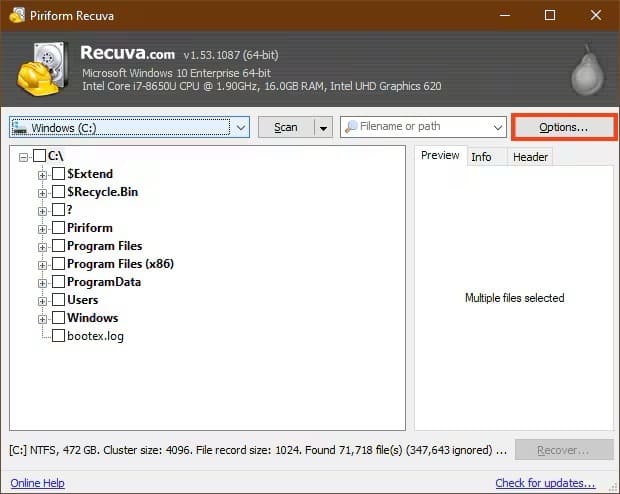
3. In the opened window, click the “Options…” button.
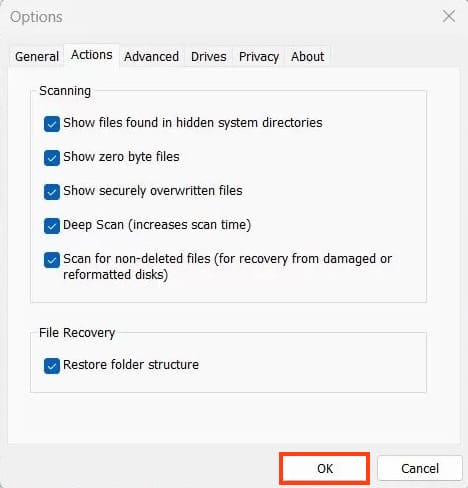
4. Go to the “Actions” tab and check all available boxes, then click “OK”.
5. In the list of drives, select the system drive and click the “Scan” button.
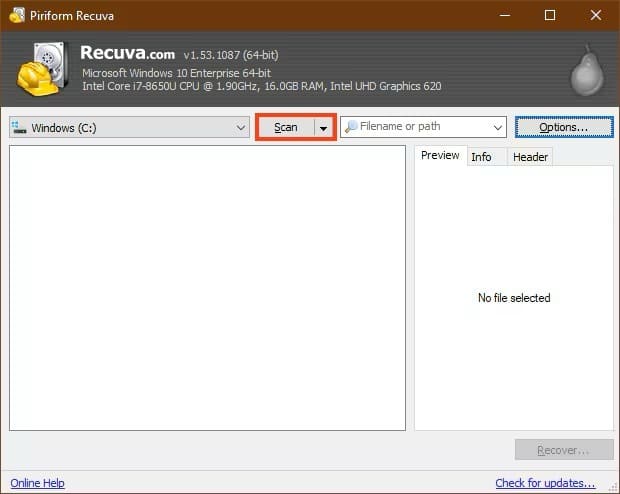
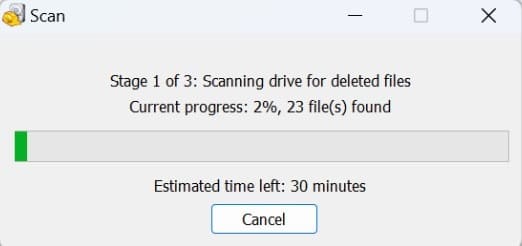
6. Wait for a while while the application scans your drive for deleted information.
7. After the scan, a list of deleted files will become available on the main panel. Pay attention to the colors they are marked with: “green” — the file can be fully recovered, “yellow” — partially corrupted; “red” — severely corrupted – recovery is unlikely to succeed.
8. Check the boxes next to the files you want to recover. The “Path” column indicates the exact location of the file, but sometimes it may not be determined.
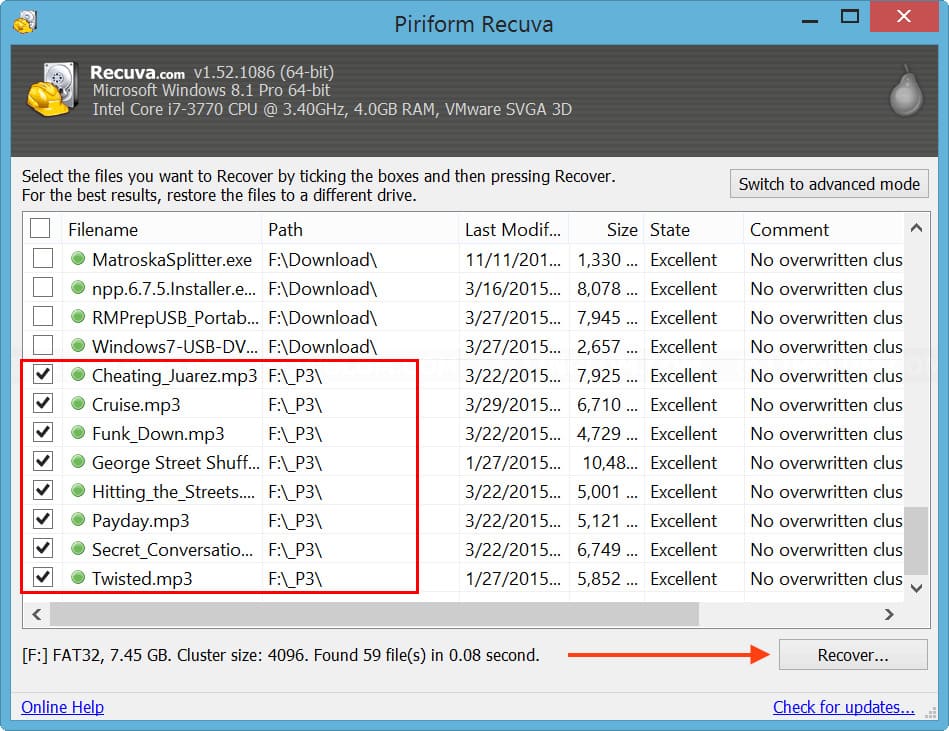
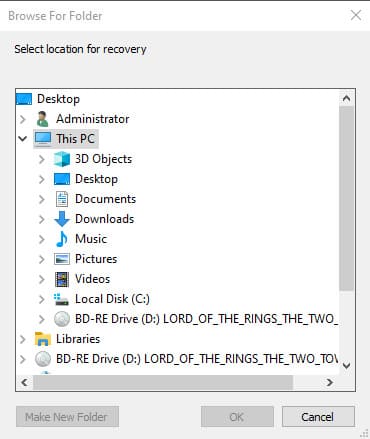
9. In the opened dialog window, select a storage device and a folder where you want to restore the data. Note that it is better not to specify the system drive as the destination device, as the recovered information may overwrite itself incorrectly.
10. Wait for the files to be restored.
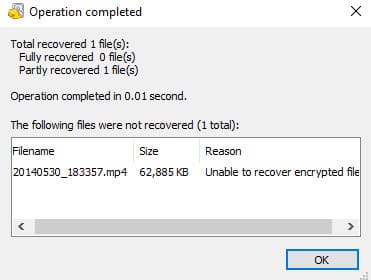
11. Upon completion, click “OK” and move the recovered data to the appropriate directories on your hard drive.
Additionally, for a cleaner recovery, you can boot the computer from a Windows To Go removable media and in Recuva, during the disk selection stage for lost data, select the one where the main OS is installed instead of the root directory.


