In this article, we will explain how to create a virtual flash drive using the ImDisk Virtual Disk Driver utility.
ImDisk Virtual Disk Driver is a free utility for disk emulation, available for download from the official website. Installation is simple and requires no special actions — just run the downloaded file.
Creating and Mounting an Image
1. After installing the application, open the Control Panel.
2. Ensure that the Control Panel is displayed in “Large icons” or “Small icons” view.
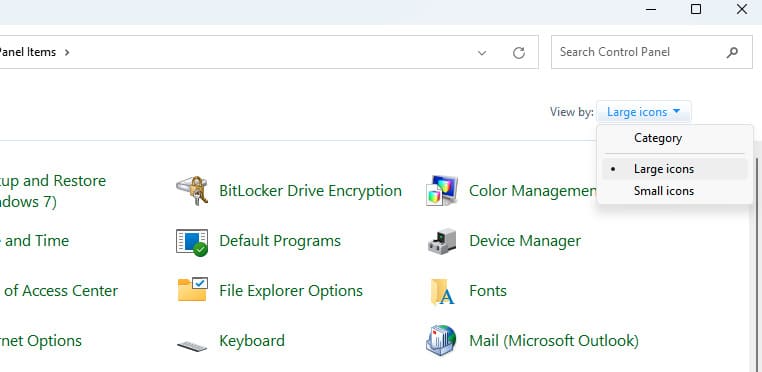
3. Find and open ImDisk Virtual Disk Driver.
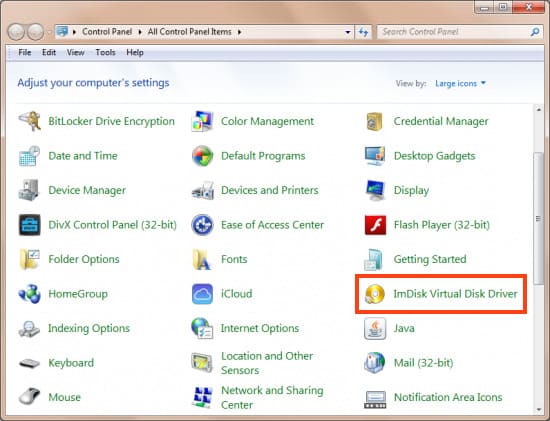
4. If a window appears asking for permission to make changes to the device, click “Yes”.
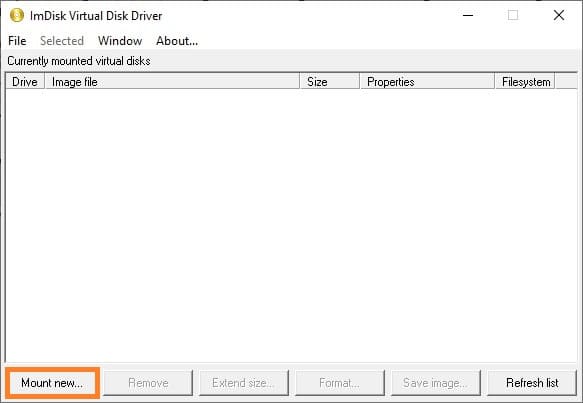
5. In the utility window, click the Mount new… button.
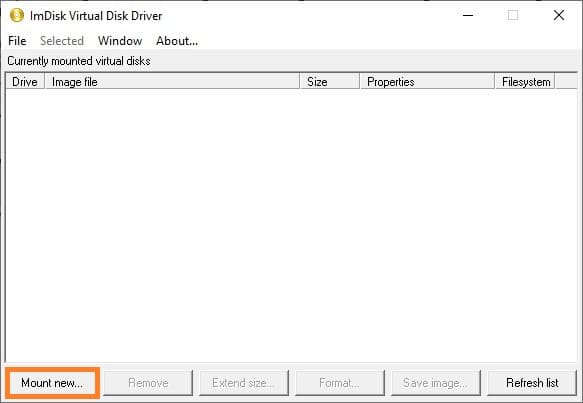
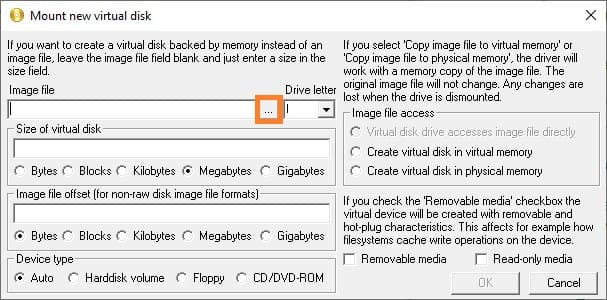
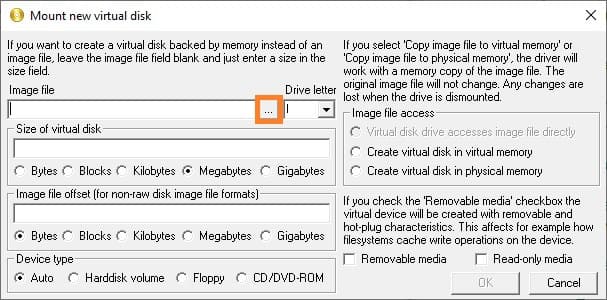
6. In the opened window, select Image file and click the button with three dots to specify the path.
7. Navigate to the folder where you want to save the image (e.g., C:\Images), enter a name in the “File name” field (e.g., Keys), and add the .img extension. Click “Open”.
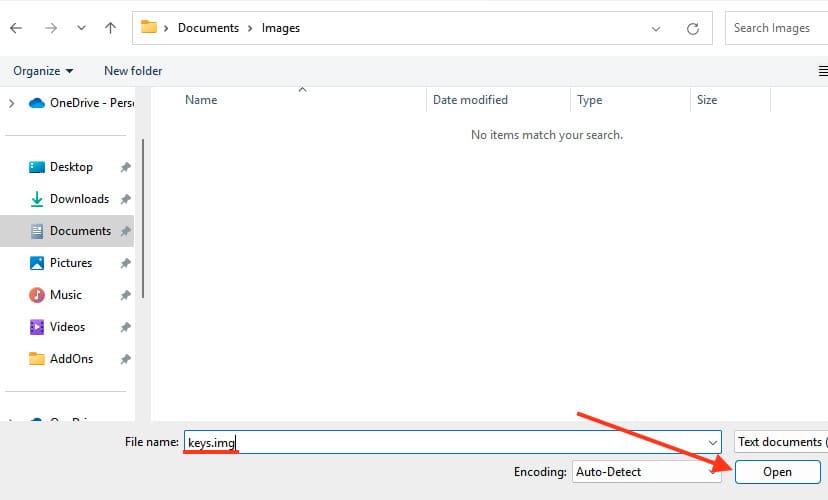
8. Confirm the creation of the new file by clicking “Yes”.

9. Configure the remaining parameters:
– Drive letter: Specify the letter for the mounted drive.
– Size of virtual disk: Specify the size of the image (e.g., 2 GB).
– Device type: Choose the device type — to emulate a flash drive, select Harddisk volume.
– Image file access: Leave the value as Virtual disk drive accesses image file directly to allow the utility to work directly with the image.
10. Click “OK”.
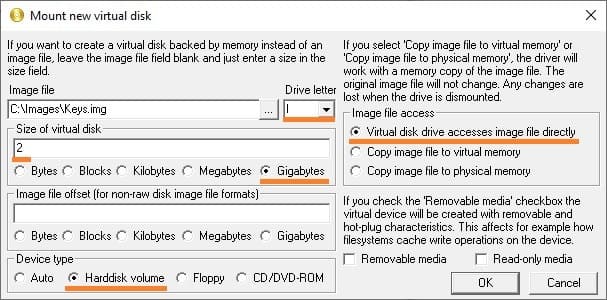
After completing these actions, a new image will be created and mounted under the selected drive letter. Since the image was just created, it does not have a file system, so you need to format it. Windows may prompt you to do this automatically; if not, open File Explorer, select the drive, and click “Format Disk”.
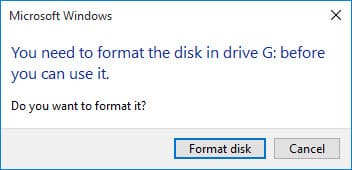
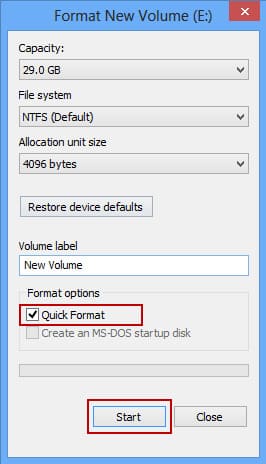
In the next window, you can leave all settings at their default values and simply click the “Start” button.
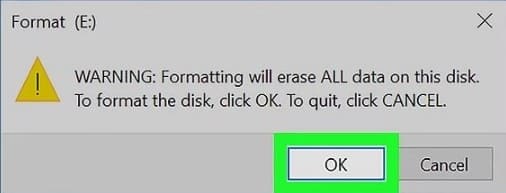
Next, a warning will appear stating that all data on the disk will be irreversibly lost — since there is nothing on the disk, you can click “OK,” and the formatting process will begin.
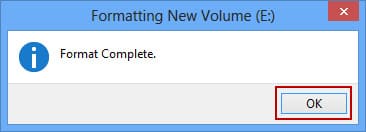
Upon completion of the formatting, a corresponding window will appear, which you can close by clicking “OK,” followed by closing the previous window by clicking “Close.”
Remounting the Image
Unfortunately, after a reboot, the virtual image needs to be mounted again. This can be done manually through the utility’s interface, but it is more convenient to use the Command Prompt by creating a batch file or a task in Task Scheduler. To remount, follow these steps:
1. Open the Control Panel, then ImDisk Virtual Disk Driver.

2. Click “Mount new virtual disk”.
3. Click the button with three dots next to “Image file“, and select the desired image file.
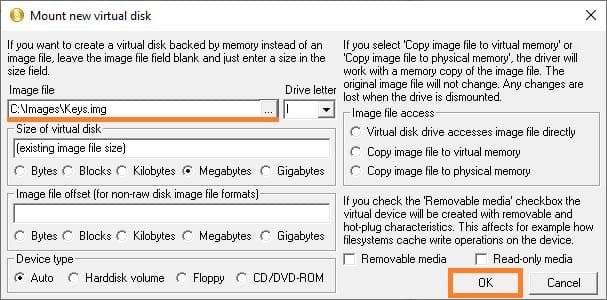
4. Leave all other parameters at their default values and click “OK”.
Using the Command Prompt
ImDisk Virtual Disk Driver supports management through the Command Prompt. This can be even more convenient as it does not require interacting with the interface.
Creating and Mounting an Image
To create and mount an image, execute the following command:
imdisk -a -f C:\Images\Keys.img -s 2G -m I:
Command parameters:
– -a — add an image.
– -f — path to the image file.
– -s — size of the image (in this example, 2G).
– -m — drive letter for the mounted disk.
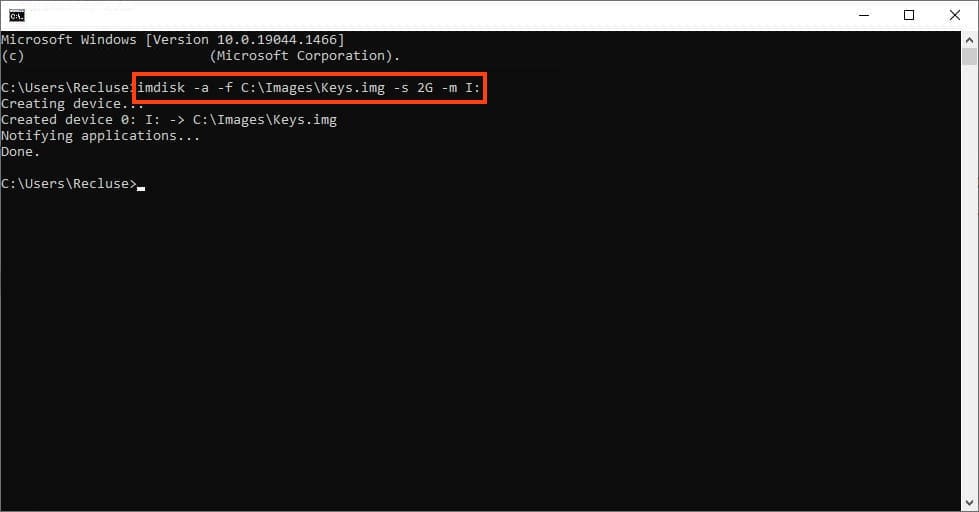
After this, as with the graphical interface, you will need to format the new disk.
Remounting the Image
After restarting the computer, you need to remount the image again. Do this using the command:
imdisk -a -f C:\Images\Keys.img -m I:
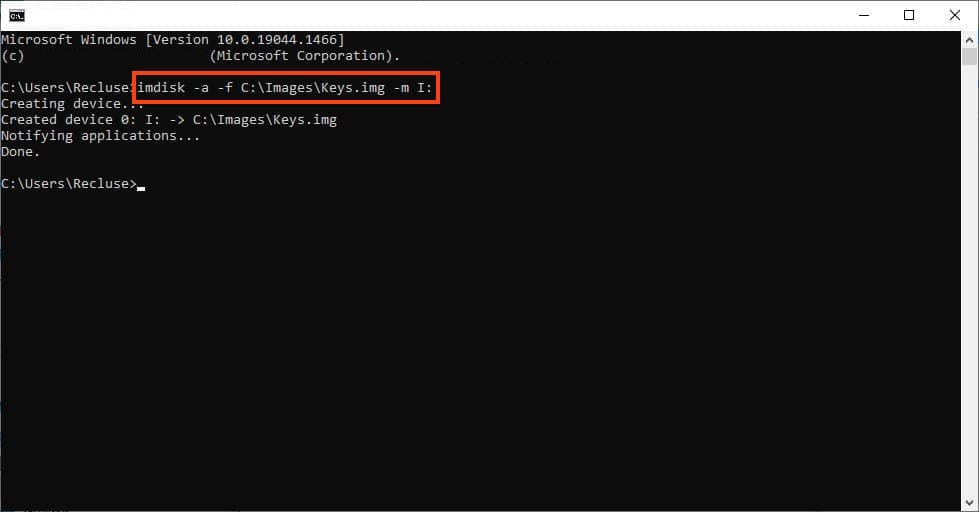
Here, the same parameters are used as when creating the image, except for -s, which is only necessary when creating the image.


