In this article, we will visually show with images where to download, how to install, and activate Windows 10 Pro for Workstations.
Windows 10 Pro for Workstations is a sub-edition of Windows 10 Pro. You can read the review of this version of Windows 10 on our blog on the next page.
You can also download the installer on our website at the following link. You can purchase a product key in our catalog as well, which you will need to activate the system.
You will need to write the installer to a USB flash drive, making it a bootable device. Then boot from it in the BIOS. Instructions on how to create a bootable USB flash drive.
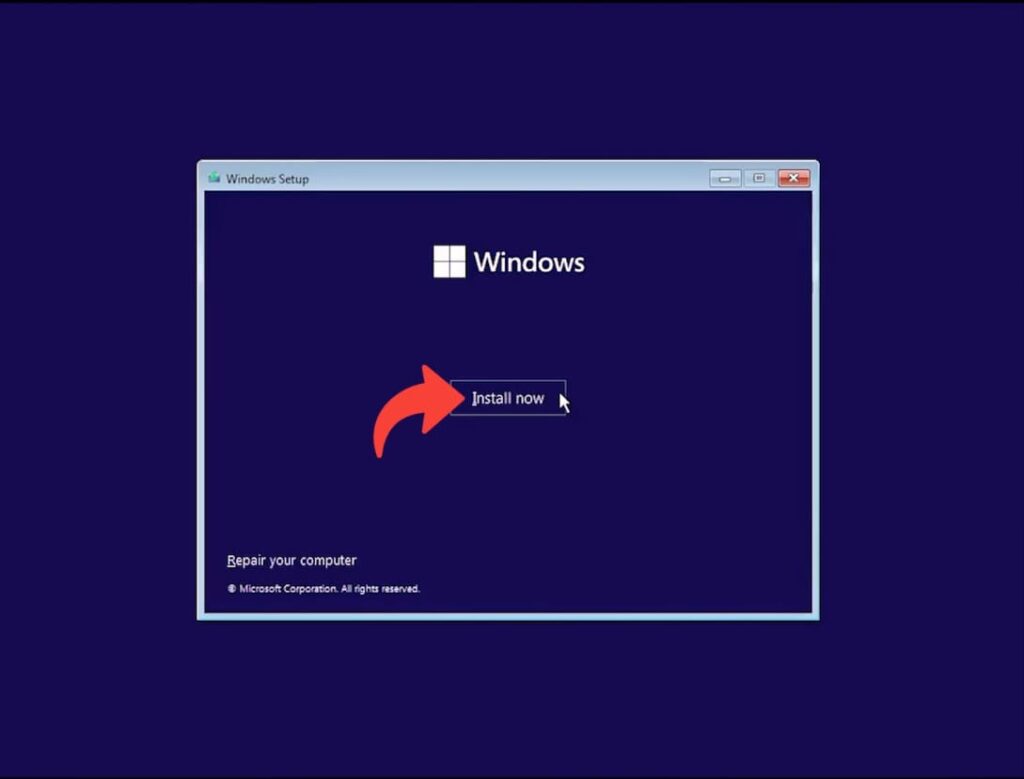
1. Boot from the USB flash drive via BIOS/UEFI and click the “Install” button.
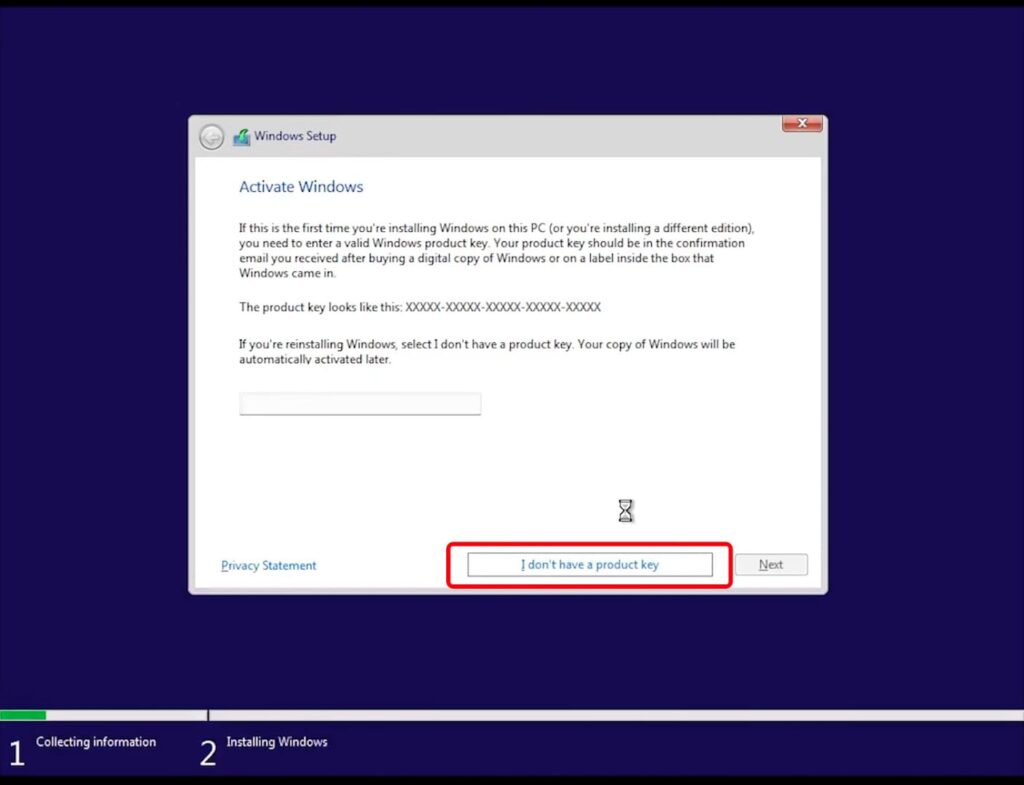
2. To continue, click “I don’t have a product key”. If you have a product key, it’s better to activate the system after it is installed.
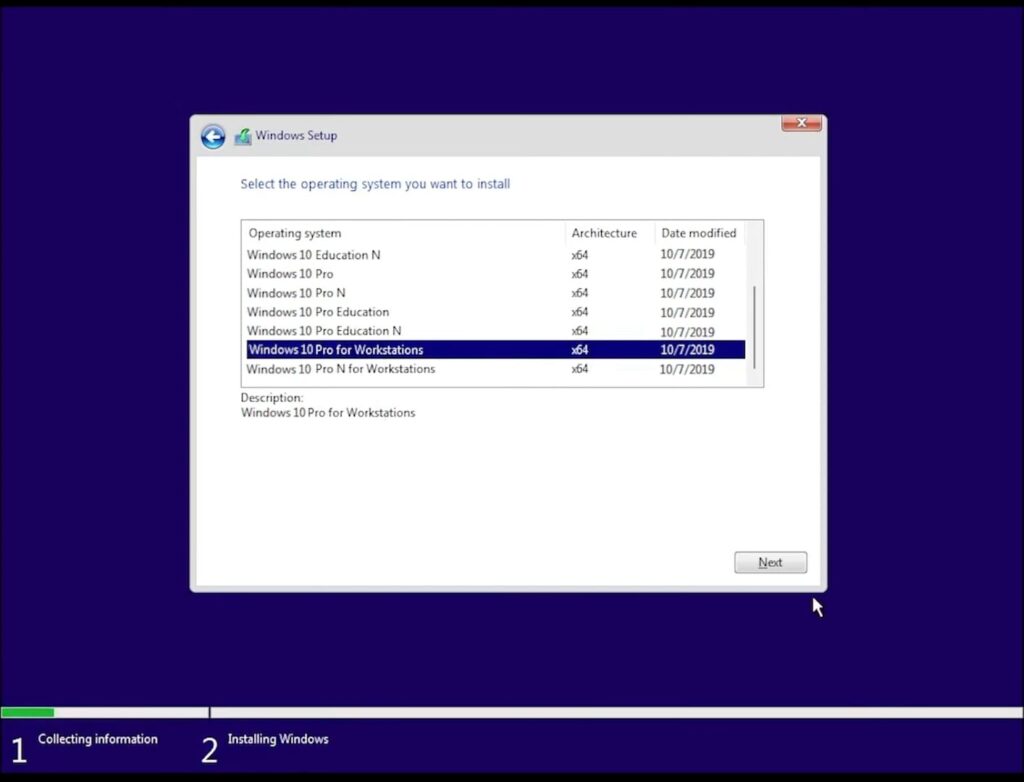
3. Select the “Windows 10 Pro for Workstations” installation option and click “Next”.
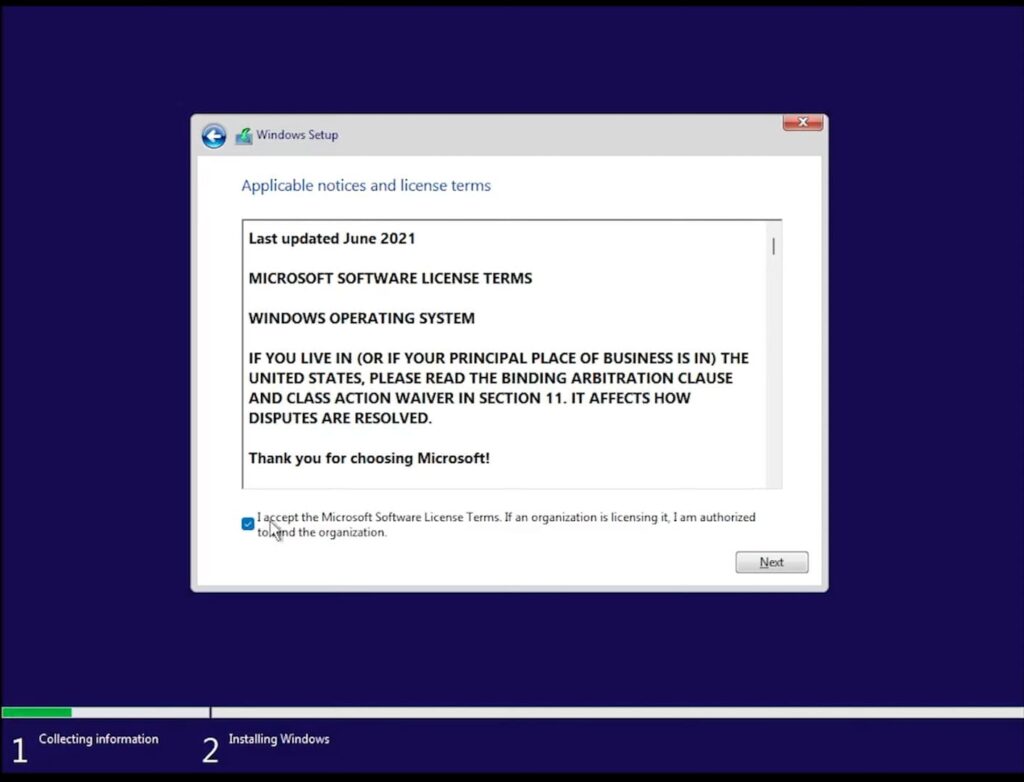
4. Check the box to accept the license terms.
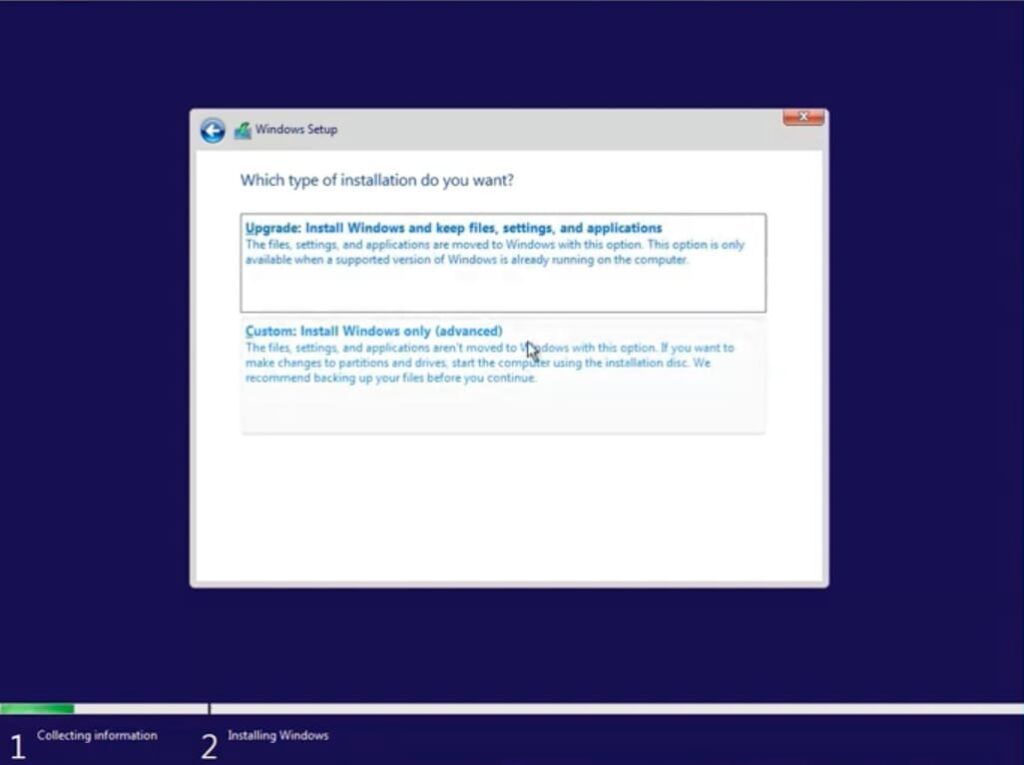
5. When installing the system from scratch, select “Custom installation”.
6. On the next screen, you will be prompted to select a hard drive or partition where you want to install the system. In our case, there is only one partition, select it and click “Next”.
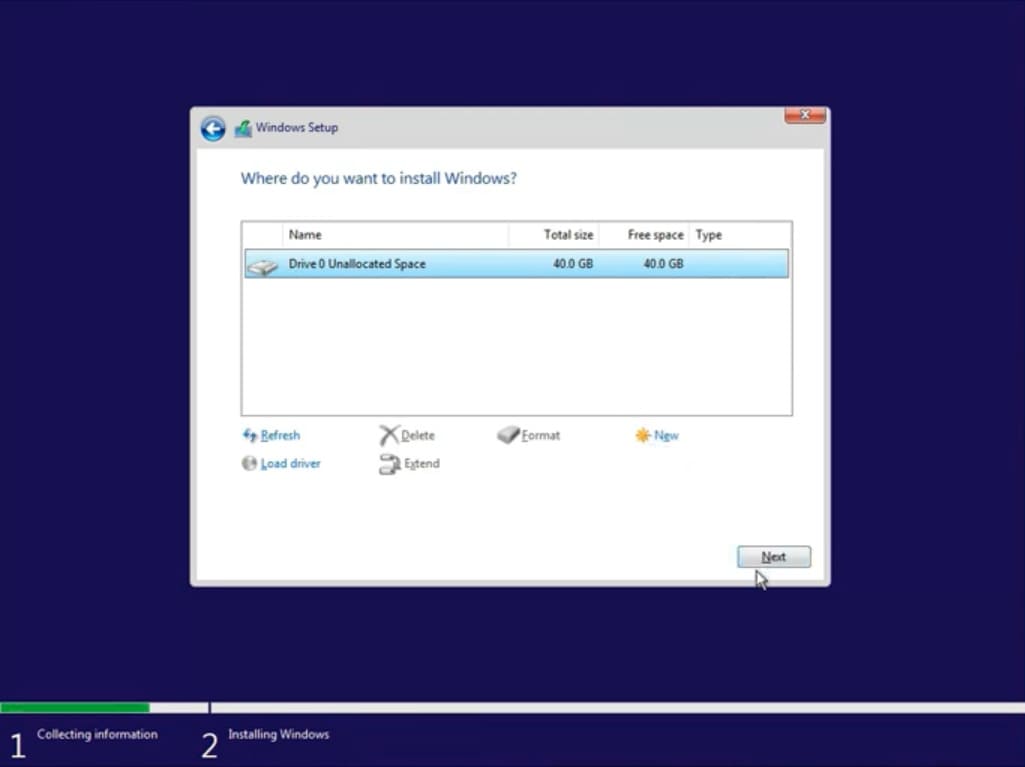
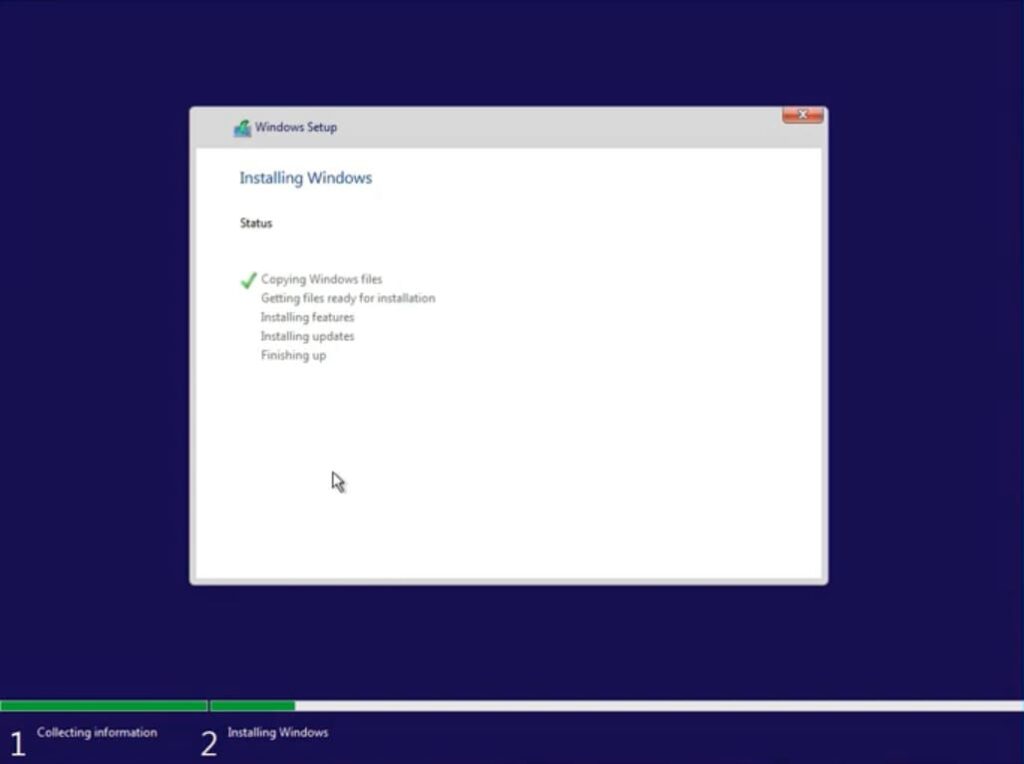
7. Now wait for the system to unpack and install. Your computer will restart afterward.
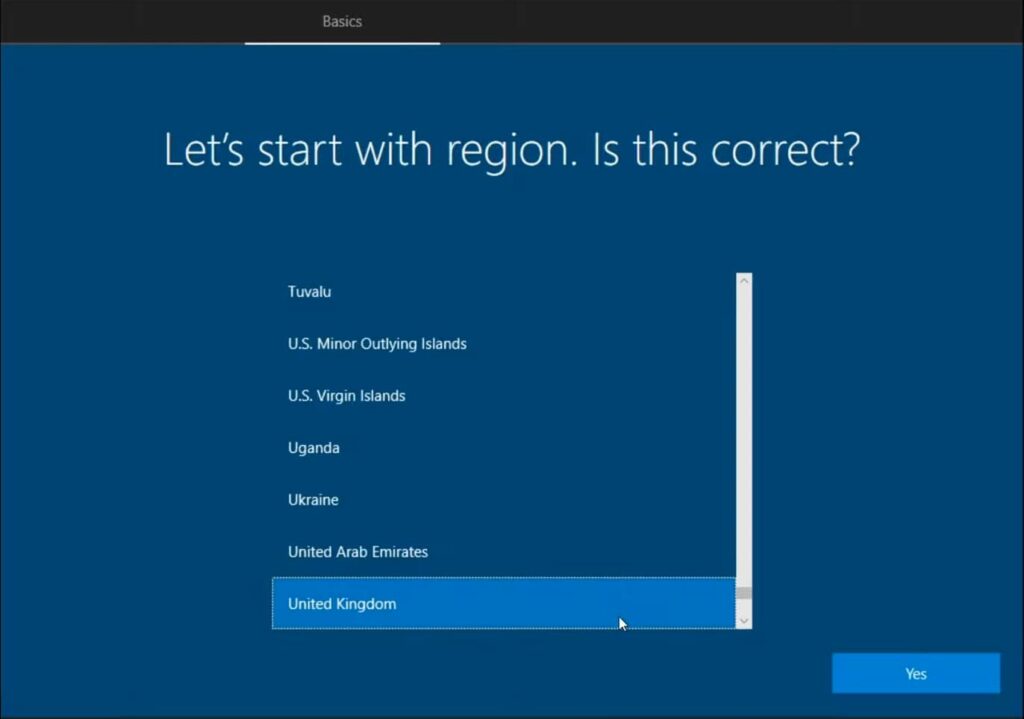
8. Select your region.
9. Wait for the updates to install.

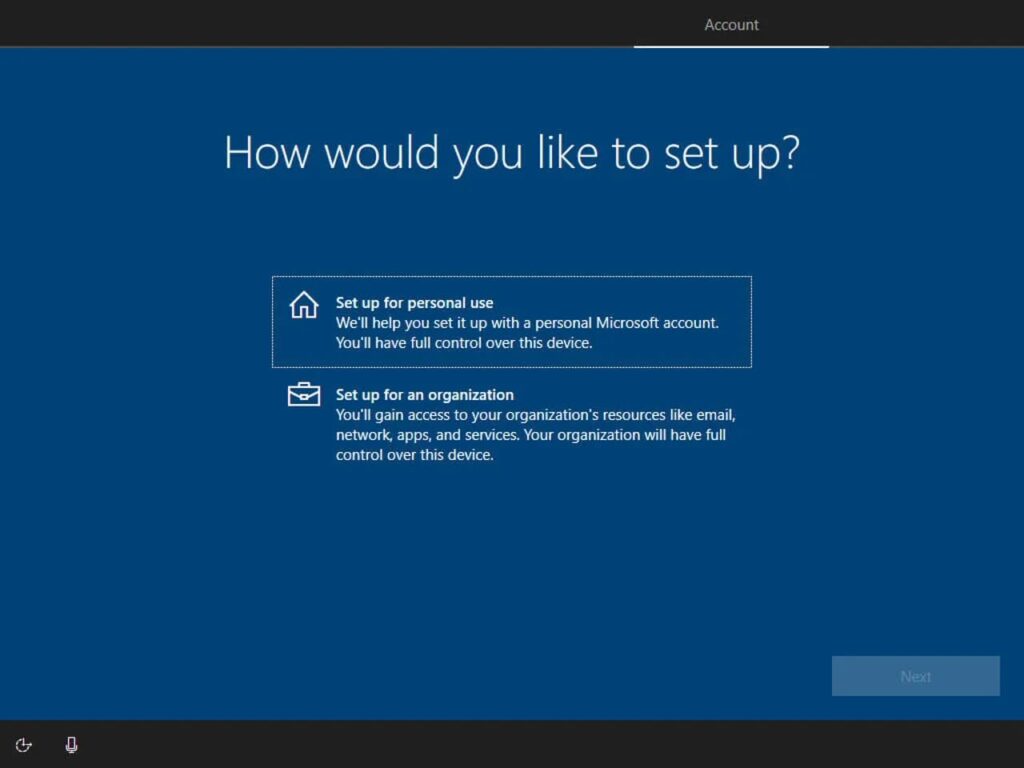
10. Depending on your usage, select the appropriate option. In our case, it will be “For personal use”.
11. Set your computer name.
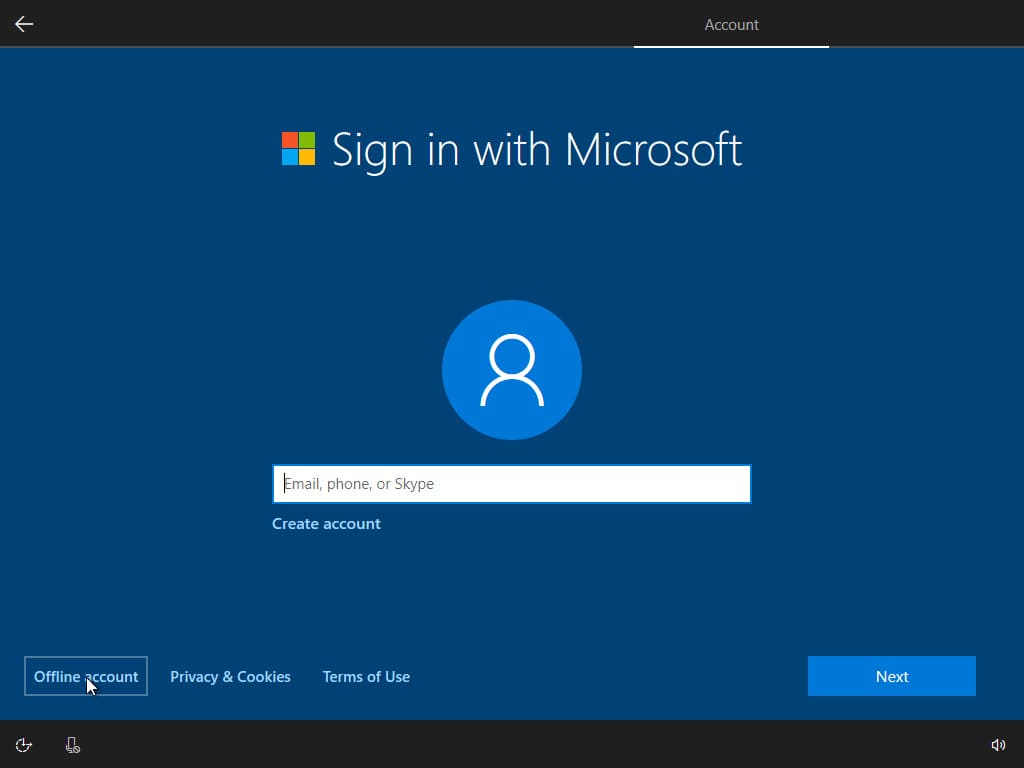
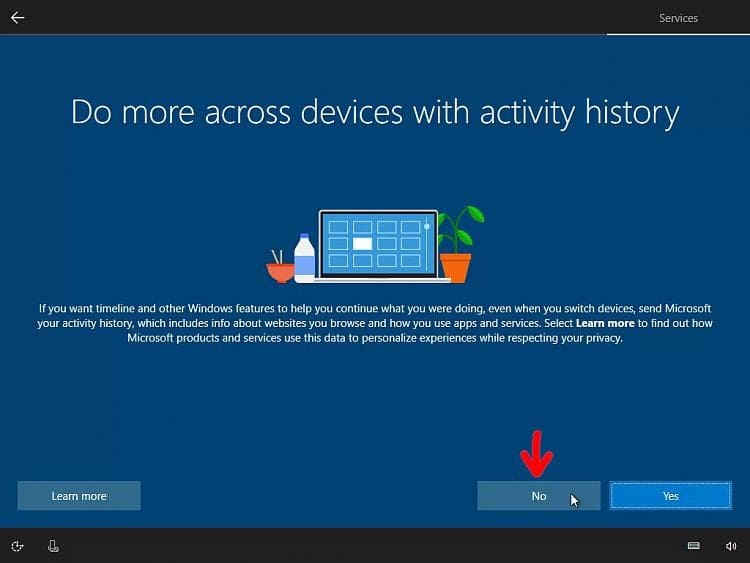
12. If you have not previously installed Windows 10 Pro for Workstations, skip this step by clicking “No”.
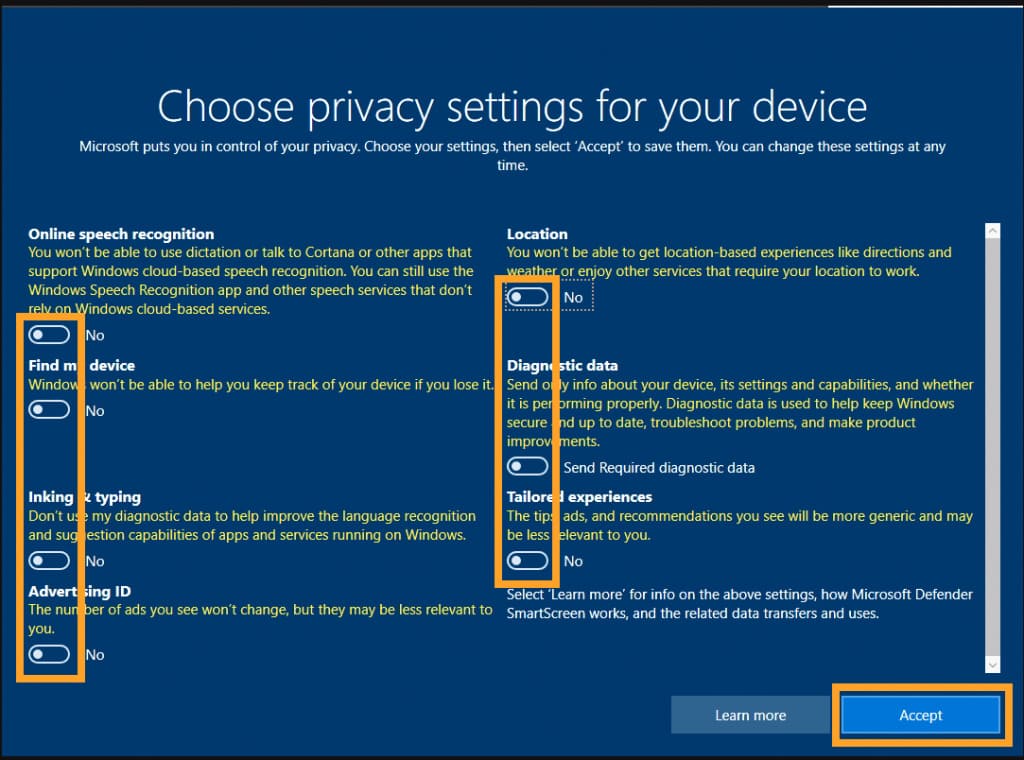
13. In the next step, we highly recommend unchecking all boxes for better privacy.
Next, the system will prepare the desktop for you, which may take a few minutes.

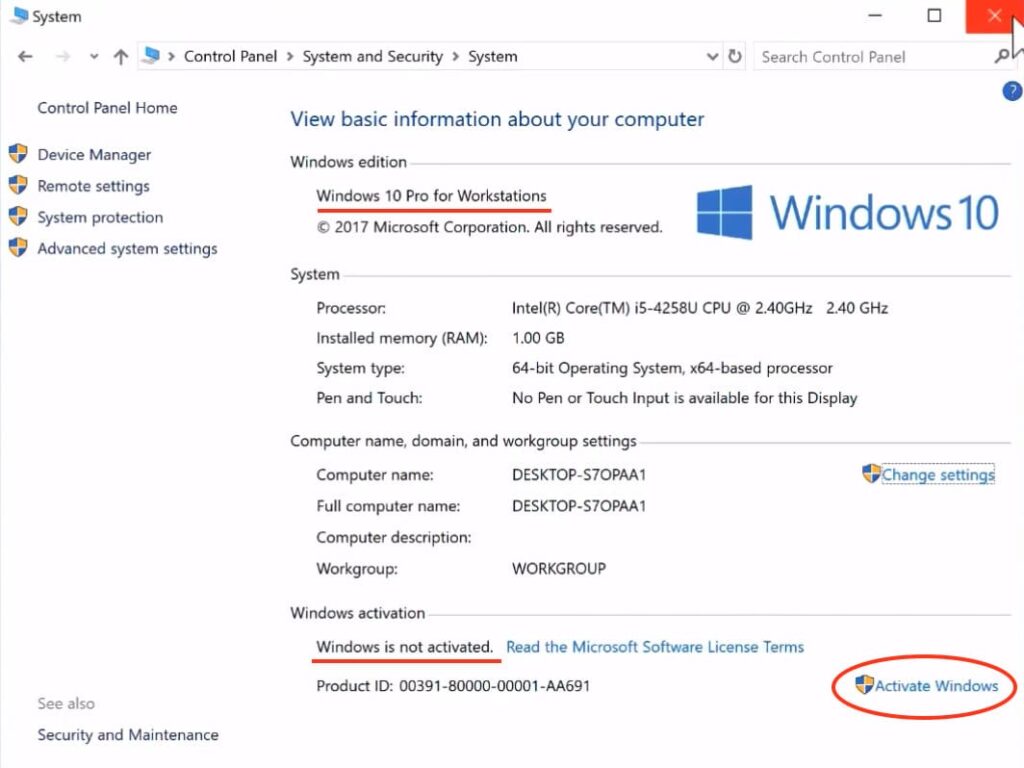
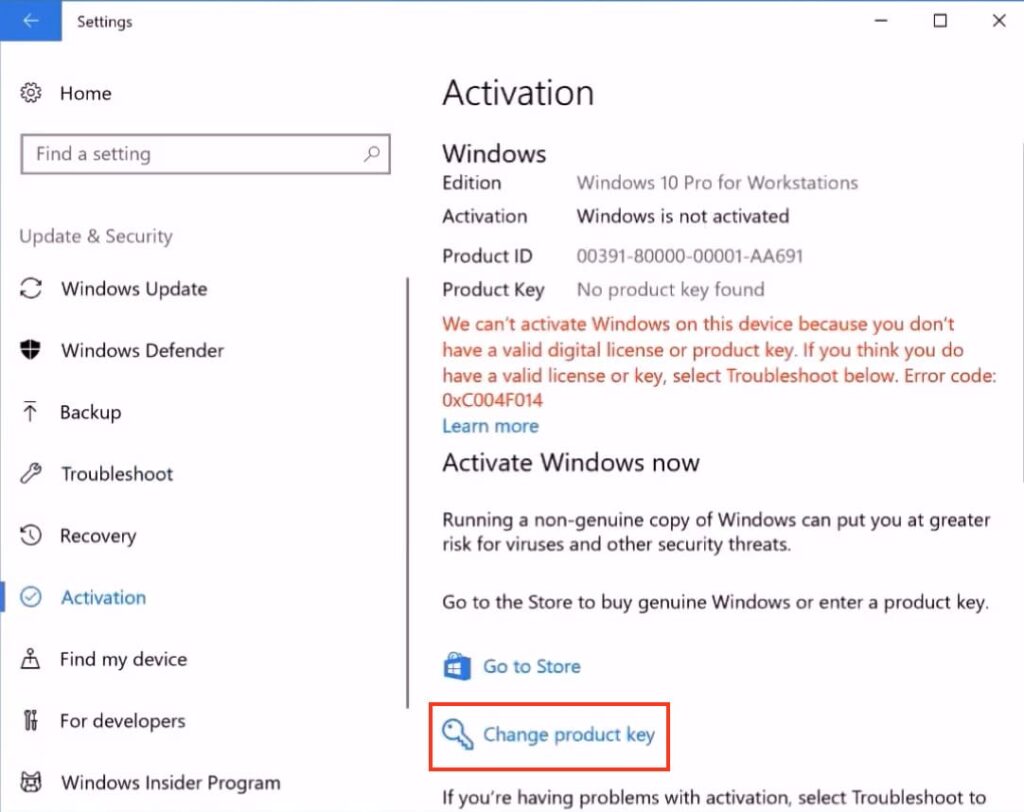
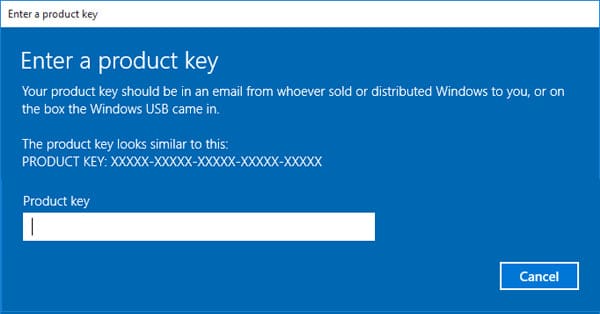
14. That’s it. Next, you just need to activate the system. If you do not have a product key for Windows 10 Pro for Workstations, you can purchase it in our catalog.
