
In this article, I will step by step consider the procedure for removing the Windows.Old folder after updating Windows or installing it. This instruction is suitable for all current versions of Windows (10, 8/8.1, 7).
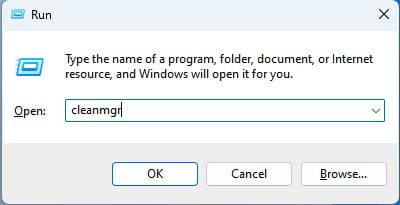
Press the hotkeys Win + R => Then enter the command: cleanmgr => Click “OK”.
In the new window, select drive “C” => OK.

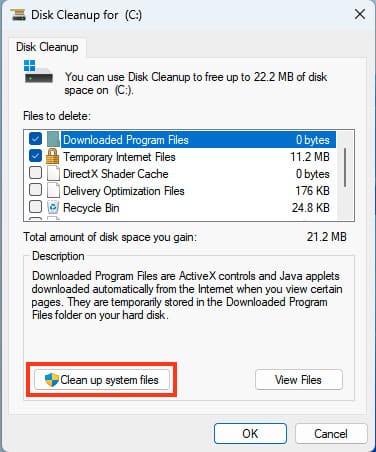
In the next window, leave the default checkboxes and immediately click “Clean up system files”
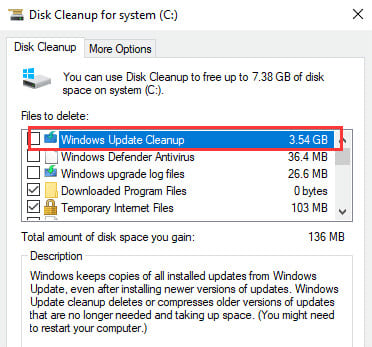
Next, in the new window, check the boxes for: Windows Update Cleanup and Temporary Windows installation files
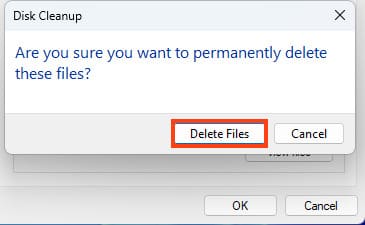
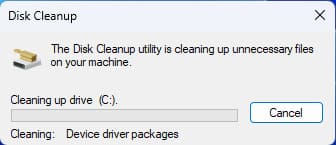
In the confirmation window, click “Delete Files” and wait for them to be cleared. After the procedure is complete, you can restart your PC and the Windows.old folder should disappear.
Click on the “Start” menu => Settings
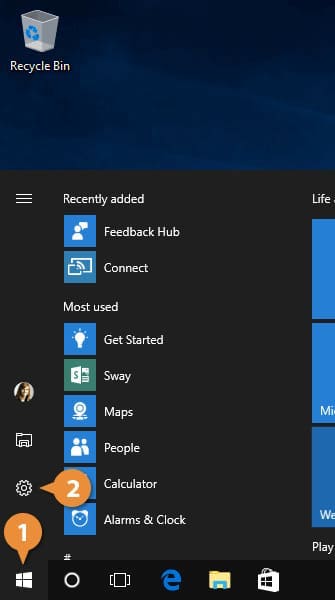
In the “Windows Settings” menu => System

Then go to “Storage” => Temporary files
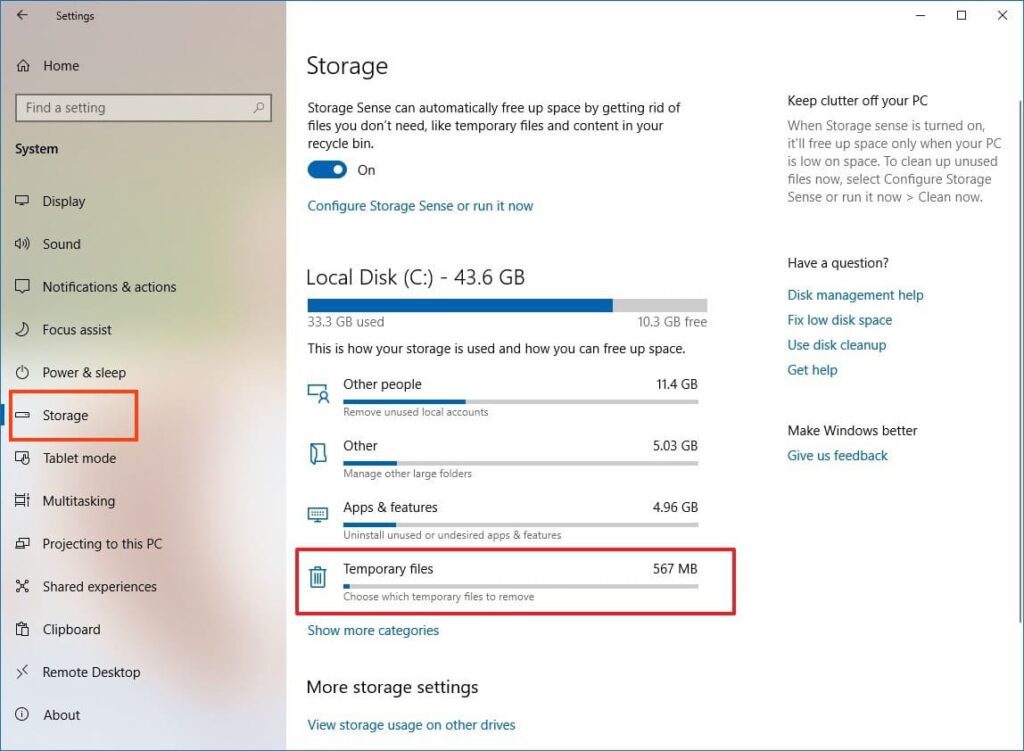
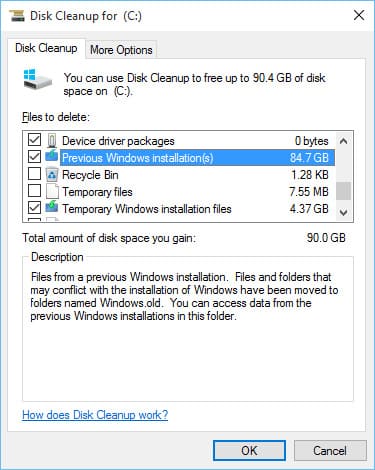
In the new menu, check the box for “Previous Windows installations” => Then at the top of this menu, click the “Remove files” button.
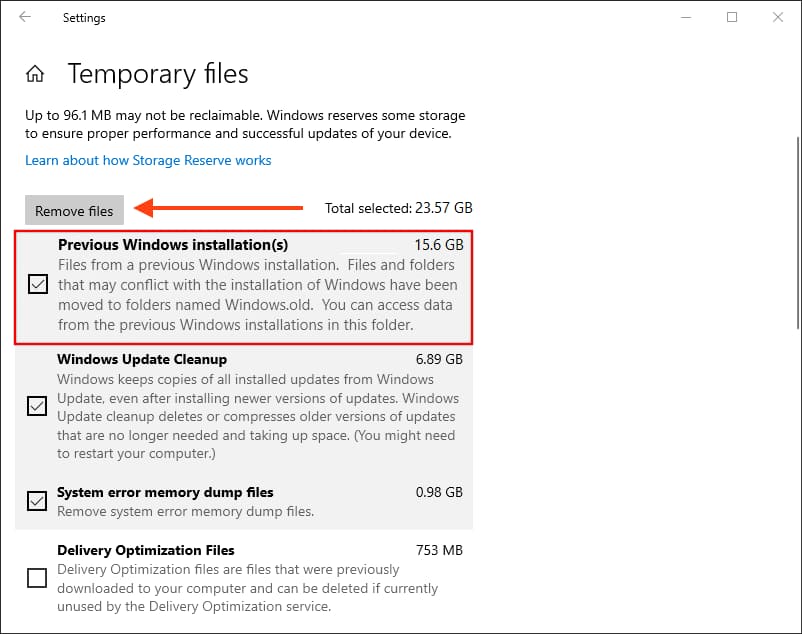
Wait for them to be cleared. After the procedure is complete, you can restart your PC and the Windows.old folder should disappear.