This article will guide you on how to upgrade from Windows XP to Windows 7. I will provide step-by-step instructions with screenshots on how to perform this upgrade.
So, if you have Windows XP and want to upgrade to Windows 7 without formatting your data:
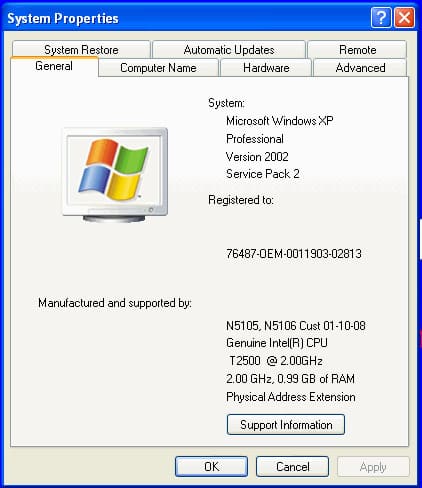
Microsoft had a special tool for this purpose called the “Windows 7 Upgrade Advisor,” which you could download from the official website. With this tool, you could upgrade Windows XP directly.
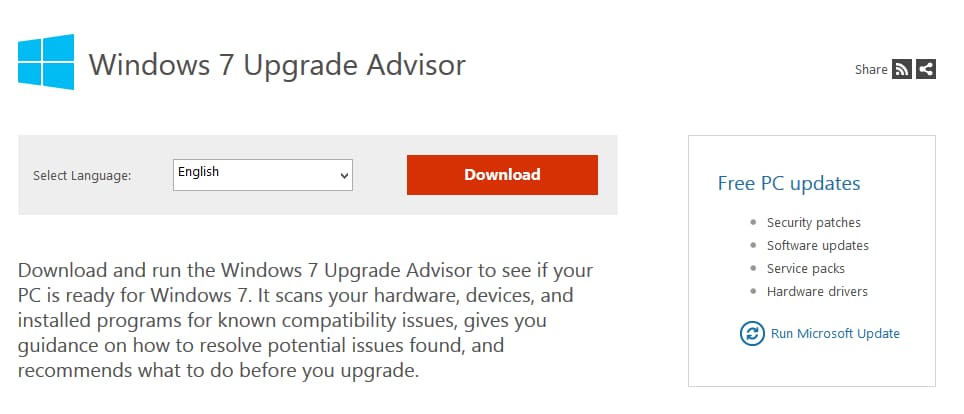
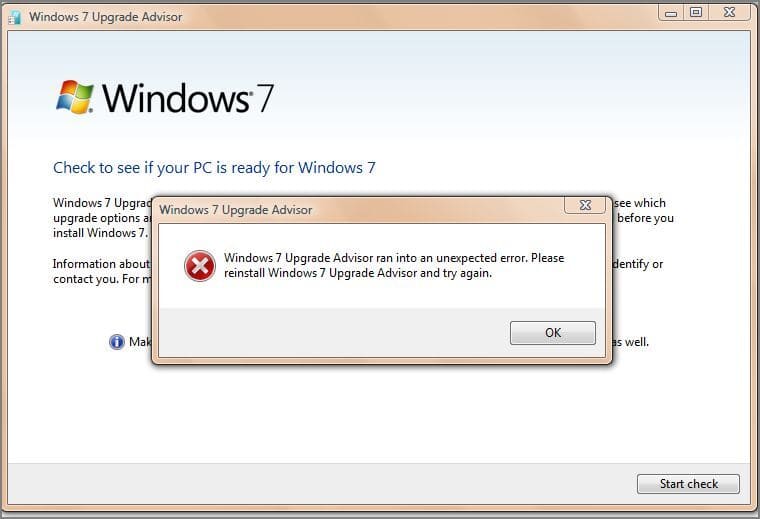
Unfortunately, it no longer works, as Microsoft’s servers do not respond to data requests from this application. Microsoft support states that the application worked when Windows 7 was first released, which was a long time ago.
So how do I solve this problem? The answer is simple: install Windows 7 directly from within the system without formatting the hard drive.
1. First, download the Windows 7 installer that you want to install. You can download official Windows 7 installers of various editions from our catalog on the next page.
2. Once you’ve downloaded the installer, open the image with any emulator, such as “DAEMON Tools,” or extract it to any empty folder using an archiver like 7zip.
3. The next step is to start the installation.
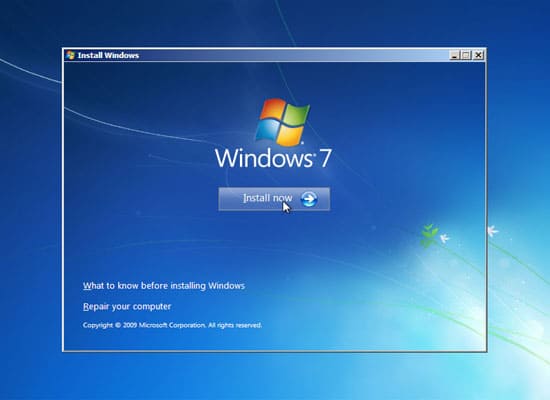
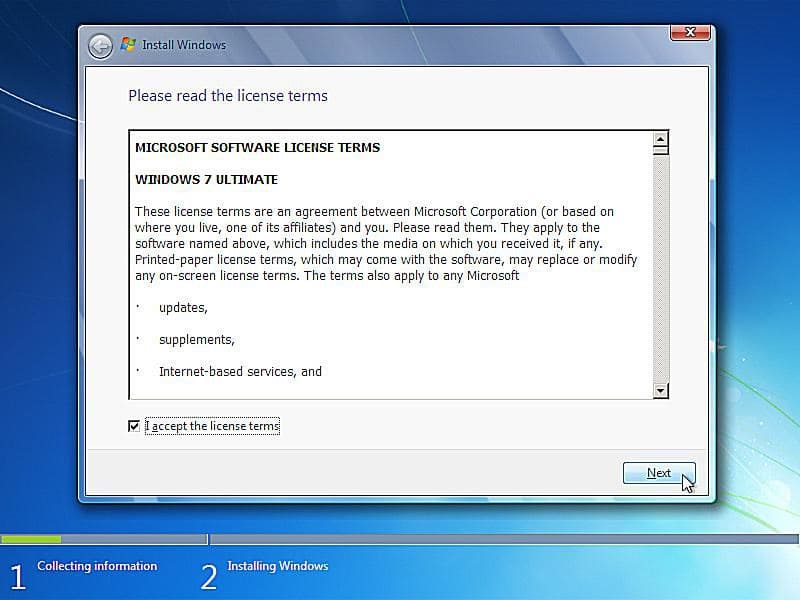
Agree to the licensing terms.
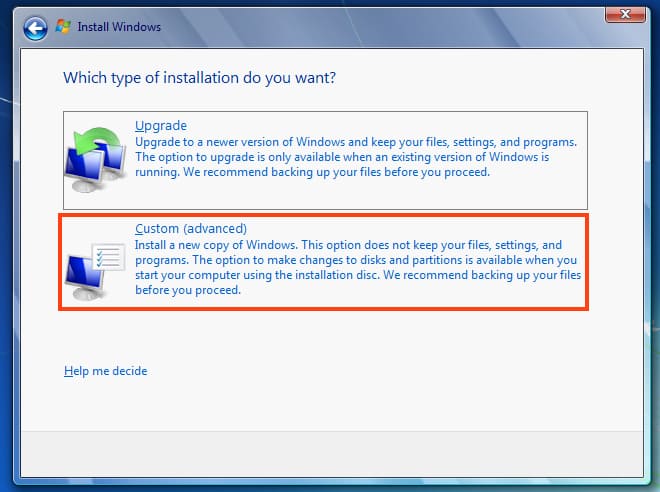
Direct “Upgrade” from the installer will not work, so choose “Custom installation.” In this option, you won’t format the partition (hard drive). After installing Windows 7, you’ll find a “Windows.old” folder in the root of drive “C” containing all system files and your personal files from the system folders.
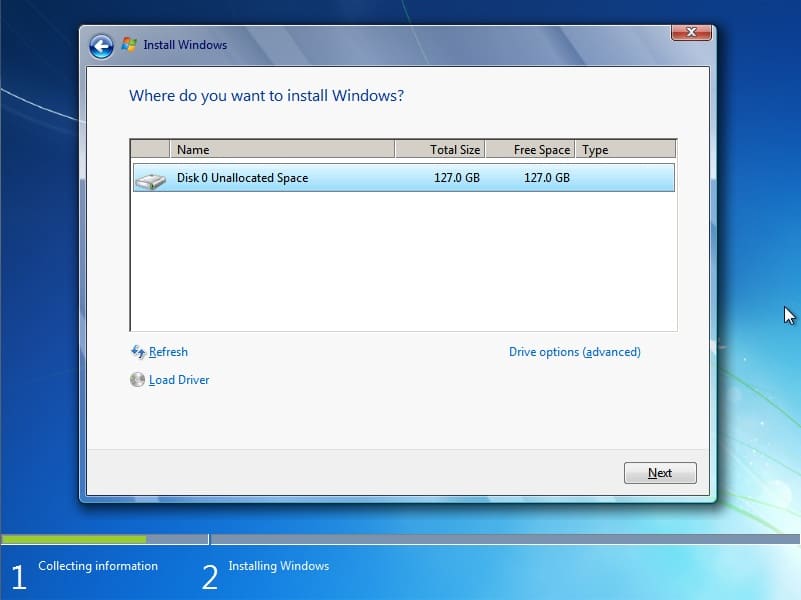
Simply click “Next” in our case; in yours, there might be a partition selection option—choose the one you want to install.
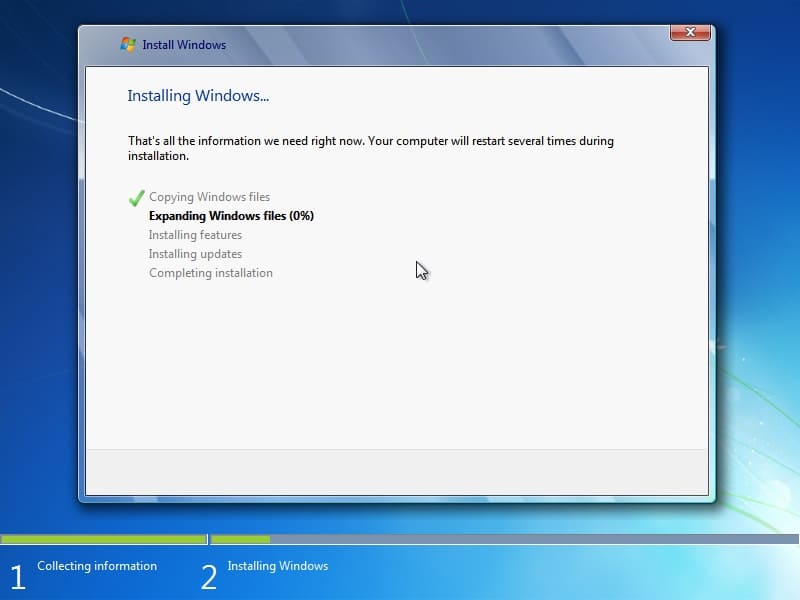
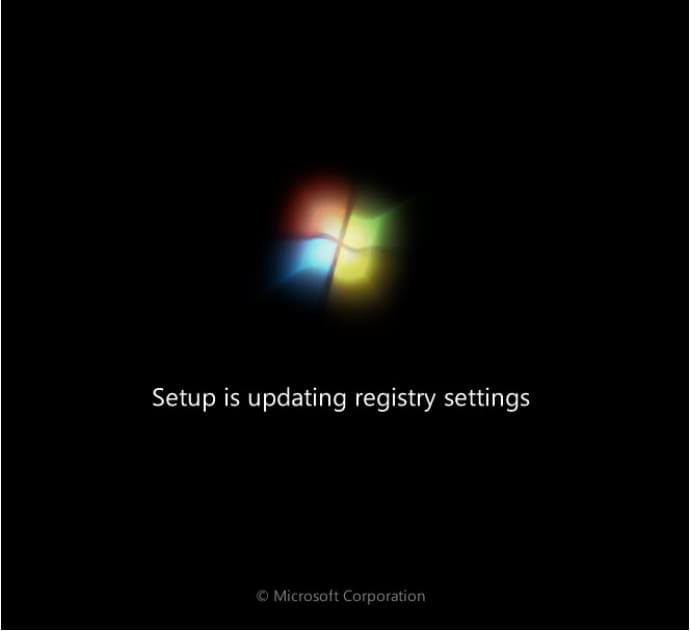
The installation will begin, and the computer will reboot approximately three times before completing the system update. You don’t need to press anything until you reach the language selection window.
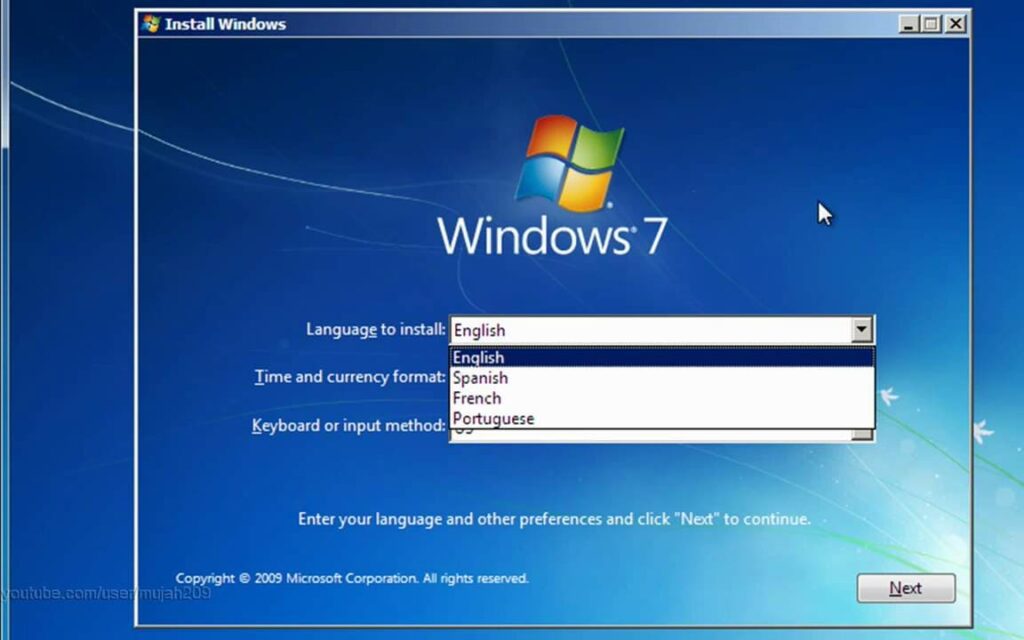
Now your participation is required. Choose the desired system language and layout.
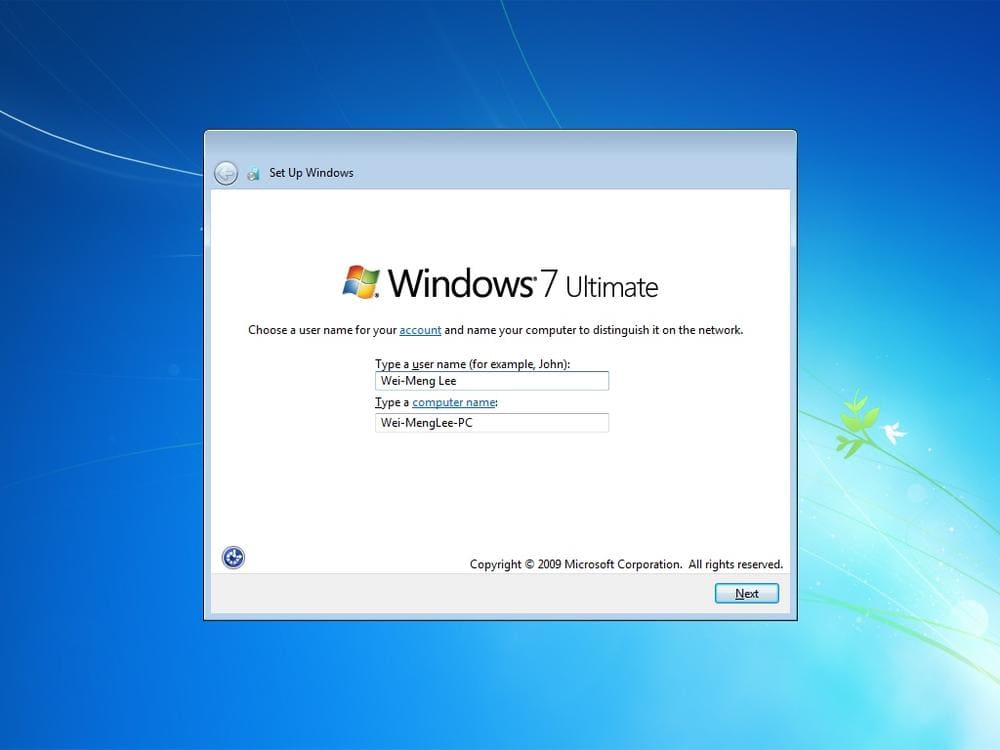
Enter your username.
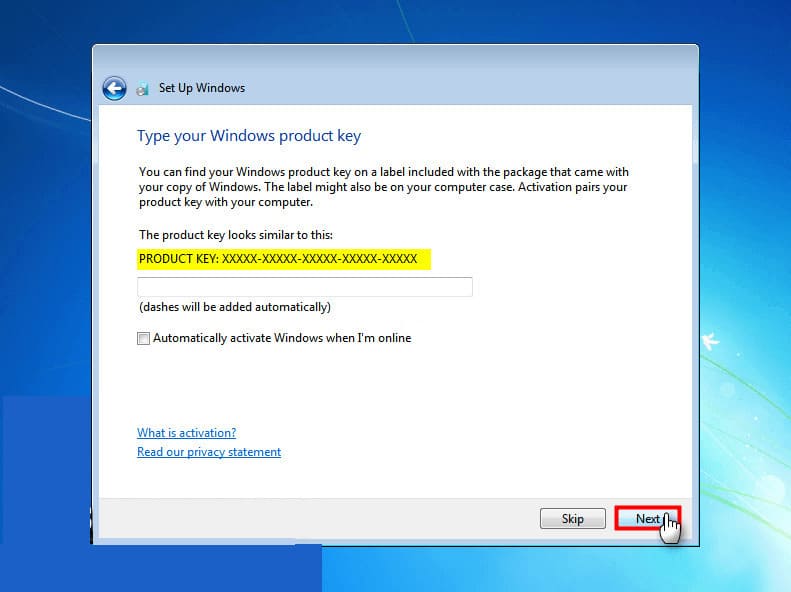
If you plan to use Windows 7, enter the product key for your Windows 7 edition. You can purchase it at the lowest prices in our catalog, with instant delivery of the product key to your email immediately after payment. If you plan to upgrade to Windows 10 using Windows 7 as a “buffer” system, you can click “Skip.”
Learn how to upgrade from Windows 7 to Windows 10 in our previous article.
Next, set up firewall and timezone settings.
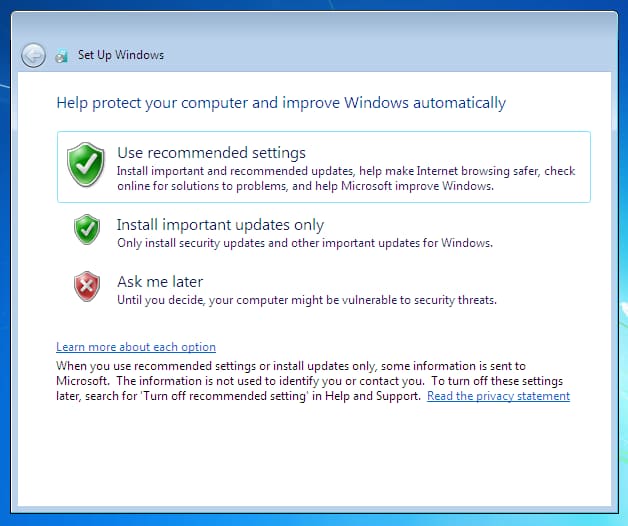
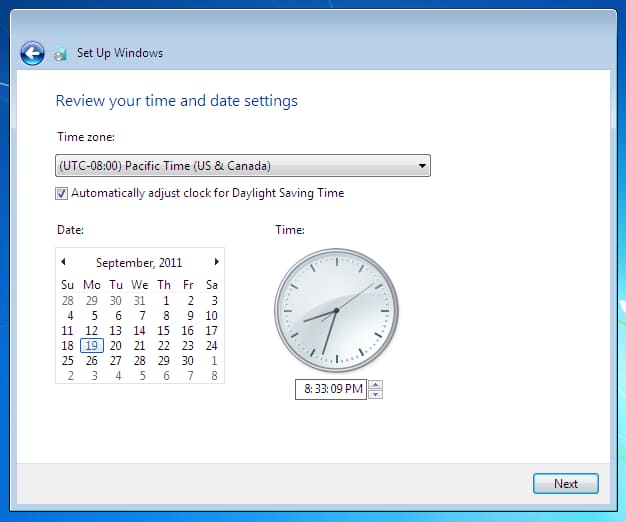
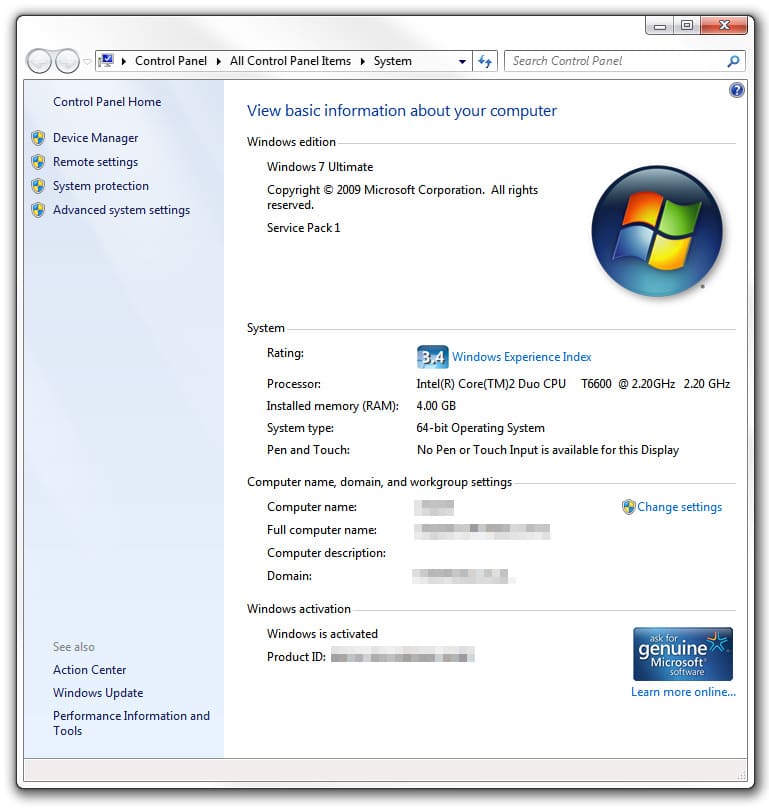
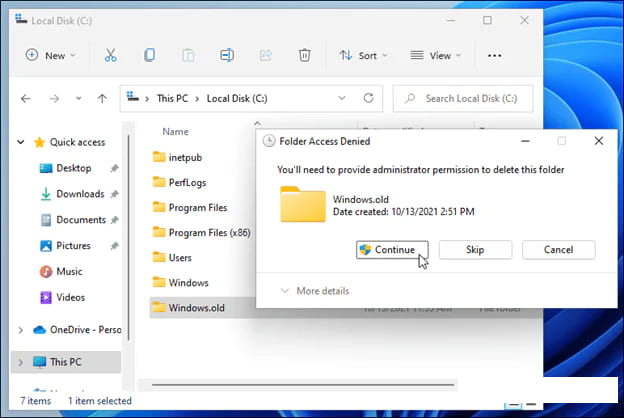
That’s it, after all the settings, your Windows 7 desktop will load. Your Windows XP system folders will be in the “Windows.old” folder at the root of drive “C.” If you move your files from there to the main system, you can delete this folder.
Your Windows 7 is ready for use!
