In this article, we will demonstrate how to virtualize Windows Server 2025 on Apple Silicon (ARM64) processors, such as M1, M2, M3, and M4.
Step 1: Downloading the ISO
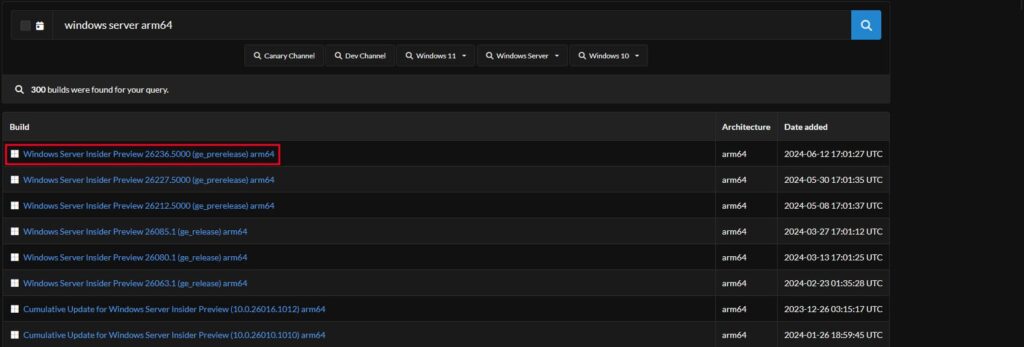
The first step is to create an ISO using UUP Dump. It is recommended to perform this on Windows, as issues may arise on macOS (Sequoia Developer Beta).
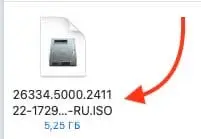
You can also download a pre-created ISO image of Windows Server (Russian) directly from our website.
Alternatively, if you want to create the ISO yourself, follow the instructions below:
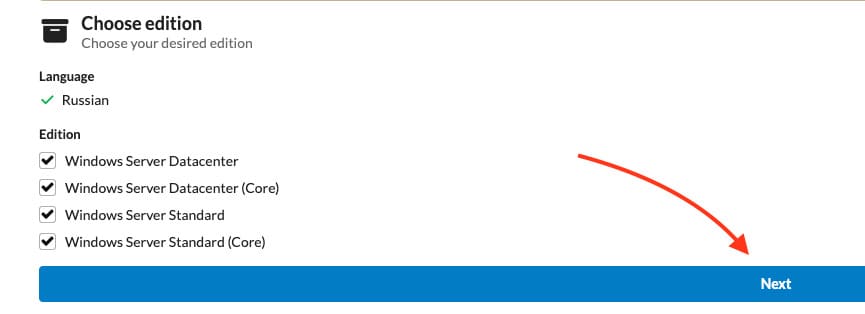
Download the marked option (the latest version).
– Select the desired language and click Next
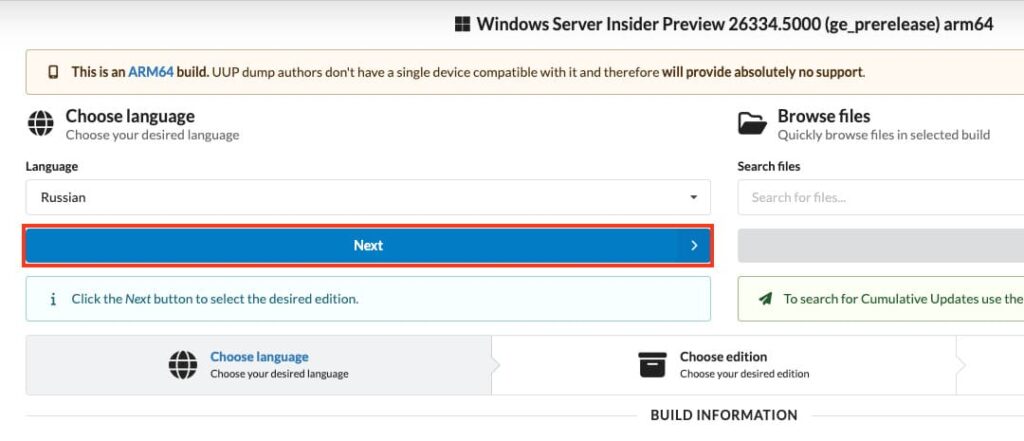
– Click Next again
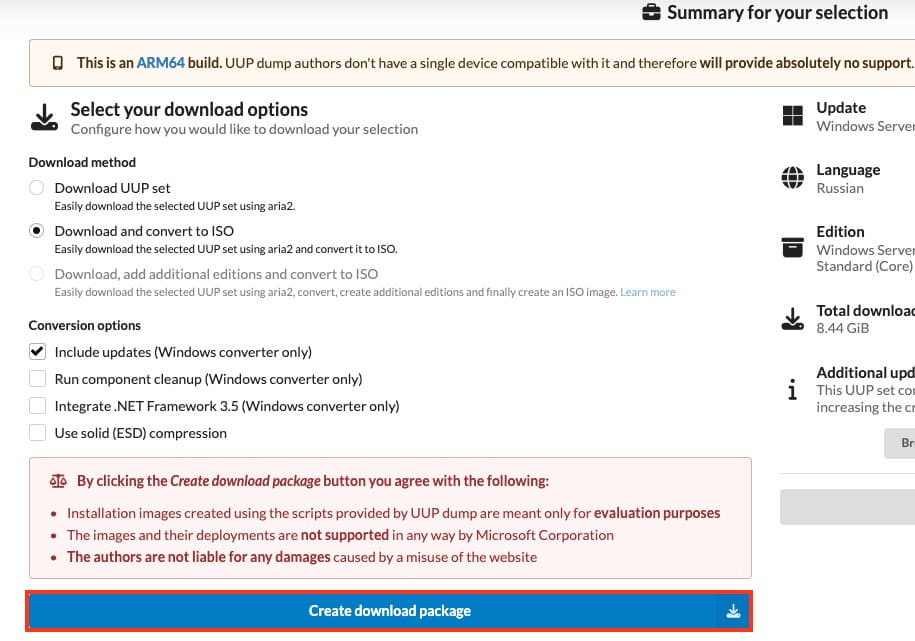
– Then select “Create download package”
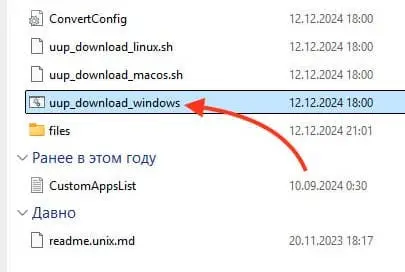
– Extract the downloaded archive.

– Run uup_download_windows as an administrator.
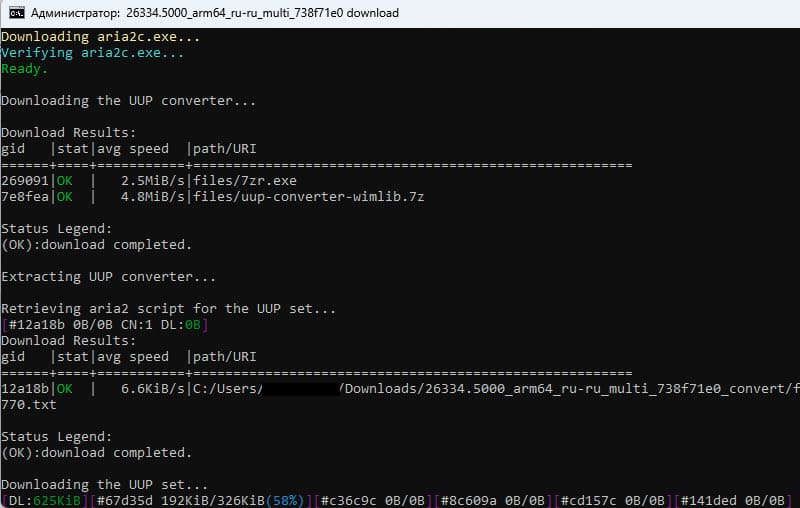
– Confirm the script execution.
– Wait for the download and ISO creation process to complete, which may take some time depending on your internet connection.
If you encounter errors or the ISO installation process stalls, it is recommended to disable Windows Defender.
Creating a Virtual Machine
– Download UTM from the official website.
You can also read our detailed guide on installing Windows on Mac M1/M4 using UTM.
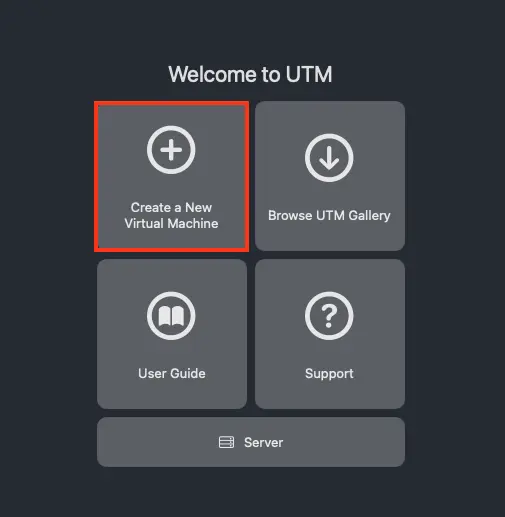
– Install and open UTM, then select Create a New Virtual Machine from the main menu.
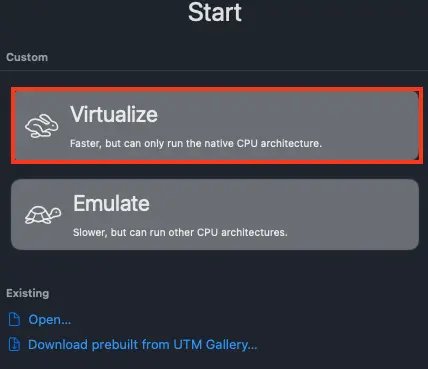
– Next, select Virtualize
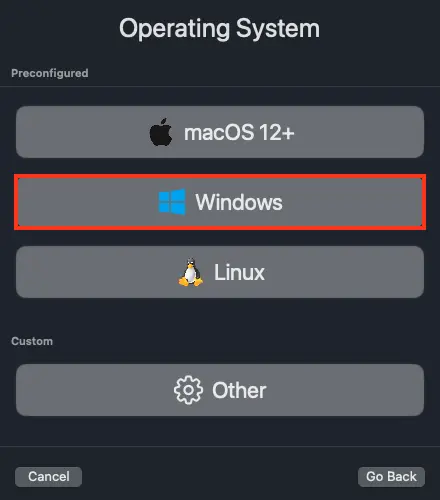
– Now choose Windows
– Click Browse in the “Boot ISO Image” section.

– Then select the recently created Windows Server ISO image.
– Complete the standard Windows Server installation, after which your Windows Server ARM desktop will launch.
For a more detailed guide on installing Windows on Mac using the UTM application, refer to our other article.
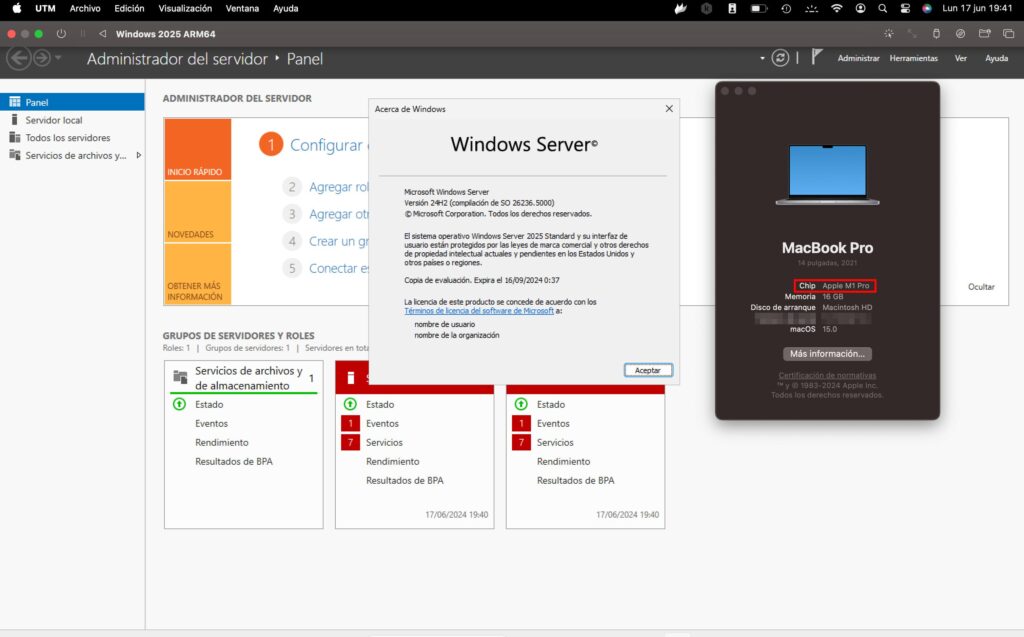
You now have a Windows Server 2025 virtual machine running on Apple Silicon (M1, M2, M3, M4) processors.